Light and airy génoise sponge cake
How to Slice a Cake into Layers: Step-by-Step Even Cutting
Updated Oct 6, 2026
How do you slice a cake into even layers? First chill the sponge, mark the cutting heights around the edge with toothpicks, score a shallow groove all the way around, then cut with a long serrated knife held at a constant height while you turn the cake. The knife never moves up and down — the cake does. Below you'll find the full step-by-step method, cutting with thread, moving the layers, and the mistakes that make a stacked cake lean.
Here's how to get even layers in six steps:
Chill the sponge – at least 1 hour in the fridge, ideally wrapped in plastic wrap overnight.
Level the top – trim off the dome down to the lowest point of the edge.
Measure the height and work out the layers – e.g. a 5 cm/2 in sponge gives 3 layers of roughly 1.5 cm/0.6 in each.
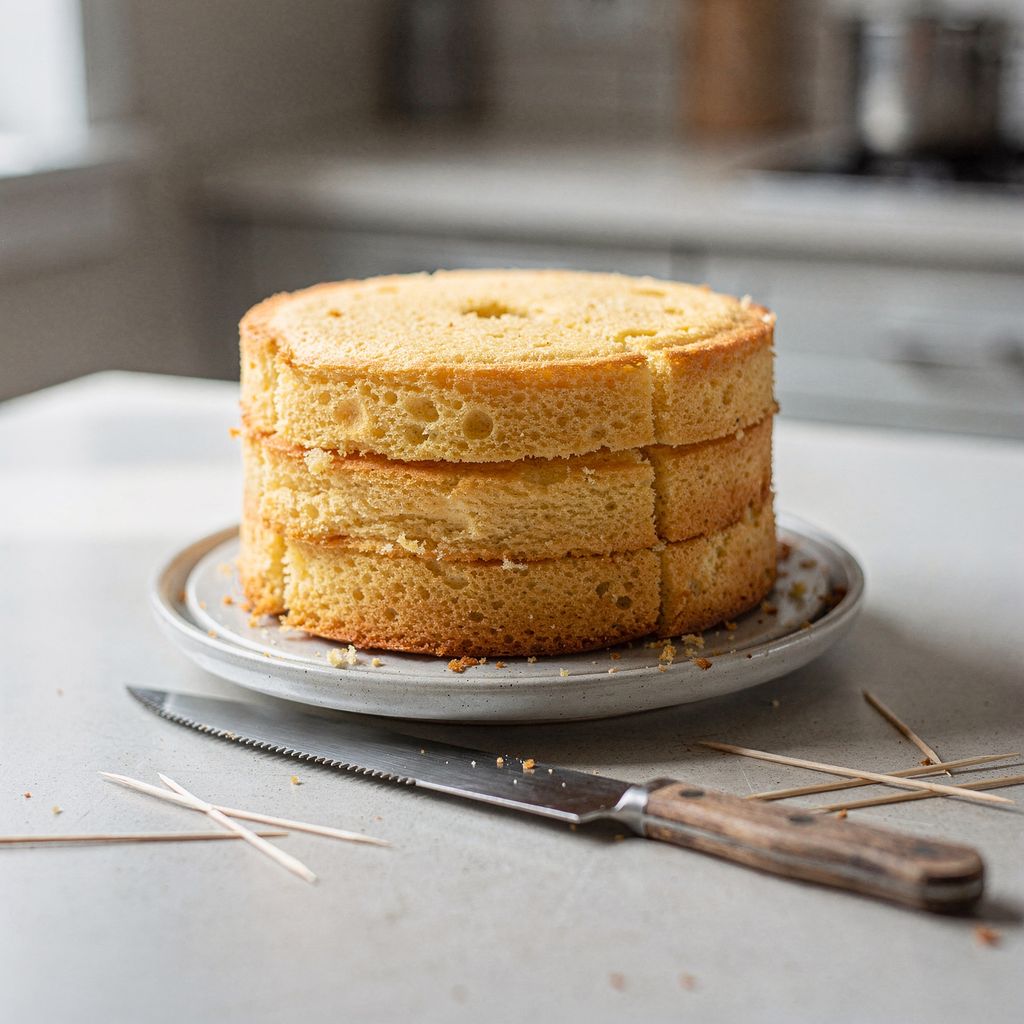
Mark the cuts with toothpicks and score a vertical notch down the side through all the future layers – place 6–8 toothpicks around the circumference at each cutting height.
Score a groove, then cut all the way through – first go around 2–3 cm/1 in deep, then work inward, turning the cake the whole time, not the knife.
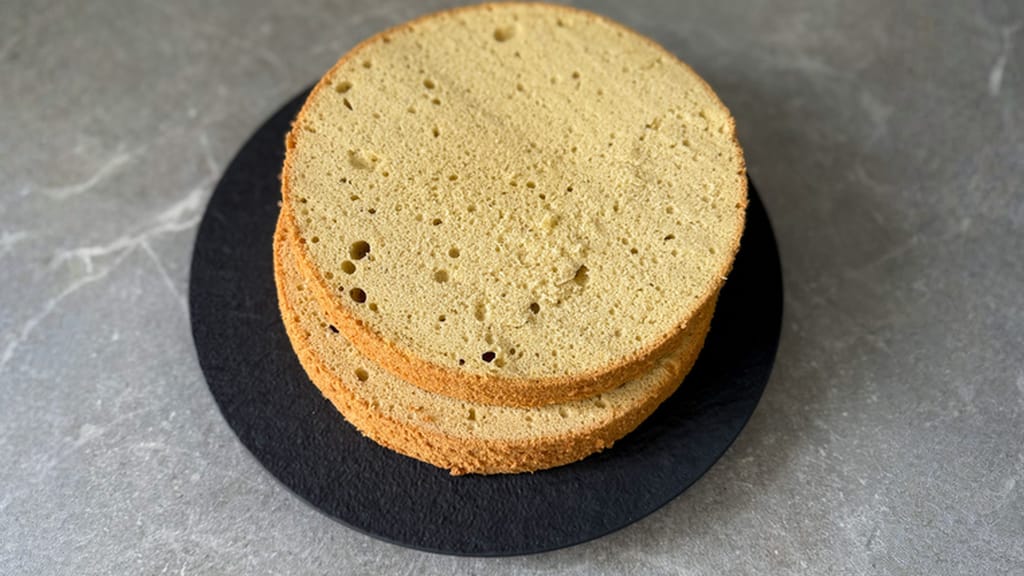
Move the layers on a flat board and stack them back in the same order and orientation, following your notch. The one exception is the bottom layer, which you can flip to the top (see below).
Only slice the sponge once it's completely cool and rested – ideally the day after baking. A warm sponge is soft and crumbly, so the knife tears it and the pressure of your hand squashes it, leaving the layer thinner at the edge than in the middle.
Minimum: fully cooled on a rack (1–2 hours), then at least 1 hour in the fridge.
Ideal: wrap it in plastic wrap while still slightly warm (it stays moist) and leave it in the fridge overnight. The crumb firms up and slices cleanly, with hardly any crumbs.
Quick fix: 20–30 minutes in the freezer. A slightly firmed-up, not frozen, sponge slices best of all.
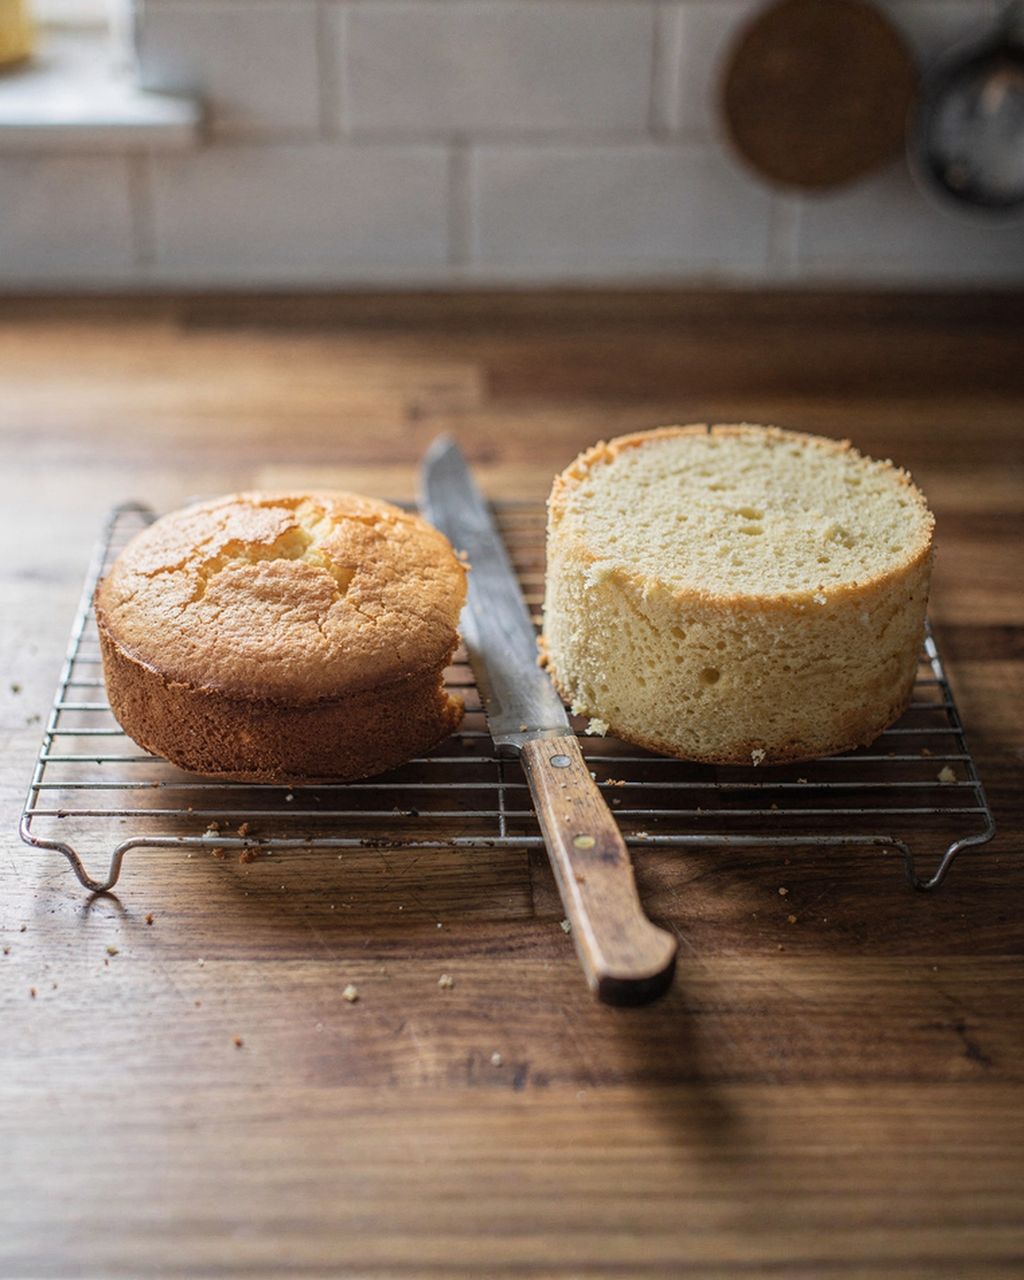
The easiest sponges to slice are springy ones with a fine, firm crumb – a classic sponge cake or genoise. If you're still at the baking stage, try our light genoise sponge for layer cakes, which slices beautifully.
Light and airy génoise sponge cake
Genoise sponge – ideal for slicing into layers
Trim the dome off level with the lowest point of the edge – not by guessing where the middle is. Stand the sponge on a turntable or a flat plate, look at it from the side at eye level, and find where the edge sits lowest. Set your knife there and cut off everything above it.
Why do this before dividing the cake into layers: with the dome still on, you can't measure the sponge's true height, so you'll miscalculate the layers and the top one will come out wedge-shaped. A level top gives you the correct overall height – you then mark the actual cuts upward from the board.
If your sponge regularly domes up in the middle, the problem lies in the baking, not the slicing. Find out what to do about it in our article on why cakes dome and how to bake a flat sponge.
Measure the leveled sponge with a ruler, divide the height by the number of layers you want, and at each cutting height push 6–8 toothpicks around the circumference (roughly every 8–10 cm/3–4 in). The toothpicks act as a guide rail for the knife to follow.
Rough thicknesses to aim for:
Sponge cake and genoise: 1–1.5 cm/0.4–0.6 in per layer. Below 1 cm/0.4 in, the layer breaks easily and soaks through with filling.
Butter or chocolate sponge: 1.5–2 cm/0.6–0.8 in – it's denser, so a thin layer would be fragile.
Typical ratio: a sponge baked in a 20 cm/8 in tin, 4–6 cm/1.6–2.4 in tall, gives you 2–3 layers.
Push the toothpicks in horizontally and all to the same depth. Always measure the cutting heights upward from the board, not downward from the top – the leveled top gave you the correct overall height, but the board is your reliable zero point.
Keep the knife horizontal and at the same height the whole time, and turn the cake instead – the knife only moves back and forth, never up and down.
Use a long serrated knife – ideally 5–10 cm/2–4 in longer than the sponge's diameter (for a 20–24 cm/8–9.5 in cake, a blade of around 30 cm/12 in). A short knife has to be angled toward and away from you, and the cut will drift off course.
Rest your palm lightly on top – just to steady it, not to press down.
Score a groove all the way around, just above the toothpicks, only 2–3 cm/1 in deep. Use a slow sawing motion, turning the cake a little at a time (about an eighth of a turn each time).
Deepen the cut toward the center. The groove now guides the knife, so it can't drift. Keep sawing and turning until the blade meets in the middle.
Check from the side at eye level. Every quarter turn, bend down and check the blade is still tracking the toothpicks.
The most common cause of a slanted layer: trying to cut straight through the sponge in one pass. The blade flexes under its own pressure and drifts up or down. A shallow groove all the way around prevents that.
Thread or unflavored dental floss slices a sponge cleanly and without crumbs – it's especially good for soft sponge cakes and for anyone without a long enough knife.
Cut a piece 50–60 cm/20–24 in long (sturdy cotton thread or unflavored dental floss).
Use a knife to score a shallow groove all the way around at the height you want (1–2 mm/0.04–0.08 in is enough).
Lay the thread into the groove, going all the way around, and cross the ends on your side.
Pull both ends toward you in one smooth motion – the loop tightens and passes straight through the sponge.
Thread isn't strong enough for dense butter or nut sponges – it tears them. Stick with a knife for those.
Move the layers on a thin, flat board – a cardboard cake board, the base of a cake tin, or a rimless baking sheet – and never lift them with your hands. Slide the board into the cut, pull the layer onto it, and set it aside.
Before you start slicing, score a vertical notch down the side of the sponge, through all the future layers. When you restack, line the notch up again and the layers sit exactly as they did before cutting – even if the cuts weren't perfect, the unevenness cancels itself out.
Exception: the bottom layer (the one from the base of the tin) can go on top instead, cut side down. It's the flattest and sturdiest, so the top of the cake stays smooth and crumbs won't get into the filling. Line up the notch for the other layers only, which keep their original order.
Brush crumbs off the cut surfaces with a dry pastry brush, or they'll end up in the filling.
Assemble inside a cake ring lined with cake collar (acetate strip). It keeps the layers stacked exactly on top of each other, stops the filling from being pushed out at the sides, and gives you straight edges. You'll find acetate strips and other baking essentials in our baking cases and paper goods section.
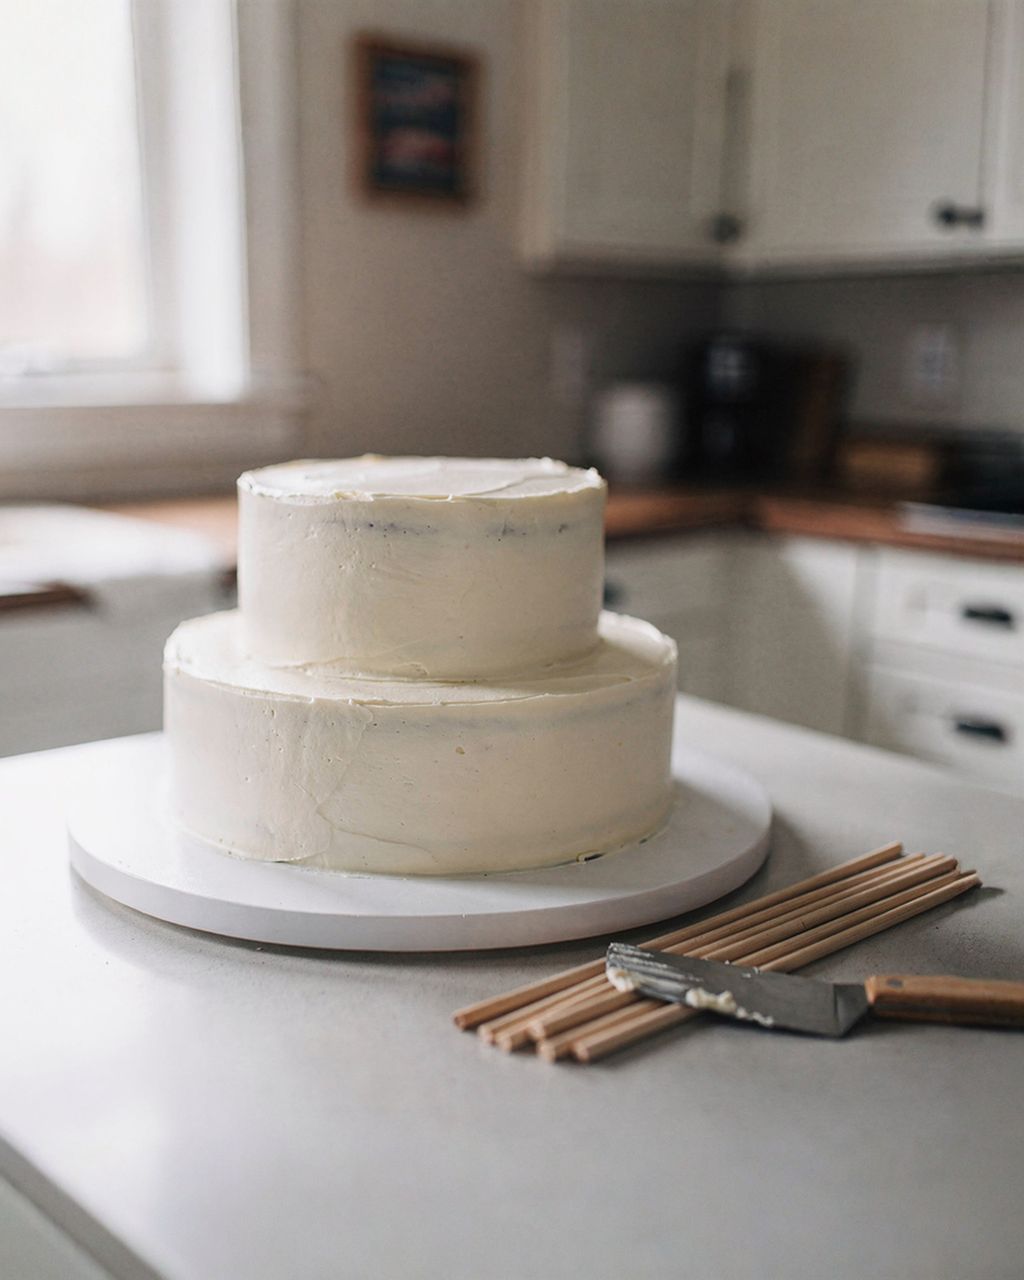
If you're stacking multiple tiers, a level layer is the foundation of stability – a tilted bottom tier only gets worse higher up.
Cakes most often go wrong when sliced into layers because of a warm sponge, a too-short knife, cutting straight through in one go, pressing down on the top, and stacking the layers without a reference mark.
Slicing a warm sponge. It tears, crumbles, and gets squashed under your hand. Chill it for at least an hour in the fridge first.
Using a knife shorter than the cake. You end up having to angle it, and the cut veers off course. The blade should be 5–10 cm/2–4 in longer than the diameter.
Cutting straight through in one pass. The blade flexes. Score a shallow groove all the way around first, then cut inward.
Pressing down on the top. Your palm should only steady the sponge, otherwise the layer comes out thinner at the edges.
Stacking the layers randomly. Without a vertical notch, the unevenness adds up instead of canceling out.
Sliced layers keep for 1–2 days in the fridge if you separate them with baking paper and wrap the whole stack tightly in plastic wrap. For longer storage, freeze them – wrapped layers keep for about a month, and they're easiest to fill and stack while still slightly firm from the fridge or freezer.
Put the broken layer in the middle of the cake, not on top or the bottom – the filling will glue it back together and it won't show under the next layer. Press the pieces back together directly on the filling, press down gently, then chill the cake well so the filling firms up.
Very moist, dense, or crumbly sponges are hard to slice into layers – think sponges with grated vegetables and nuts, dense chocolate traybakes, or batters with pieces of fruit in them. It's better to bake these straight into two or three tins, or as a sheet, and cut them to size with a ring instead.
Sponge trimmings are great in trifle-style dessert jars, in cake pops, or as crumb coating for the sides of a cake. Blitzed and dried out in the oven, they can even stand in for breadcrumbs for dusting a greased tin.
One recipe worth heating the oven for, one tip, and one deal from the shop. Nothing else.