Types of Cake Frosting and When to Use Each
How to Build a Tiered Cake That Won't Collapse: Dowels, Boards & Method
Updated Oct 6, 2026
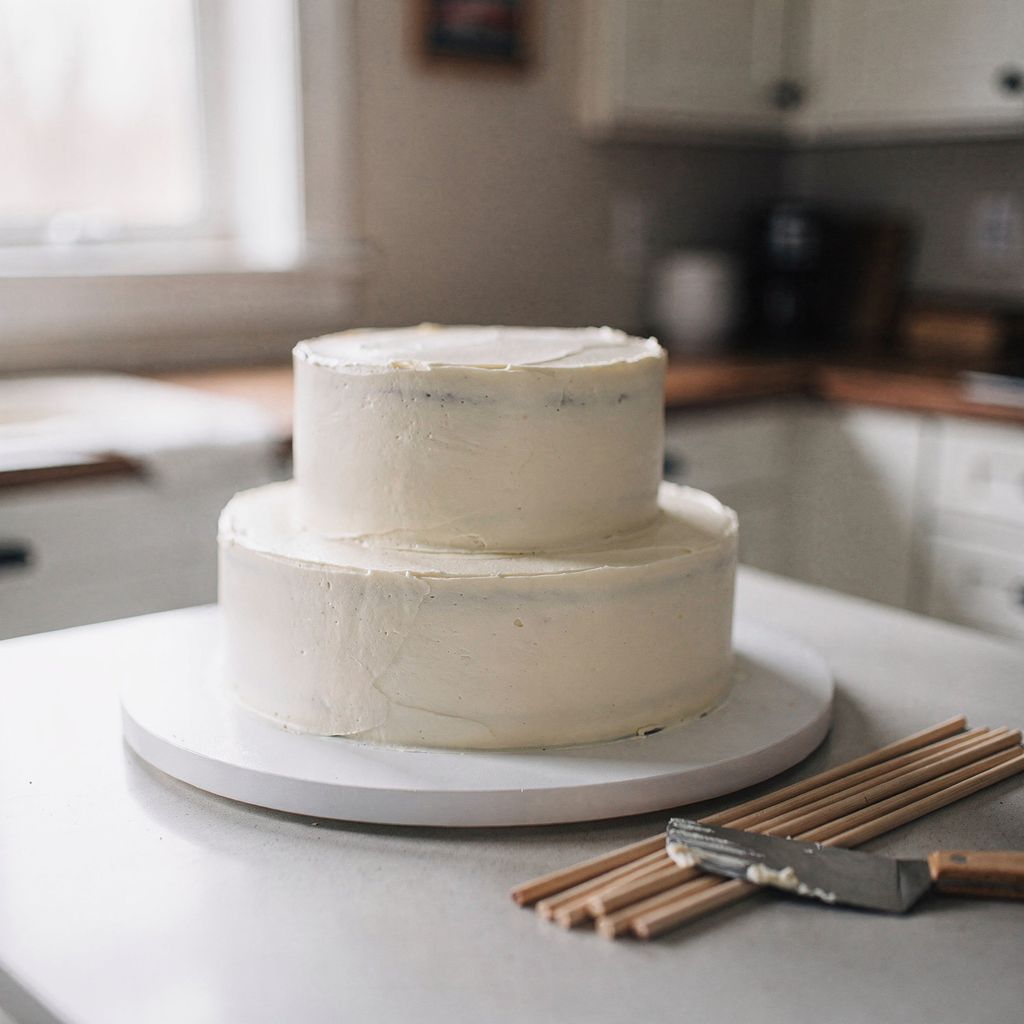
How do you build a tiered cake so it doesn't collapse? Set each tier on its own cake board, insert dowels trimmed exactly to that tier's height into every tier except the top one, and chill everything thoroughly before you assemble. That way, the weight of the upper tiers rests on the dowels, not on soft sponge or frosting, and the cake stays standing straight even five hours into the party. Below you'll find how many dowels to use per tier, how to trim them, which frostings can take the weight, and how to get the whole cake to the venue in one piece.
A tiered cake collapses because sponge and buttercream simply aren't built to bear weight. A 15 cm top tier can weigh up to 1.5 kg, and without support it just sinks straight into the tier below — the filling squishes out sideways, the tier tips, and from there it's all downhill.
The most common causes are:
no dowels/supports, or supports cut to different lengths, leaving the top tier sitting crooked
no cake board under the top tier, so the dowels poke straight through the sponge instead of holding up a board
warm, soft filling — after an hour in a warm room it turns slippery, like grease
uneven layers — if every tier is higher on one side, you end up with a leaning tower effect that compounds with each layer
transporting an already-assembled cake over bumps or around corners
All of this can be sorted out in advance. Uneven layers first: for tips on keeping your sponge flat instead of domed, see our guide on why cakes dome and how to bake a flat sponge.
Beyond what you'd use for a regular cake, a tiered cake needs five extra things: cake boards, dowels, a centre rod, tools to trim the dowels, and fridge space.
A cake board under every tier — a sturdy cardboard board the same diameter as that tier (a 20 cm tier sits on a 20 cm board). The whole cake then stands on a base board that's at least 5 cm wider than the bottom tier and extra sturdy — feel free to glue two or three boards together.
Dowels — wooden or plastic rods, or thick plastic straws (more on this below).
A centre rod — a thick, round wooden or plastic rod, sharpened at one end, roughly 5 cm longer than the full height of the finished cake. It runs through every tier and stops the cake shifting sideways during transport.
Dowel-cutting tools — a sharp knife or wire cutters, a pencil, and a spirit level (or at least a straight ruler).
Fridge space for each tier separately.
For a tiered cake, leave a 5–8 cm difference in diameter between tiers — 5 cm is the most common. That leaves a 2.5–4 cm ledge all around the top tier for a border of frosting or decoration, so the cake doesn't look like a chimney stack.
Tried-and-tested combinations:
two tiers: 15 + 20 cm or 15 + 23 cm
three tiers: 15 + 20 + 25 cm
four tiers: 10 + 15 + 20 + 25 cm
Each tier is usually 10–12 cm tall (three or four layers with filling). Keep all the tiers roughly the same height — the cake looks more balanced, and you can trim all the dowels to a similar length.
Add dowels to every tier that has something sitting on top of it, based on its diameter: 15 cm → 4–5 dowels, 20 cm → 5–6, 25 cm → 6–7, 30 cm → 7–8. Quick rule of thumb: divide the diameter in centimetres by five and add one or two extra dowels — better too many than too few.
Where you put them matters just as much as how many. The dowels support the board under the tier above, so they need to sit underneath it, not outside its edge:
Place the empty board for the tier above (or a paper circle the same size) on top of the lower tier, and lightly trace around it with the tip of a knife to mark the outline.
Position the dowels in a circle 2–4 cm inside that outline, spaced evenly around.
For larger tiers (25 cm and up), add one more dowel in the centre.
The top tier doesn't need dowels — nothing sits on top of it.
For a light two-tier cake, thick plastic straws will do the job; for three tiers or more, go for wooden or plastic rods instead.
Thick straws (the bubble-tea type) — easy to snip with scissors, strong enough for a light top tier up to about 15 cm. They can squash under heavier cakes.
Hollow plastic rods — sturdy and wide, can be cut with a saw or a strong knife. A good choice for three-tier and heavier cakes.
Wooden dowels — the strongest and thinnest option, ideal for tall cakes. Trim with wire cutters or a saw, and smooth off any splinters at the ends.
What doesn't work: thin skewer-style sticks (they bend) and pieces of chocolate or biscuit (they go soft).
To assemble a tiered cake, set each tier on its own board, insert dowels trimmed to the same length into the lower tiers, place the top tier on the dowels, and secure the whole cake with a centre rod. Bake and frost the tiers 1–2 days ahead, and ideally only assemble the cake once you're at the venue. Here's how:
Build and frost each tier on its own board. Stick the board to the sponge with a dab of frosting so it doesn't slide around.
Chill thoroughly. Every tier needs to be firm to the touch — after frosting with buttercream or ganache, chill for at least 4 hours, ideally overnight.
Mark the outline of the tier above on the tier below (as described earlier).
Push one dowel straight down until it hits the board, and mark with a pencil where it meets the surface of the frosting.
Pull it out and trim it. Cut every other dowel to that same length — don't measure each one individually against the frosting, or you'll end up copying every bump and dip in the surface. If a tier is slightly tilted, measure from its highest point.
Push all the dowels in vertically until they reach the board. They should end up level with the frosting surface, or 1–2 mm above it.
Check it's level — rest an empty board and a spirit level across the dowels. Now's your last chance to fix anything.
Add the tier above. Lift it using a wide spatula or your palm under the board, lower it over the marked outline, and once the edge touches down, slide the spatula out and let the tier settle gently into place. Don't press down.
Repeat for the next tier — dowels go into the middle tier, then the top tier goes on last.
Push the centre rod sharpened-end-down through every tier and every cardboard board, all the way to the base board. It's easiest if you pre-pierce a hole through the centre of each board.
Cover the join with a border of frosting or decoration, then chill the finished cake for at least another 30 minutes.
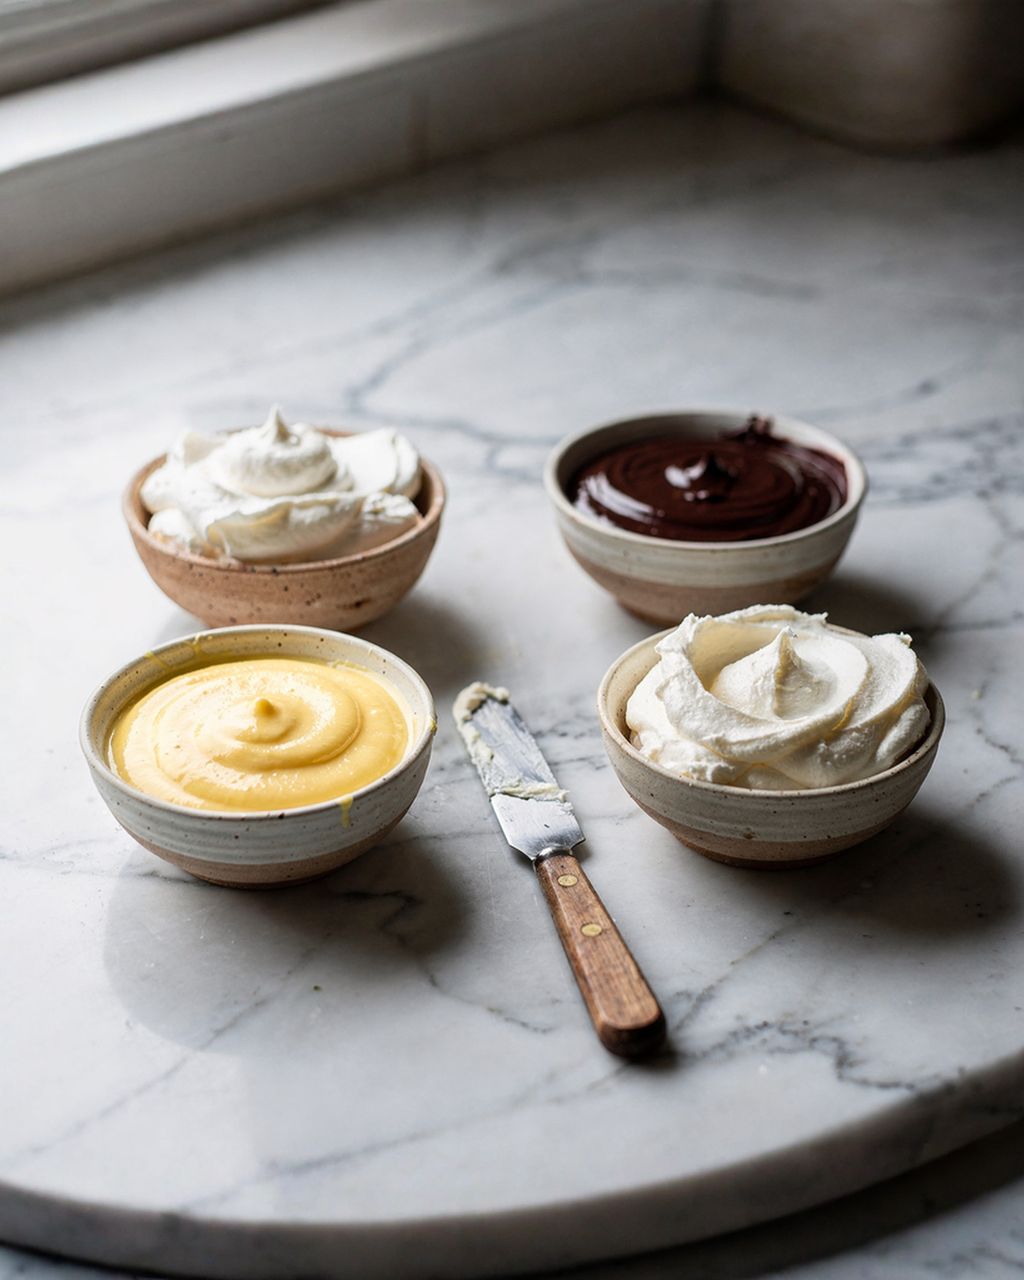
A tiered cake needs a frosting that firms up once chilled: ganache, buttercream (Swiss or Italian meringue buttercream work well), or a mascarpone-and-cream filling. Plain whipped cream and light, gelatine-free mousses are too soft for tiers — even with dowels in place, the sides will bulge out between layers.
Some practical rules:
Keep the filling between layers thin, 0.5–1 cm. A thick layer of soft filling will slip and slide.
Pipe a firmer frosting around the edge of each layer and spoon a softer filling (fruit, caramel) into the centre — the border holds it in.
Build a softer tier inside a cake ring lined with acetate cake strip. Once chilled, remove the ring and peel away the strip, and the sides stay perfectly straight. For taller tiers, use two strips stacked on top of each other.
Choose your coating based on the weather. For a summer party outdoors, go for ganache rather than whipped cream.
For a full breakdown of which frostings suit which cakes and how they behave, see our guide on types of cake frosting and when to use each one.
The safest option is to transport each tier separately and assemble the cake once you arrive. For a short trip on smooth roads, you can transport an already-assembled two-tier cake, as long as it has a centre rod and is well chilled.
Chill it thoroughly right before you leave — cold frosting holds its shape far better.
Place the box flat on the floor or in the boot, not on a seat — seats are angled and soft. Put a non-slip mat underneath.
Keep the air conditioning on cold and keep the journey as short as possible. In direct sun by a window, frosting can soften within minutes.
Drive smoothly, and take corners and speed bumps slowly.
Pack a repair kit: a bag of frosting, a spatula, spare dowels, and some flowers or decorations to cover up any damage.
Save the main decorating for after assembly — only the smooth coat and any drip work should go on each tier beforehand. Edges always get a little knocked around when you're adding tiers, and you'll need to cover the join between tiers anyway — with a border of frosting, pearls, fresh flowers, or ribbon. For specific techniques you can manage even on your first try, see our guide on cake decorating for beginners.
Don't push fresh flower stems straight into the cake — wrap the stems in food-safe film first, or use a floral pick. Not all flowers are safe near food.
Assemble a tiered cake no earlier than the day before, ideally on the day of the party itself. You can bake and frost the individual tiers 1–2 days ahead and keep them separately in the fridge; once assembled, the cake will keep in the fridge for about 24 hours, if it even fits. The sponges themselves can be baked even earlier and frozen.
You can only skip dowels on a two-tier cake if the top tier is very small and light — say, 10 cm, on a dense sponge with ganache. Even then, you risk it sinking in. A few straws cost next to nothing and solve the whole problem, so use them whenever anything sits on top of a tier.
Cut a tiered cake tier by tier: first lift off the top tier along with its board, remove the dowels, then slice each tier separately. For large bottom tiers, the easiest method is to cut a circle about 5 cm in from the edge, slice that ring into pieces, then repeat with the inner circle.
Yes, frozen sponge works well for a tiered cake, since it slices cleanly and crumbs less. Just let it thaw in the fridge while still wrapped in film, and only fill and frost it once fully thawed — otherwise moisture condenses on the surface and the frosting slides right off.
A three-tier cake of 15 + 20 + 25 cm, with each tier around 10 cm tall, gives roughly 60–80 servings (wedding-style slices about 2.5 × 5 cm), depending on how thin you cut the slices. For an event with other desserts on offer too, aim for narrower slices and the higher end of that range.
One recipe worth heating the oven for, one tip, and one deal from the shop. Nothing else.