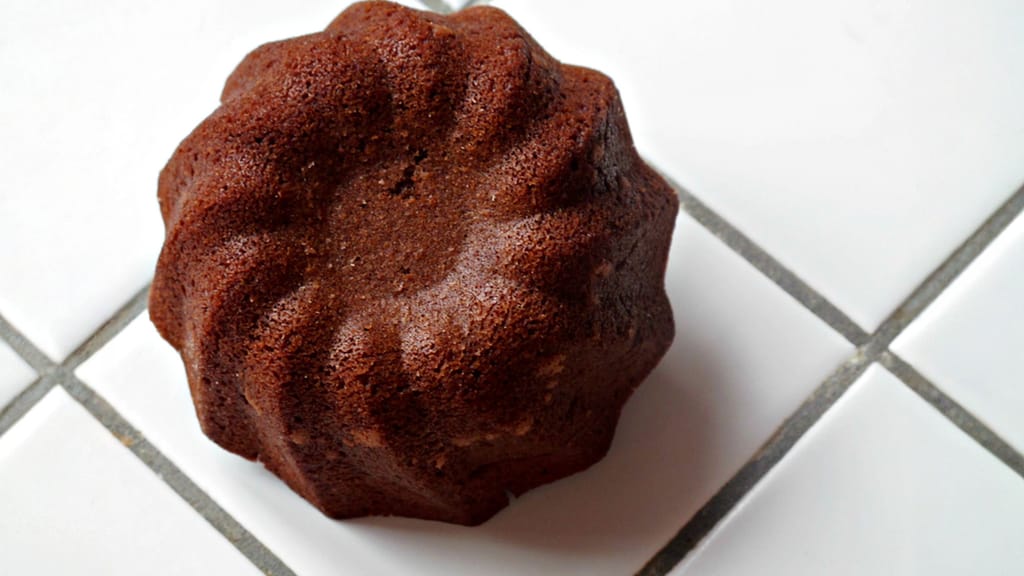
Little chocolate bundt cakes with ganache

Updated Aug 16, 2026
You can melt chocolate lump-free three reliable ways: in a double boiler, in the microwave in short bursts, or on an induction hob with careful temperature control. The common thread is always the same — gentle, slow heat, not a single drop of water, and thorough stirring. In this guide we'll walk through all three methods step by step, the right temperatures for dark, milk and white chocolate, the most common mistakes, and how to rescue chocolate that's seized or turned grainy.
A double boiler melts chocolate the most gently — set a bowl of broken-up chocolate over a pan of hot (not boiling) water so the bottom doesn't touch the water, and stir until it melts. The indirect heat from the steam keeps the chocolate below the critical point, so it never scorches or turns grainy. That's why pastry chefs and home cooks alike rely on it: you keep the temperature in check even without measuring it.
Pick the right bowl. Use stainless steel or glass — both conduct heat evenly. It needs to be wider than the pan so it rests on the rim and no steam can sneak in underneath.
Set up the water bath. Pour about two inches of water into the pan, bring it to the boil, then reduce to a gentle simmer. The bottom of the bowl should sit a couple of centimetres above the water — it must never touch it.
Break it up and melt. Break the chocolate into evenly sized pieces (so it melts at the same rate) and tip it into the bowl. Stir only occasionally at first, then steadily with a spatula towards the end, until the last lumps disappear.
Watch the steam and the temperature. Once about two-thirds has melted, lift the bowl off the pan and finish stirring away from the heat — the residual warmth will melt the rest and keep the chocolate from overheating.
Properly melted chocolate is smooth, glossy, and runs off the spatula in a continuous ribbon. If it thickens or turns dull, the temperature crept up too high — see below for how to fix it.
In the microwave, melt chocolate on medium power (around 500–600 W) in 20–30 second bursts, stirring after each one. It's the fastest method, but also the easiest way to burn chocolate — hence the short bursts and stirring in between.
Set it to medium power. Full power heats unevenly and creates hot spots. Half to two-thirds power slows the melting down just enough to keep it under control.
Heat in 20–30 second bursts. Shorten the intervals towards the end. Microwaved chocolate holds its shape even once melted, so don't trust your eyes — you'll only really know once you stir it.
Stir after every burst. A silicone spatula spreads heat from the melted parts through the rest and helps melt any pieces still holding their shape. Stirring also reveals graininess before it turns into full-on lumps.
Stop in time. If you smell burning or see smoke, the chocolate is beyond saving. Better to shave a few seconds off and add another short burst than risk one burst too many.
An induction hob holds a low, precise temperature, which makes it well suited to slow, closely watched melting of larger batches of chocolate. Set it to the lowest setting (around 40–45°C), melt in a pan with a bit of heat retention, and stir continuously.
Chocolate reacts sharply to heat — any quick spike will scorch it on the bottom or send it into lumps. So work on low power and regularly scrape the mixture off the bottom with a spatula so the heat spreads evenly and nothing catches. Most induction hobs also come with safeguards, like switching off when the pan is lifted, so even a brief interruption won't ruin the batch. For extra certainty, keep an eye on the temperature with a confectionery thermometer — with melting chocolate, precision is everything.
Each type tolerates a different temperature: dark chocolate up to 45–50°C, milk chocolate up to 40–45°C, and white chocolate up to 35–40°C. The rule is simple — the more milk and sugar a chocolate contains, the more delicate it is, and the lower you need to keep the temperature. The difference comes down to the ratio of cocoa solids, cocoa butter and milk components, which we cover in detail in our article on the differences between dark, milk and white chocolate.
Dark chocolate has the highest proportion of cocoa solids, the most intense flavour, and handles heat best of all the types. Melt it up to 45–50°C — beyond that, the cocoa solids start to scorch and the flavour turns bitter. Thanks to its higher cocoa butter content, it also stays the most fluid, so it's the easiest to work with.
Milk chocolate has less cocoa solids and more sugar and milk powder, so it scorches more readily than dark. Stick to a range of 40–45°C. At higher temperatures, the milk proteins and sugar turn grainy and the chocolate thickens into a gritty paste that won't smooth out again.
White chocolate is just cocoa butter, sugar and milk — no cocoa solids to buffer the heat, which makes it the most delicate of all. Melt it up to 35–40°C and watch it more closely than any other type; overheated, it turns yellow and grainy. In a double boiler, take it off the heat a little early and let residual warmth finish the job.
Melting chocolate and tempering it are not the same thing. Tempering is a controlled sequence of heating, cooling and reheating to a working temperature (around 31–32°C for dark, 29–30°C for milk, 28–29°C for white), which lets the cocoa butter crystallise into a stable form. The result is a glossy surface and a crisp "snap" when you break it. For a coating you'll eat straight away, you don't need to temper; for pralines, decorations, or anything that needs to hold its shine and shape once set, you do. You'll find the full method in our guide on how to temper chocolate for a perfect shine.
Two things most often ruin chocolate: moisture and overheating. Throw in cheap chocolate made with cocoa butter substitutes and lumps are all but guaranteed. Luckily, all three are easy to avoid.
Moisture. Even a single drop of water will make chocolate seize into a stiff, grainy mass. Use completely dry bowls and utensils, and in a double boiler, watch that no condensed steam drips into the bowl.
Overheating. Heat slowly and check the temperature — dark up to 45–50°C, milk and white up to 40°C. A thermometer beats guesswork every time.
The quality of the chocolate. Good-quality chocolate with real cocoa butter melts smoothly and evenly; cheaper versions made with vegetable fats and excess sugar turn grainy and are harder to work with.
For a glossy, pourable glaze, you don't thin chocolate with water — you use fat or a warmed liquid instead: cocoa butter (5–10% of the weight) for a pure chocolate glaze, cream for a soft, ganache-style glaze (roughly a 2:1 ratio), or a teaspoon of coconut oil per 100 g for a thin dipping glaze. The goal is always the same — chocolate that pours beautifully, spreads easily, and doesn't set hard or brittle.
Cocoa butter is the best choice, since it's already a natural part of chocolate. Add 5–10% of the chocolate's weight and melt it in together — the glaze stays smooth and glossy.
Butter (unsalted only) adds softness and shine; about a teaspoon of softened butter per 100 g of chocolate, stirred in slowly, is plenty.
Coconut oil works well for dipping glazes — a teaspoon per 100 g will thin the chocolate nicely. Don't overdo it, or the glaze won't set properly.
Cream (whipping/double cream) makes a glaze soft and pliable, one that won't crack when sliced. For a pourable glaze, keep a 2:1 ratio (two parts chocolate to one part cream); for a light softening, say for a batch of sweets, 3–4 tablespoons per 100 g is enough. Warm the cream first, but don't let it boil — too hot and it will make the chocolate seize. If the finished glaze is too thick, add more warm cream gradually, a little at a time.
Milk should be added carefully and gradually to already-melted chocolate; cold milk will make it seize.
Condensed milk sweetens and thickens chocolate — great for fudge, but usually too thick for a classic pourable glaze.
Glucose syrup keeps a glaze pliable and stops it from hardening — just a teaspoon per 100 g, mainly for glazes and soft decorations.
Plant-based drinks (almond, coconut, oat) are used much like milk, but they'll affect both flavour and texture: coconut adds an exotic note, almond a light sweetness. Add them warm and gradually.
The biggest mistake is water — even a small amount will make the chocolate seize. Also avoid sudden temperature shocks: cold cream or milk poured into hot chocolate will form lumps. And add fats gradually — too much and the glaze won't set properly.
Little chocolate bundt cakes with ganache
Chocolate bundt cakes with glaze — melted chocolate in action
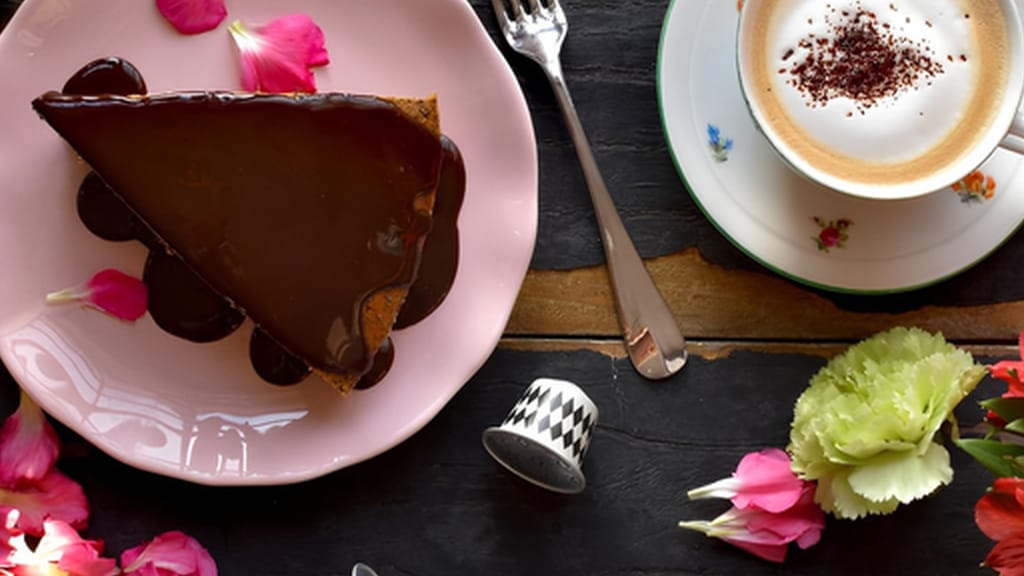
Quick whole poppy seed cake with chocolate ganache
Quick whole poppy seed cake with chocolate glaze
You can usually rescue seized chocolate by stirring in warm liquid a teaspoon at a time and whisking it smooth again — counterintuitively, more liquid helps, not less. Which fix to use depends on the cause.
If chocolate starts clumping after cream or milk is added, the mixture hasn't combined properly. Add a small amount of warm (not hot) liquid and stir slowly until the chocolate comes together smoothly. If it's still grainy, warm it gently in a double boiler and keep stirring.
If a greasy layer rises to the surface, add a little warm liquid (cream or milk) and stir until it comes together. If that's not enough, blitz the mixture briefly with a stick blender on low speed — it will re-emulsify the fat and bring back the smoothness.
If it's thickened after cream or other ingredients were added, stir in a little fat — cocoa butter or coconut oil — a small amount at a time. It will loosen the chocolate so it's spreadable again without ruining the texture. Patience is the key here: even chocolate that looks ruined can usually be saved.
That white or greyish film is called "bloom" — crystallised cocoa butter or sugar rising to the surface, not mould. It happens when chocolate isn't tempered, is cooled too fast, or is stored somewhere warm and damp. It doesn't affect the taste, just the shine; melt (and, if needed, temper) the chocolate again and the bloom disappears.
Ideally use melted chocolate right away, but once it's cooled you can let it set and melt it again later — plain chocolate with no added liquid can go through this more than once. As soon as you've stirred in cream or butter, though, treat it like a ganache or coating: keep it in the fridge and use it up within a few days.
Only oil-based (fat-based) colourings belong in chocolate — water-based and gel colourings will seize it instantly, since they act just like added water. If you want to colour chocolate, use a powder or oil-based colouring made specifically for chocolate and stir it into the melted mass.
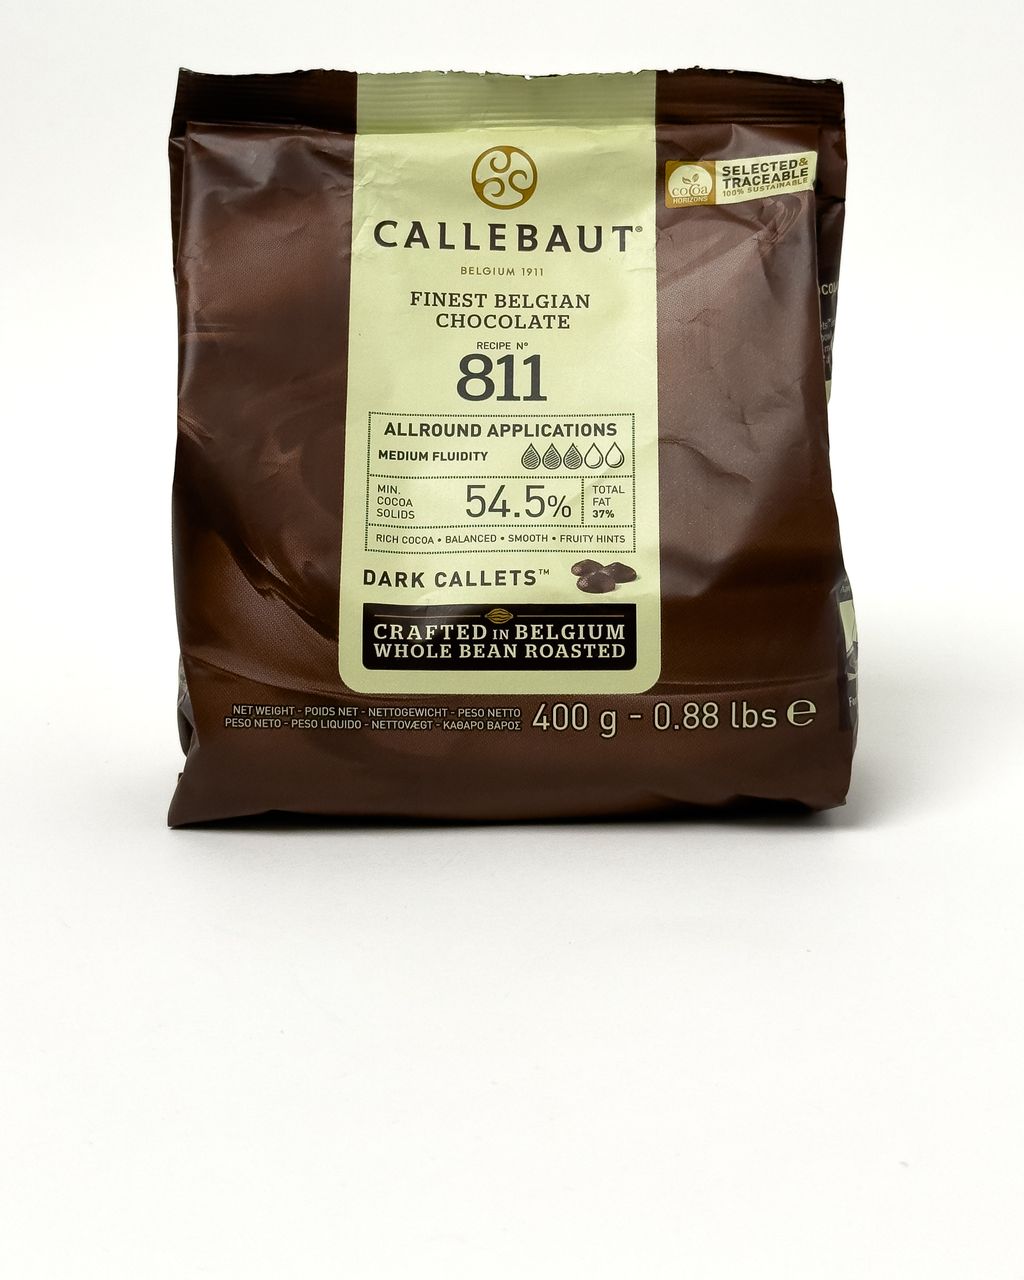
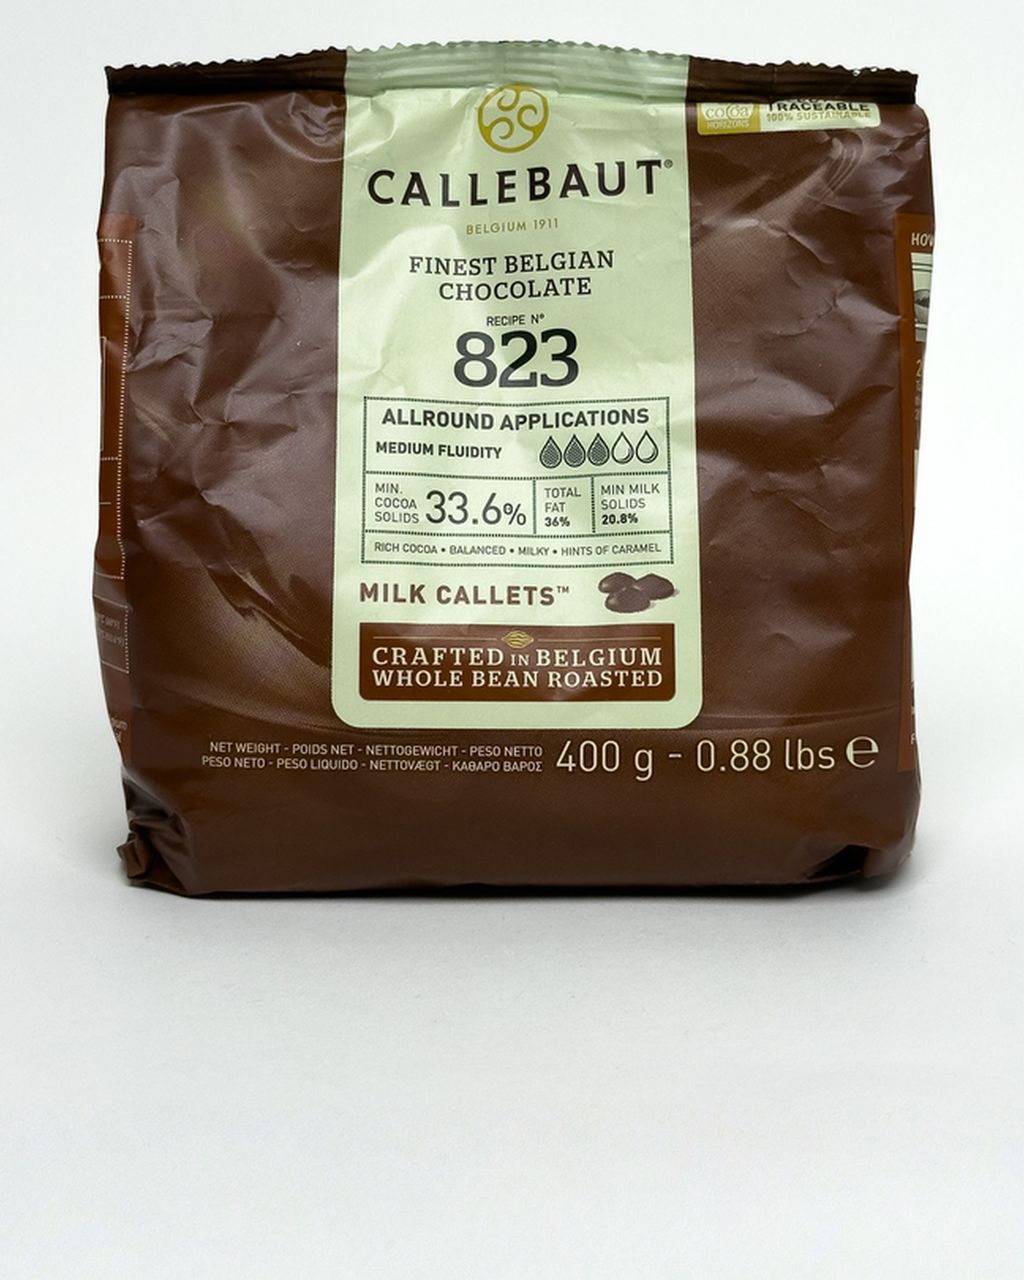
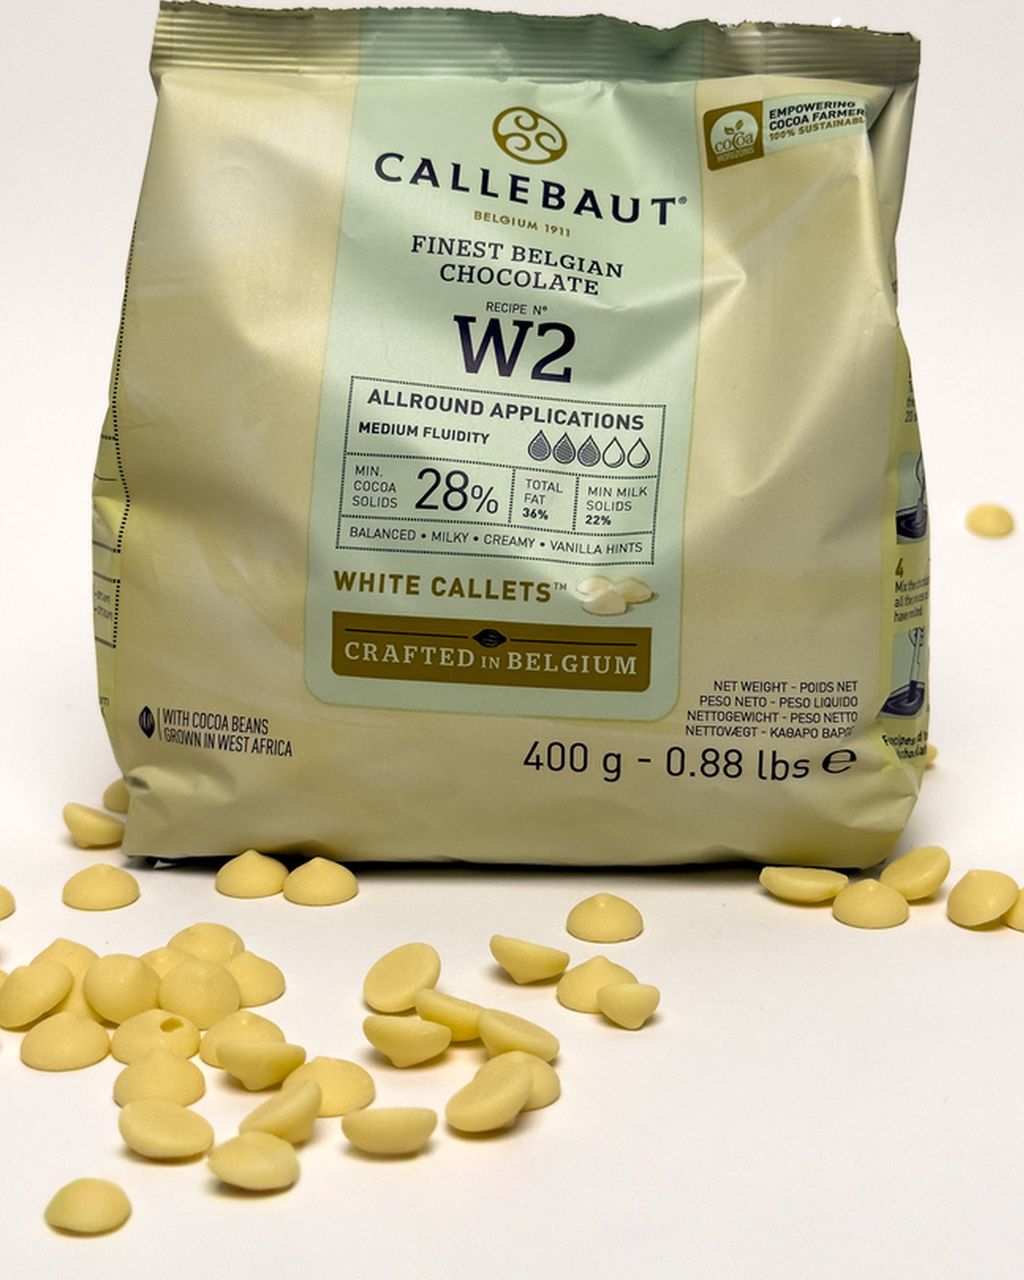
Callets (chocolate buttons) melt more evenly and quickly, since they're all the same size and there's no chopping involved — that's why pastry chefs use them. Bar chocolate works too, just break it into evenly sized pieces first so it all melts at the same rate. Either way, choose real chocolate made with cocoa butter, not a compound coating made with vegetable fat.
It's best to melt at least 80–100 g at a time — a small amount heats up faster than you can react, so it scorches more easily. If you only need a couple of squares, say for decoration, melt them in a small bowl set inside a larger double boiler and take it off the heat as soon as two-thirds has melted; the rest will finish melting from residual heat.
One recipe worth heating the oven for, one tip, and one deal from the shop. Nothing else.