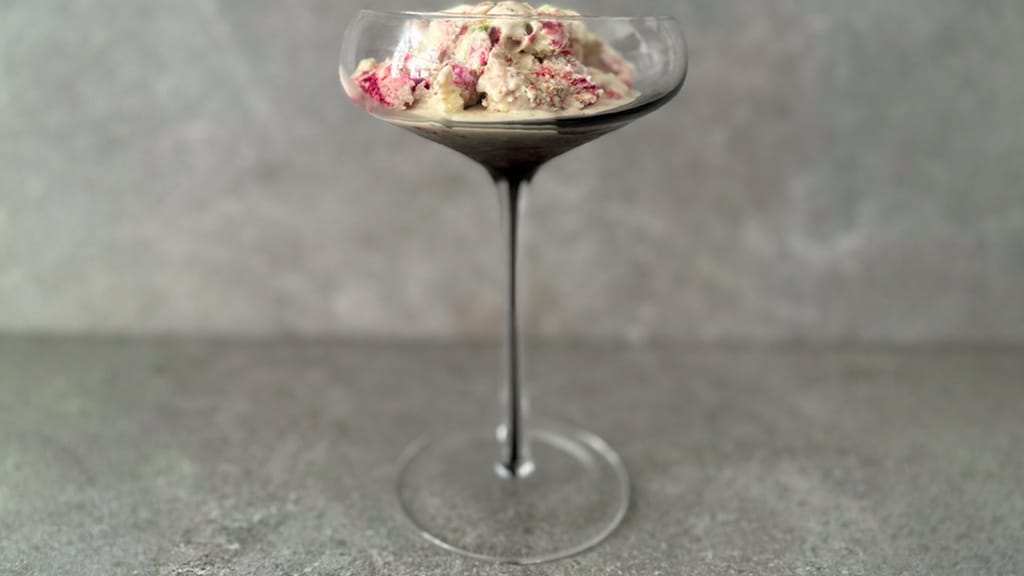
Homemade strawberry ice cream with basil and vanilla
Homemade Ice Cream in an Ice Cream Maker: Ratios, Method and Tricks for a Creamy Texture

Updated Jul 19, 2026
Homemade ice cream made in an ice cream maker really comes down to three things: the ratio of cream to sugar, the temperature of the base, and how fast it freezes. Get those right and you'll end up with ice cream that's properly creamy, scoopable straight from the freezer, and free of icy crunch. This guide walks you through choosing a machine, a foolproof vanilla base recipe, and the tricks that banish ice crystals for good.
Ice cream makers come in two types: self-freezing machines with their own compressor, and cheaper models with a pre-frozen bowl. The main difference is whether you can churn on the spot or need to plan a day ahead.
Self-freezing (compressor) machines – these chill themselves, so you can churn several batches back to back with no waiting around. They churn faster and more evenly, which means a finer texture. Downside: prices start at a few hundred pounds and up, and they're roughly the size of a small stand mixer.
Pre-frozen bowl machines – the bowl needs 12–24 hours in the freezer and must be completely frozen through, or the ice cream won't set. They're cheap and compact, but usually manage only one batch before the bowl warms up.
Choose based on how often you'll churn, how much space you have, and how much you want to spend:
Frequency – churning often and on a whim? A self-freezing model pays off. Just a few times a summer? The bowl version will do fine.
Space – compressor machines can easily weigh over 10 kg and take up serious counter space. With bowl models, factor in permanently sacrificing freezer space instead.
Budget – bowl models cost roughly £30–100, while compressor machines run into several hundred pounds.
Among trusted brands, Cuisinart and Magimix lead the way for compressor machines, while KitchenAid and Bosch are common bowl-style options. Don't buy based on the flavours pictured on the box — what matters is bowl capacity, and for compressor models, cooling power.
Creamy dairy ice cream relies on a simple ratio: roughly 2 parts cream to 1 part milk, sugar at around 15–20% of the liquid weight, and a pinch of salt. Fat and sugar are what make ice cream creamy — it's not luck, it's chemistry.
Fat from the cream coats the ice crystals and, as it churns, whips into a network that traps air — that's where the smoothness comes from. Below about 10% fat, the ice cream starts to turn icy and crunchy.
Sugar lowers the freezing point of the mixture, so it doesn't freeze into a solid block and stays scoopable straight from the freezer. Too little sugar = a rock-hard brick, too much = it won't set at all.
Salt isn't there to make it salty — a pinch simply sharpens the flavour and brings vanilla or fruit forward.
Want a denser, Italian gelato-style texture? Cut back on cream and use more milk. Gelato has less fat and, crucially, much less air churned in, which is why it's denser and tastes more intense.
A vanilla base is a cream-and-milk mixture flavoured with vanilla, and comes in two versions: a cold (cream) base and a cooked custard made with egg yolks. The cold version is simply heated and chilled — quick and fresh. The cooked custard, made with egg yolks, is creamier and more resistant to ice crystals, since the yolk acts as an emulsifier and its proteins slow down ice growth. Once you've nailed a vanilla base, fruit and nut variations are just a matter of stirring things in. For your first attempt, the cold base is all you need:
500 ml whipping cream (31–33% fat)
250 ml full-fat milk
120–150 g sugar (you can swap part of it for glucose syrup — see below)
1 vanilla pod or 1 teaspoon good-quality vanilla extract
a pinch of salt
Heat the cream, milk, sugar, salt and the scraped-out vanilla seeds, stirring until the sugar dissolves — don't let it boil. Cool the mixture and let it rest in the fridge overnight (we'll explain why in the texture section). Then pour it into your chilled ice cream maker and churn for 20–30 minutes until it reaches a soft-serve consistency. Serve straight away, or transfer to a sealed container and let it firm up in the freezer for at least 2–3 hours.
If you're going the custard route, heat the egg yolks with the base gently, stirring constantly, only up to 82°C — beyond that the yolks curdle and start to smell of sulphur.

There are two routes to fruit ice cream: blend fruit into the cream base for a creamy version, or make a dairy-free sorbet from fruit, sugar and water for something fresh and intense. A few rules apply to both:
Push the fruit through a sieve to remove seeds for raspberries or blackberries — otherwise they'll crunch in the finished ice cream.
Balance sweetness and acidity. Strawberries are naturally sweet, so use less sugar. Raspberries are tarter, so add more sugar and finish with a few drops of lemon juice, which brings the fruit flavour forward.
Frozen fruit works just as well as fresh, and often tastes better out of season — let it thaw slightly first so it blends easily.
Fruit means more water, which means more ice. Replace part of the sugar with glucose syrup, or add an extra tablespoon of cream, to keep the sorbet from turning icy.
Homemade strawberry ice cream with basil and vanilla
Homemade strawberry ice cream with basil and vanilla — a refreshing fruity classic from the ice cream maker
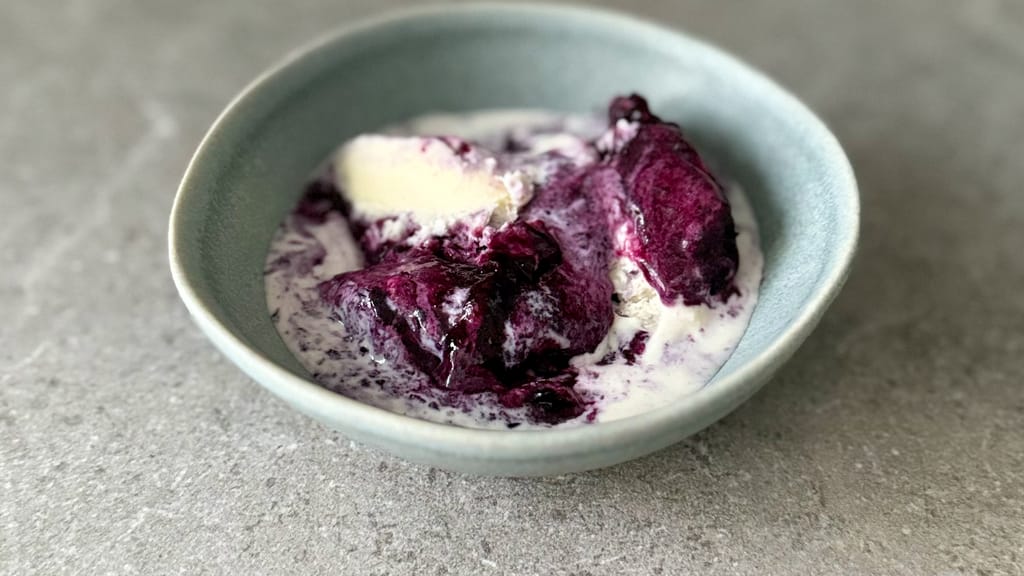
Blueberry ice cream with honey, thyme and vanilla
Blueberry ice cream with honey, thyme and vanilla — another idea for summer fruit ice cream
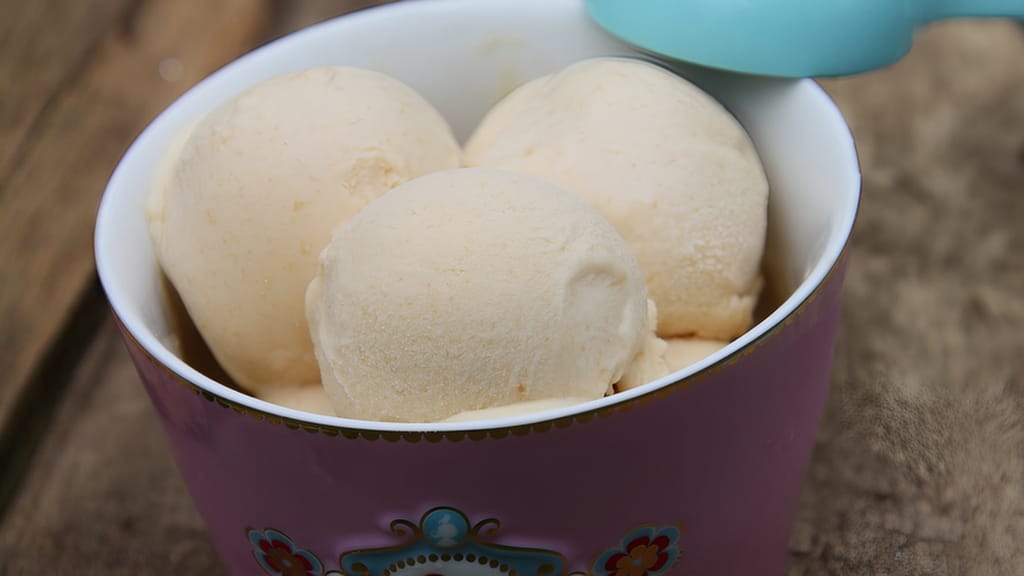
Caramelized peach ice cream
Caramelised peach ice cream — a variation for when you want to move beyond berries
Ice crystals form when a mixture freezes slowly, giving water time to bond into large crystals. So there's really just one secret to smooth ice cream: freeze it fast and put obstacles in water's way. Here are the tricks that actually work:
Let the base rest in the fridge overnight. The fat firms up, proteins and stabilisers fully hydrate, and a cold base churns faster and fluffier in the machine.
Put the coldest possible base into the ice cream maker (ideally around 4°C). The smaller the temperature gap the machine has to overcome, the faster it freezes and the smaller the resulting crystals.
Go for fast, even churning. A compressor machine can do what a bowl-style one can't — freeze the mixture before ice has a chance to grow.
Add a stabiliser. Egg yolk, a tablespoon of glucose or invert syrup, or even a pinch of starch all bind water and keep the structure smooth. A tablespoon of vodka (per two litres) lowers the freezing point and keeps the ice cream softer for longer — but don't add more than that, or it won't set.
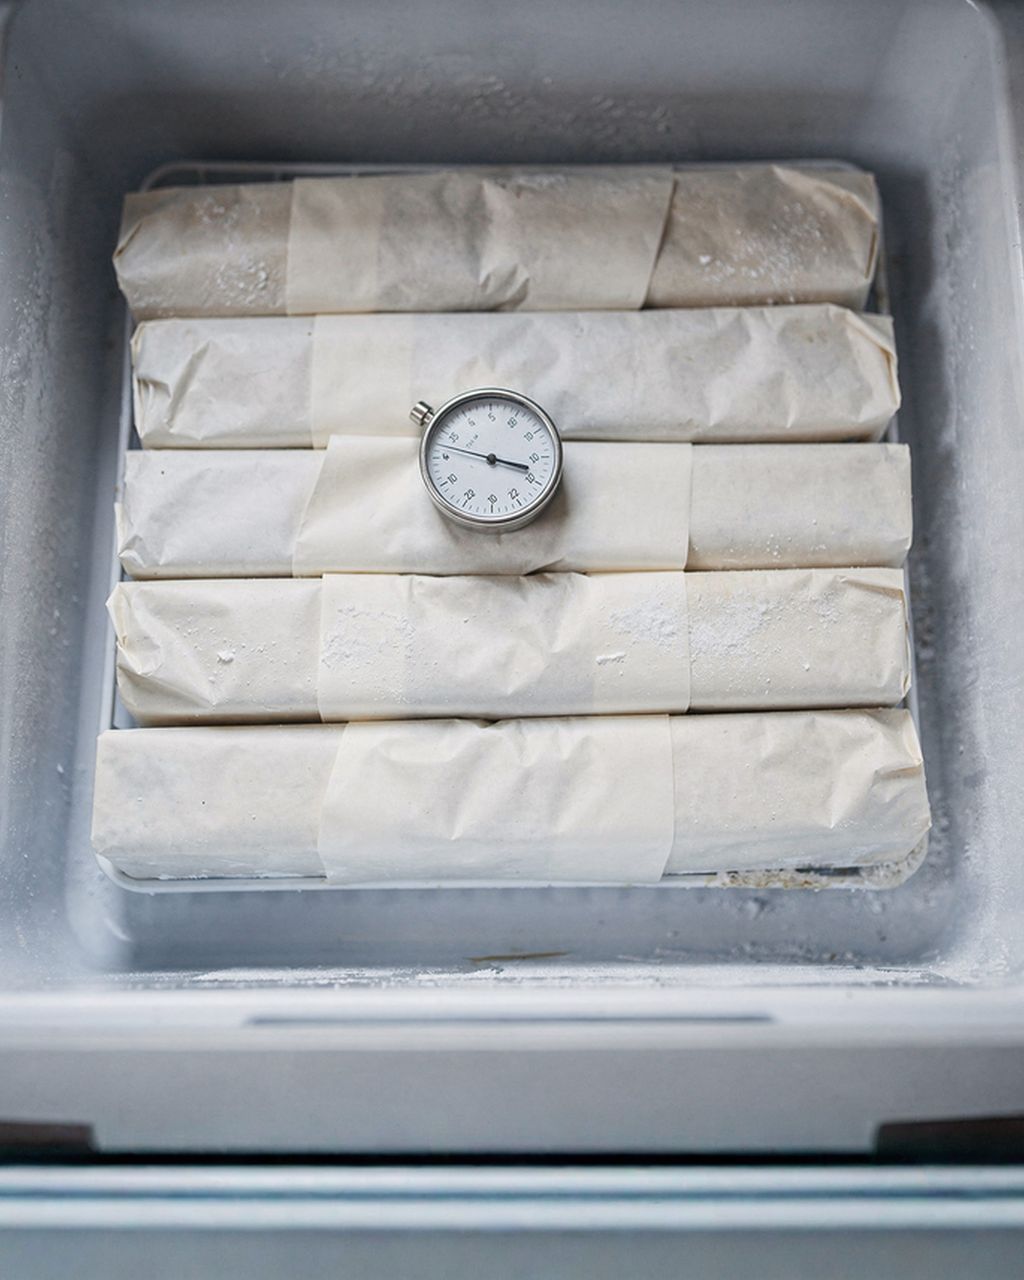
Store at −18°C or below, in a flat, sealed container at the back of the freezer. Press a piece of cling film onto the surface, and avoid opening the freezer constantly — temperature swings only make ice crystals worse.
Let the ice cream sit on the counter for 5–10 minutes before serving so it's properly scoopable again.
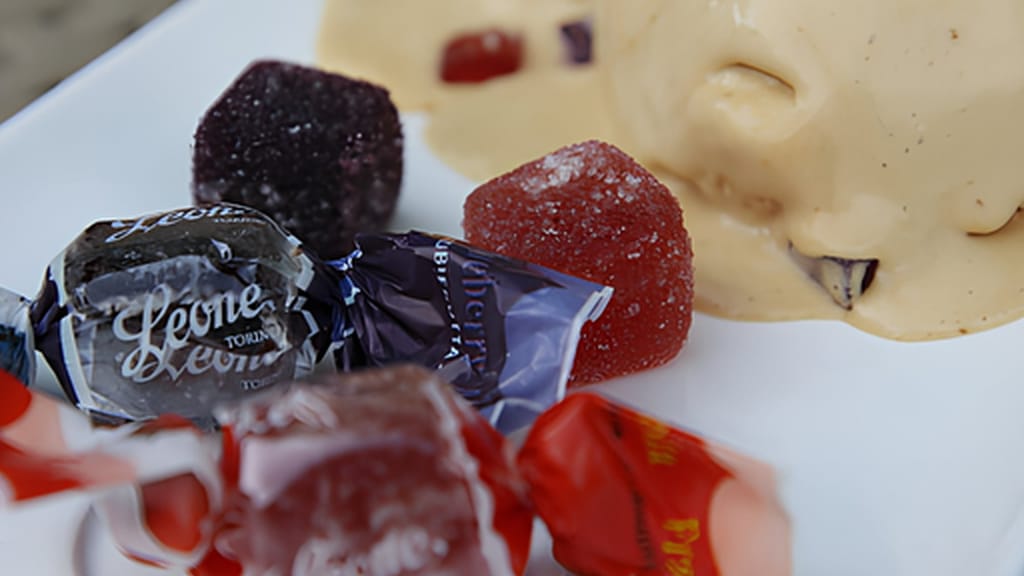
Salted caramel ice cream
Salted caramel ice cream — an example of a rich base that stays silky and creamy
The best flavours come from folding a finished paste or coating into the base, rather than just scattering pieces in at the end. Three approaches that work well:
Nut paste. Blend roasted pistachios or hazelnuts into a smooth paste and stir it into the vanilla base. Hazelnut with dark chocolate makes a homemade gianduja, while pistachio brings a subtly salty elegance.
Chocolate and caramel. Pour melted chocolate into the cold base in a thin stream to create crunchy ribbons (stracciatella). Salted caramel just needs layering with the finished ice cream.
Bold combinations. Hazelnut with orange zest, pistachio with pink pepper, caramel with a pinch of sea salt — a contrast of flavours works better than a single sweet note.
Add roasted nuts or chocolate pieces only in the last few minutes of churning, so they stay crunchy and distribute evenly.
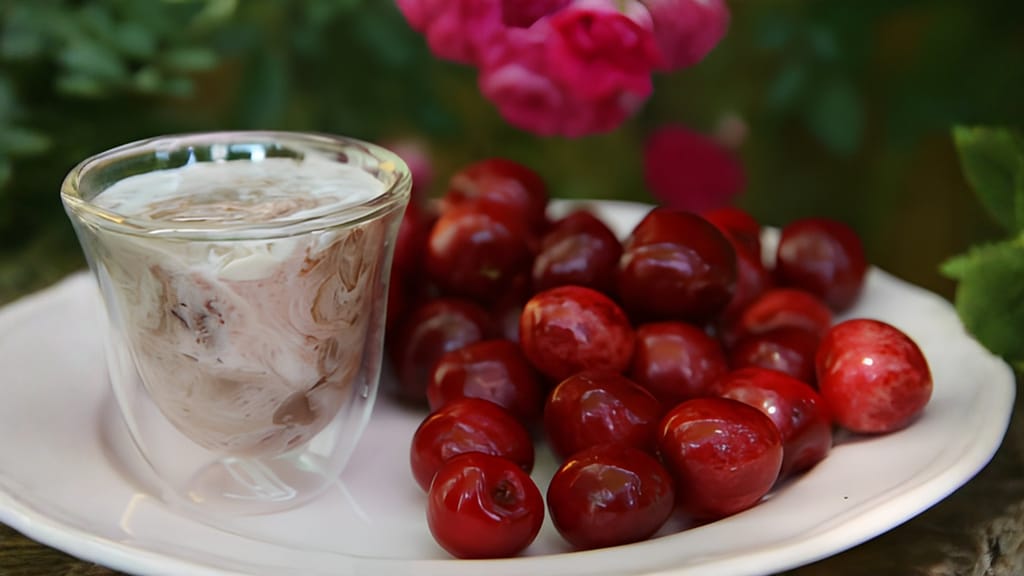
Cherry ice cream with chocolate
Cherry ice cream with chocolate — inspiration for combining fruit and chocolate in one ice cream

Yes, it just takes more effort. Pour the base into a flat container, put it in the freezer, and whisk it thoroughly with a fork or whisk every 30–40 minutes for 3–4 hours. Manual mixing breaks up the growing ice crystals, giving a creamier result. Even better: whip the base first with well-chilled cream, then freeze it.
This usually means there's too little sugar or fat, both of which lower the freezing point. Add a bit more sugar, some glucose syrup, or a tablespoon of alcohol per two litres, and use cream with a higher fat content. Homemade ice cream without commercial stabilisers will also always freeze harder than store-bought — just let it sit on the counter for 5–10 minutes before serving to soften up.
It's best within 1–2 weeks, while the texture is still creamy. Without preservatives it gradually dries out and develops ice crystals, especially if the freezer is opened often. Store it in a flat, sealed container at the back of the freezer, and press a piece of cling film directly onto the surface.
Better not to. Once ice cream melts and is refrozen, the melted water forms large ice crystals and the texture turns coarse and icy. With a base made from fresh eggs, refreezing is also a food safety risk due to bacterial growth. Only scoop out the portion you're going to eat and leave the rest undisturbed in the freezer.
Replace the cream and milk with full-fat coconut milk or a whippable plant-based cream with a higher fat content, and skip the eggs altogether. A tablespoon of glucose syrup, a piece of ripe banana, or some blended cashews will help keep it creamy by thickening the base and softening the texture.
One recipe worth heating the oven for, one tip, and one deal from the shop. Nothing else.