At a glance
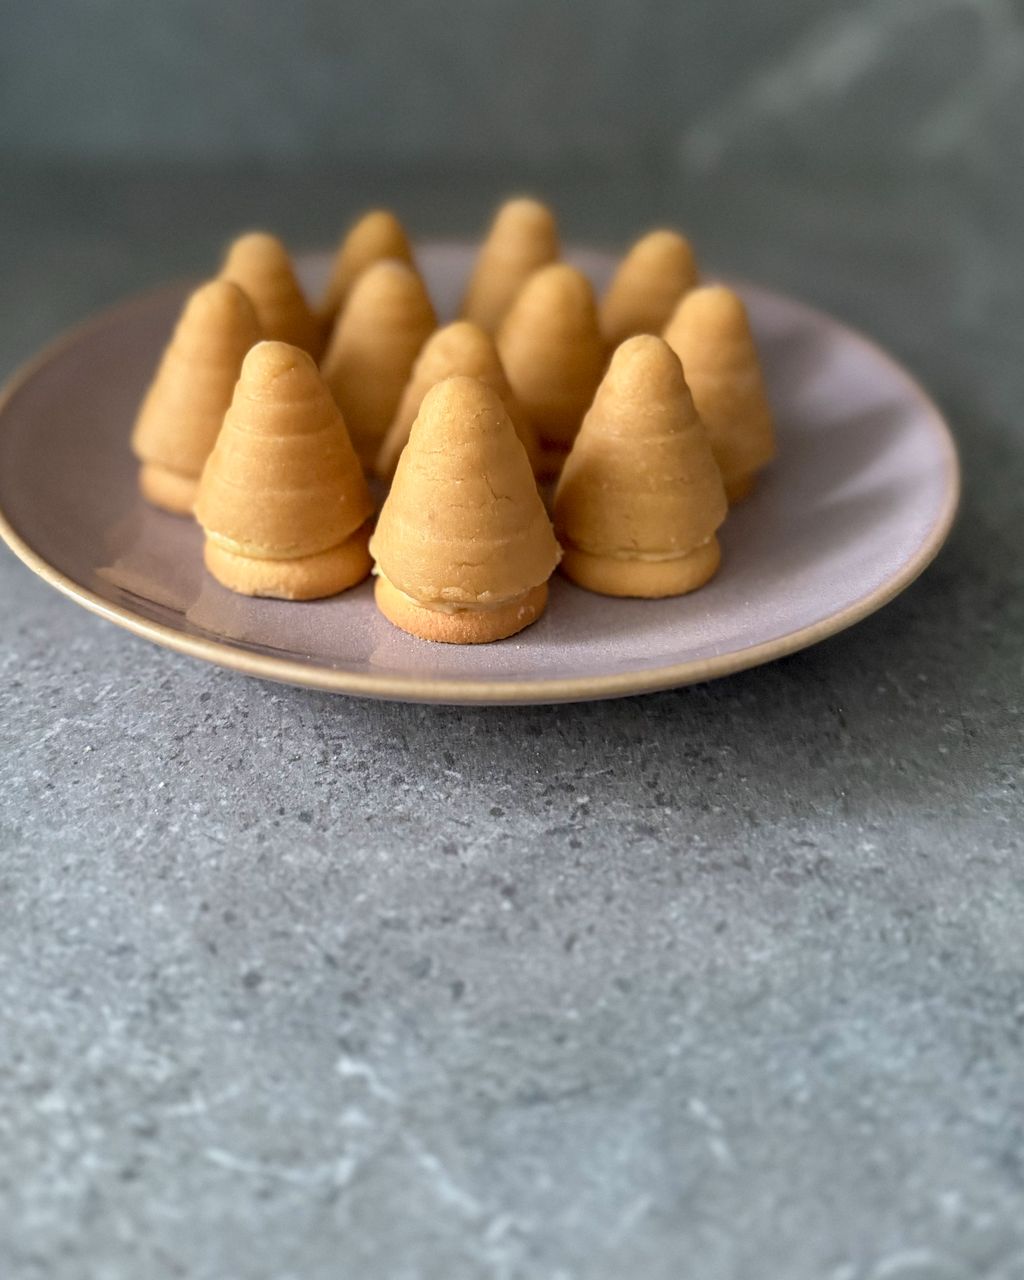
You're about to create an heirloom cookie that's easier than it looks — the key is hand-kneading the dough just right and keeping it chilled so those nests hold their shape beautifully. The real magic happens with the rum cream filling and a surprise pinch of salt that brings out the cocoa like grandma always knew, taking about an hour from start to finish.
1/6
Making the dry base
The secret to success is finely ground sponge biscuits. In a large bowl, mix them with sugar, sifted cocoa, and — most importantly — a pinch of salt. That's what brings out the cocoa flavour and gives the dough that proper grandma-style edge.
For this step
0/42/6
Bringing the dough together
Add the softened butter, rum and milk to the dry mixture. Now comes the most important part — knead it by hand into a smooth, firm dough. Give it a little time so the flavours come together. If the mixture seems too crumbly, the warmth of your hands will soften the butter and help everything bind.
For this step
0/33/6
Resting in the fridge
Wrap the finished dough in plastic film and let it rest in the fridge for 10 to 15 minutes. Don't leave it too long, though, or it will get too firm. This step ensures the nests will shape beautifully and won't stick.
How it went
Nobody has tried this recipe yet
Be the first to say how it went.
Anyone can answer, without signing in or buying. Answers aren't verified. The percentage is the share of “Worked out” answers, shown from 5 answers.
Grandma's Traditional Wasp's Nest Cookies with Rum Cream
everydaybyyumstoIngredients — what you'll need
You only need 9 ingredients
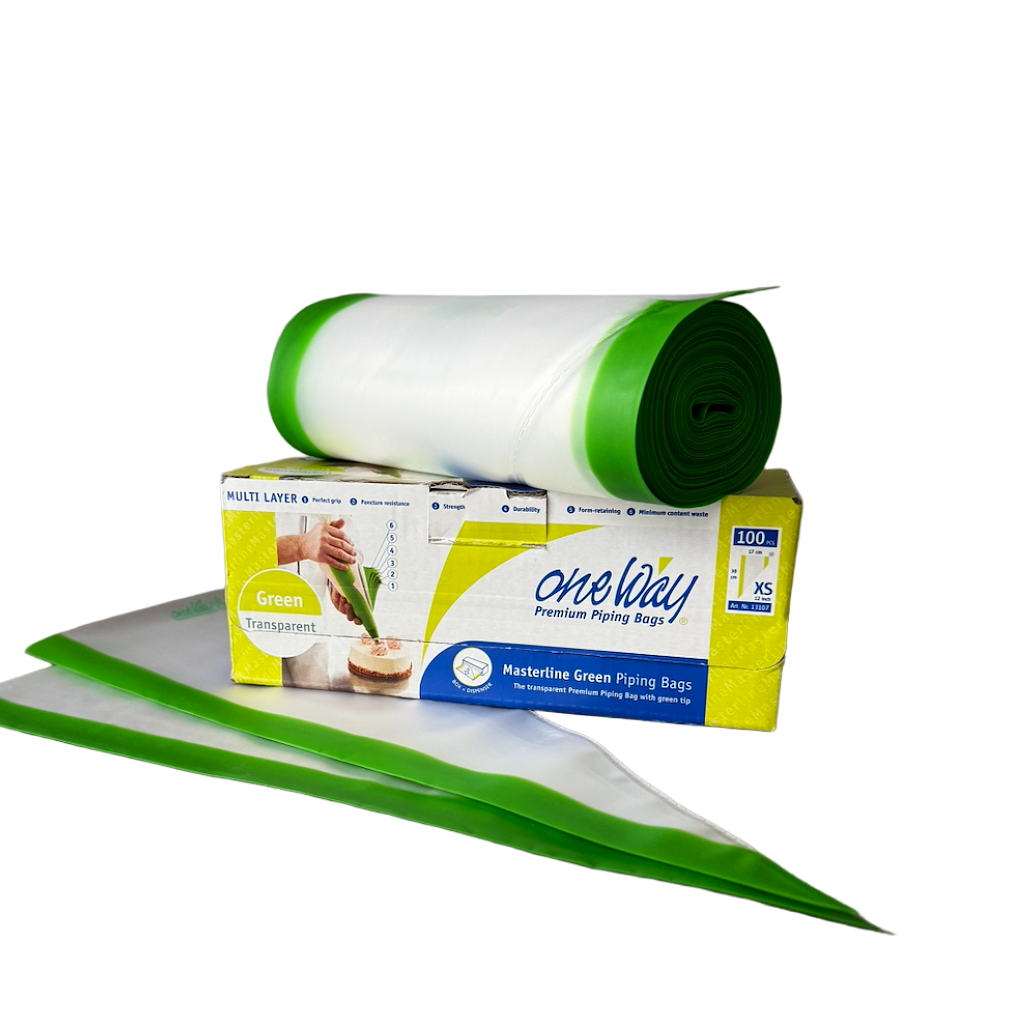
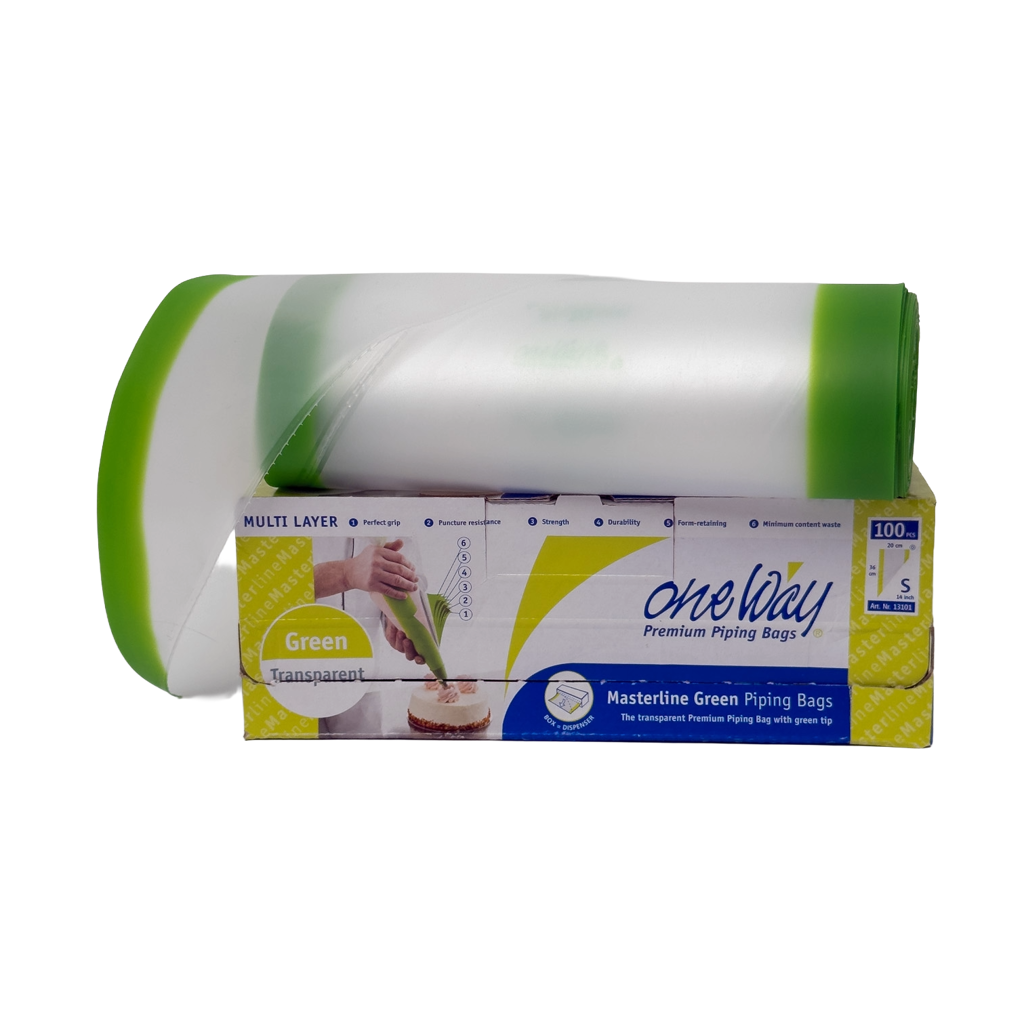
Equipment
What you'll need besides the ingredients.
What's in it?
99 kcal
Calories
13 g
Carbohydrates
4 g
Fats
1 g
Proteins
The nutritional information is an estimate and may vary based on the specific ingredients used.
About this recipe
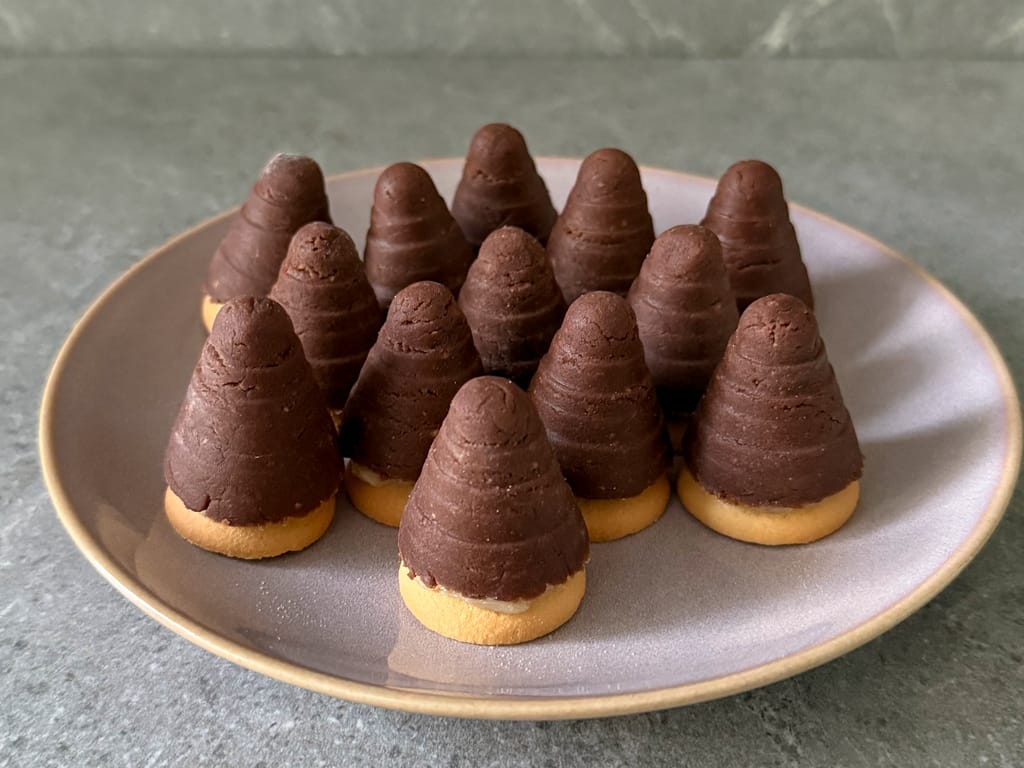
Looking for that one honest recipe that tastes exactly the way you remember it from your grandmother's kitchen? Here it is. No modern shortcuts — just real butter, fragrant rum and cocoa. These wasp's nests are a finely tuned classic: we've worked out the dough so it's easy to handle, doesn't stick and doesn't crack, while the flavour stays 100% true to tradition. We've even added grandma's secret trick — a pinch of salt that brings out the cocoa flavour perfectly. If fiddly recipes usually put you off, don't worry — with this guide you'll whip up the best cookies on the plate with complete confidence. Time to fill your kitchen with the smell of Christmas!
Tips from the Yumsto kitchen
Why it works
The dough isn't baked – the butter holds it together and firms up in the fridge. Finely ground sponge fingers bind with it into a smooth mass that you can press into a mold and tap back out. A short chill is enough to stop it sticking; any longer and it hardens and cracks when shaped. The whole sponge finger at the base firms up the nest and softens as it rests.
Tips
Grind the sponge fingers really finely, ideally in a blender – coarse bits make the dough crumbly. If the dough won't come together, add milk a teaspoon at a time. If it starts sticking, chill it for a few more minutes. Dust the mold with icing sugar again before each nest. For the cream, have both butter and rum at room temperature and beat the rum in gradually, or the cream may split.
Swaps and allergens
Standard sponge fingers contain wheat flour, so these nests aren't gluten-free. If you're baking for someone with coeliac disease, use sponge fingers labeled gluten-free and check the cocoa and vanilla sugar too. The rum isn't cooked, so the alcohol stays in, which means these nests aren't for children or during pregnancy. For an alcohol-free version, replace the rum in the dough with the same amount of milk and a few drops of alcohol-free rum flavoring (check the label). In the cream, leave the rum out and add only the flavoring. Eat that version within 3 days.
Storage
Store the nests in a sealed container, layers separated with parchment paper, in the fridge. As the recipe says, they soften and the flavors meld after a few days. Because of the butter cream and the milk in the dough, eat them within about 7 days. They freeze for up to 2 months; thaw them in the fridge.
Common questions
Why do my nests crack?
The dough is either too dry or too cold. Add a teaspoon of milk and warm it briefly in your hands.
Can I make them without molds?
Yes – roll a ball of dough, press a hollow with your thumb and pinch up the sides. They'll look less uniform but taste the same.
How many nests does the recipe make?
About 15, depending on mold size – each nest gets one whole sponge finger as its base.
How far ahead can I make them?
Three or four days before Christmas is ideal; resting does them good. Keep them in the fridge.
Want a recipe like this every Thursday?
One recipe worth heating the oven for, and one tip that saves you time. Nothing else.