Piping Bags 36x20 cm, 100-Pack
Piping Bag Substitutes: Freezer Bags, Parchment Cones and When They Fall Short
Updated Oct 17, 2026
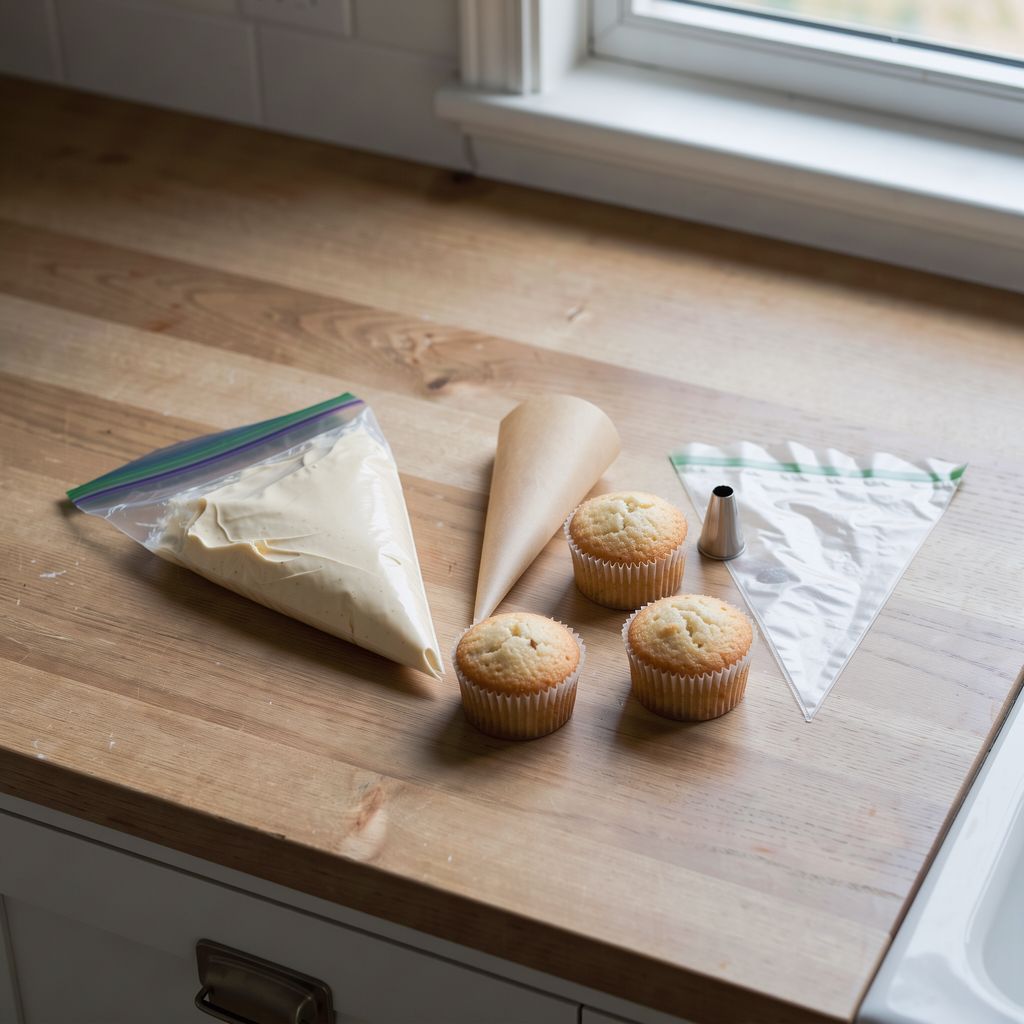
What can you use instead of a piping bag? Your best bets are a sturdy zip-top freezer bag with a corner snipped off, or a cone rolled from parchment paper. The bag handles cupcake frosting, whipped cream and smooth swirls. The cone is best for thin lines, writing and melted chocolate. Both have their limits, though: you won't get stiff buttercream or sharp ridged rosettes out of either. Here's what each substitute can do, how to set it up, and when it's worth buying a real piping bag with a tip.
You can replace a piping bag with a sturdy zip-top bag or a parchment paper cone – the bag for frosting and whipped cream, the cone for thin lines, writing and chocolate.
Zip-top freezer bag – cupcake frosting, whipped cream, filling cream puffs, smooth dollops and thick lines. With a tip fitted, it can even handle simple designs.
Parchment paper cone – thin lines, writing, dots, decorating gingerbread cookies, melted chocolate. Small volume, great precision.
Where both substitutes hit their limits: large amounts of stiff buttercream, sharply ridged rosettes without a tip, and long decorating sessions where the frosting softens from the heat of your hand.
If you have neither a bag nor parchment, take a look at ways to decorate a cake without piping tips – that's decorating with a spoon, a spatula and sprinkles.
A plastic bag works as a piping bag if it's thick and has a zip – ideally a 1–3 l freezer bag. A thin sandwich bag or a roll bag from the bakery section stretches under pressure and bursts at the seam, usually right in the middle of decorating your cake.
How to do it:
Stand the bag in a tall glass and fold the edges over the rim. You can fill it with both hands and keep things tidy.
Fill it no more than two-thirds full. An overfilled bag is hard to hold, and frosting squeezes out through the zip.
Push the frosting down into one corner, close the zip and twist the top of the bag so no air is left inside.
Snip off the corner. Start with a small opening – you can always make it bigger, but never smaller.
How much to cut: 2–3 mm for lines and writing, 5–8 mm for dots and dollops, 1–1.5 cm for filling and smooth cupcake swirls. Cut straight, at a right angle to the seam – a slanted cut gives a crooked, ragged line.
Yes: snip off the corner of a zip-top bag and push the piping tip in from the inside so that it sticks out by about half its height. For standard tips that means an opening of around 1 cm, and you insert the tip before you fill the bag.
There are two weak spots. The plastic around the tip has no reinforced edge, so under strong pressure it tears upward from the cut. And the seams of zip-top bags aren't made to withstand stiff frosting – with buttercream or firm ganache they'll last for a cupcake or two, not a whole tray. For whipped cream and softer mascarpone or quark-based frostings, though, it works well.
A parchment cone is the most precise substitute for fine decorating – thin lines, writing, dots and melted chocolate. Pastry chefs use it even when their drawers are full of piping bags, because you can draw a thin line without buying the smallest round tips, and you simply throw it away afterwards.
How to roll it:
Cut a square of parchment paper about 30 × 30 cm (12 × 12 in) and cut it diagonally into two triangles.
Hold a triangle with its longest side facing you. The middle of this side will be the tip of the cone.
Roll one sharp corner inward to the right angle, then wrap the other corner all the way around until all three corners meet at the top and the tip at the bottom is completely closed.
Fold the protruding corners at the top inward twice so the cone can't unroll.
Fill it only halfway (a few spoonfuls), fold the top edge over and roll it down.
Cut the tip only after filling, at first by 1–2 mm.
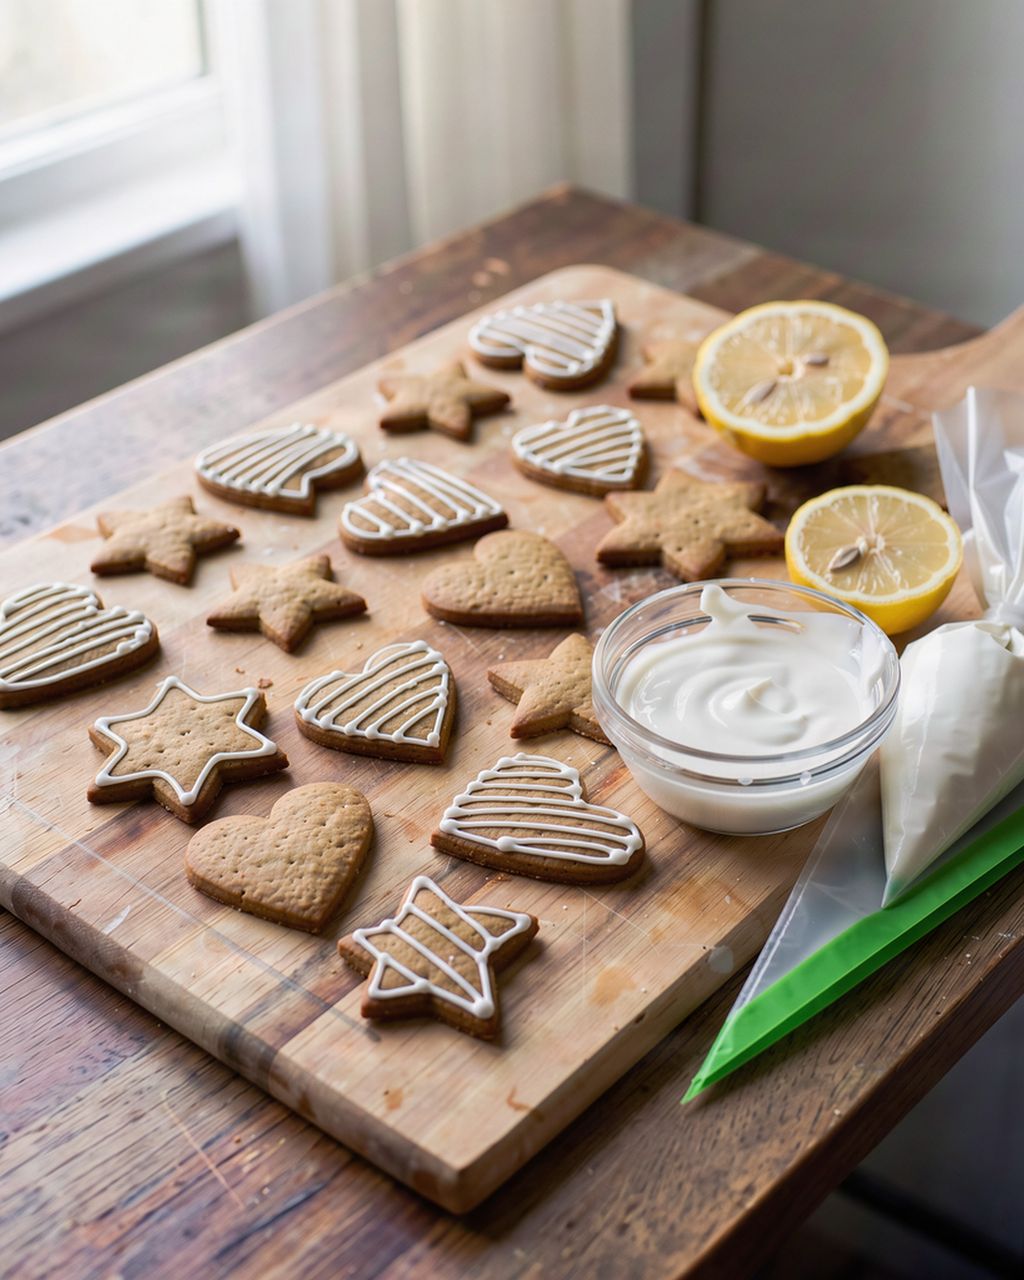
The cone works best with thinner mixtures: royal icing for gingerbread cookies, melted chocolate, runny caramel or fruit glaze. It's the ideal tool for honey gingerbread cookies – put one colour in each cone and roll a new one for the next colour. For the right icing consistency and how to draw patterns with it, see our article on decorating gingerbread cookies step by step.
A parchment cone can't handle large amounts or stiff mixtures. Paper doesn't stretch, so under strong pressure it comes apart at the seam or splits at the tip. Don't put cupcake buttercream in it – you'll only fit enough for one cupcake, and your hand will ache before you finish.
The second weakness is heat. Melted chocolate gradually sets in the cone, so work quickly and in small batches. Paper also eventually soaks up the fat from frosting and goes soft.
Without a tip you can only make an approximate star or leaf – with a V-shaped cut. Snip the folded corner of the bag (a freezer bag or a cone) with two slanted cuts so you get a point like a bird's beak. The frosting comes out with two edges: that's enough for leaves next to marzipan flowers or for a simple ridged border.
You won't get a full rosette with continuous ridges, like the ones you know from a bakery. The ridges come from the teeth of a tip, which split the frosting into many thin strips as you squeeze – two cuts in plastic can't replace that. On top of that, frosting comes out of a soft cut unevenly, because the opening stretches under pressure.
A substitute stops being enough in four situations: when you're decorating more than a few pieces, when you're working with stiff frosting, when you want a specific pattern, and when you're decorating for a long time and the frosting softens in your hand.
More than 6–12 cupcakes or a whole cake. A zip-top bag stretches after a few pieces and the seams give way, and you have to keep refilling a cone. A real piping bag is sturdier and can be refilled without the risk.
Buttercream, ganache, stiff meringue. The stiffer the mixture, the harder you squeeze – and the sooner the plastic or paper gives out.
Rosettes, flowers, pearls. The tip makes these, not the bag. Without one you get a smooth dollop.
Hands and heat. A real piping bag is longer, so you hold it by the twisted top and your palm warms the frosting less than with a small zip-top bag. The frosting softens more slowly and the pattern holds its shape.
To start with, a pack of disposable bags and two tips are enough: one round and one star. With these you'll cover most home decorating.
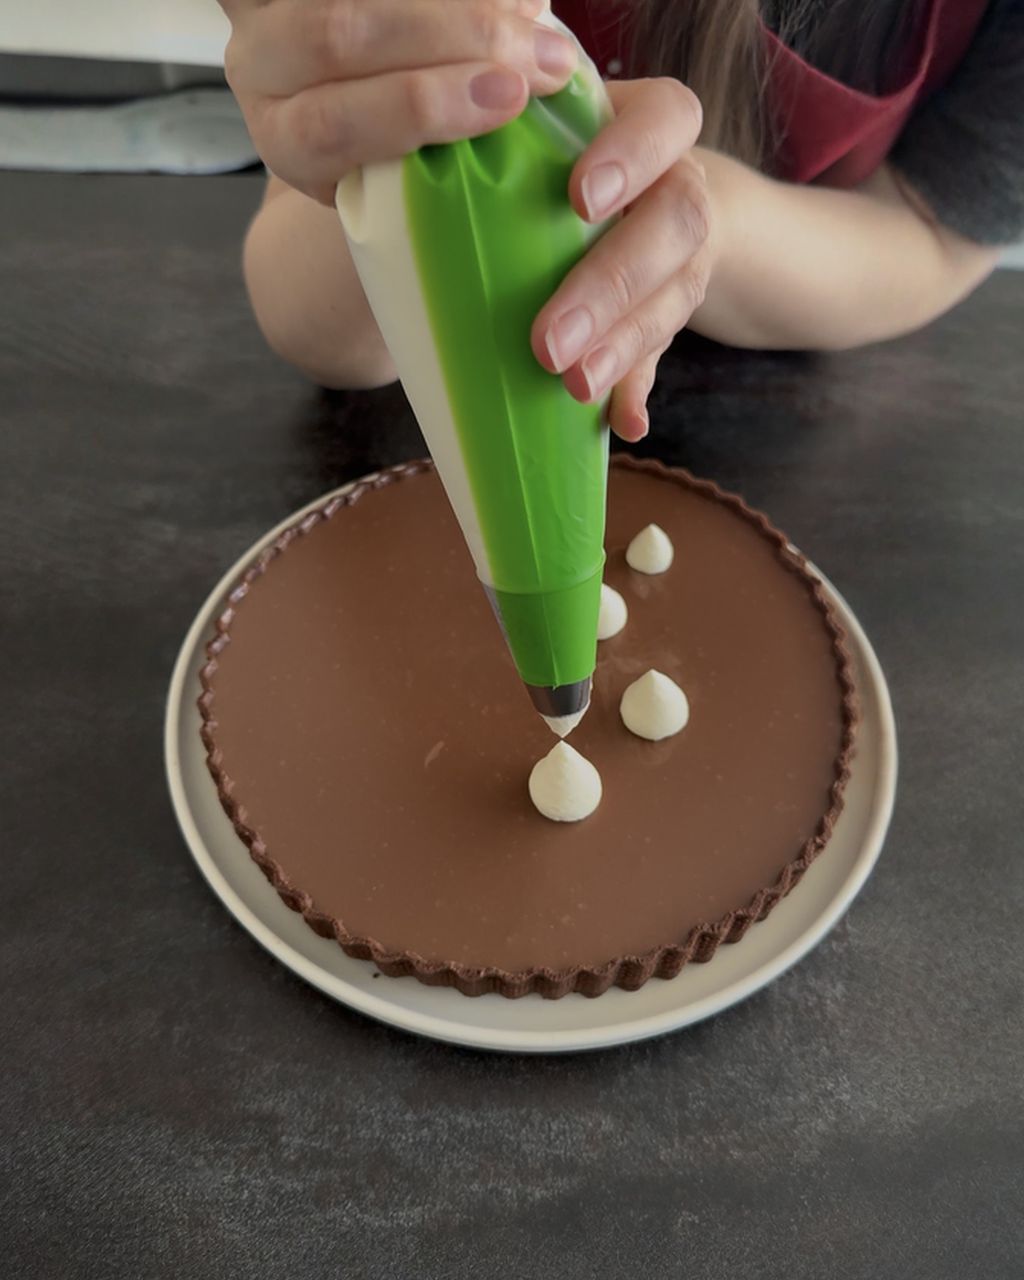
Disposable piping bags. Piping bags 36×20 cm (100 pcs) are long enough to hold frosting for a batch of cupcakes, and the seams stand up to the pressure of stiff frosting. Use one bag per colour, throw it away after decorating and there's nothing to wash.
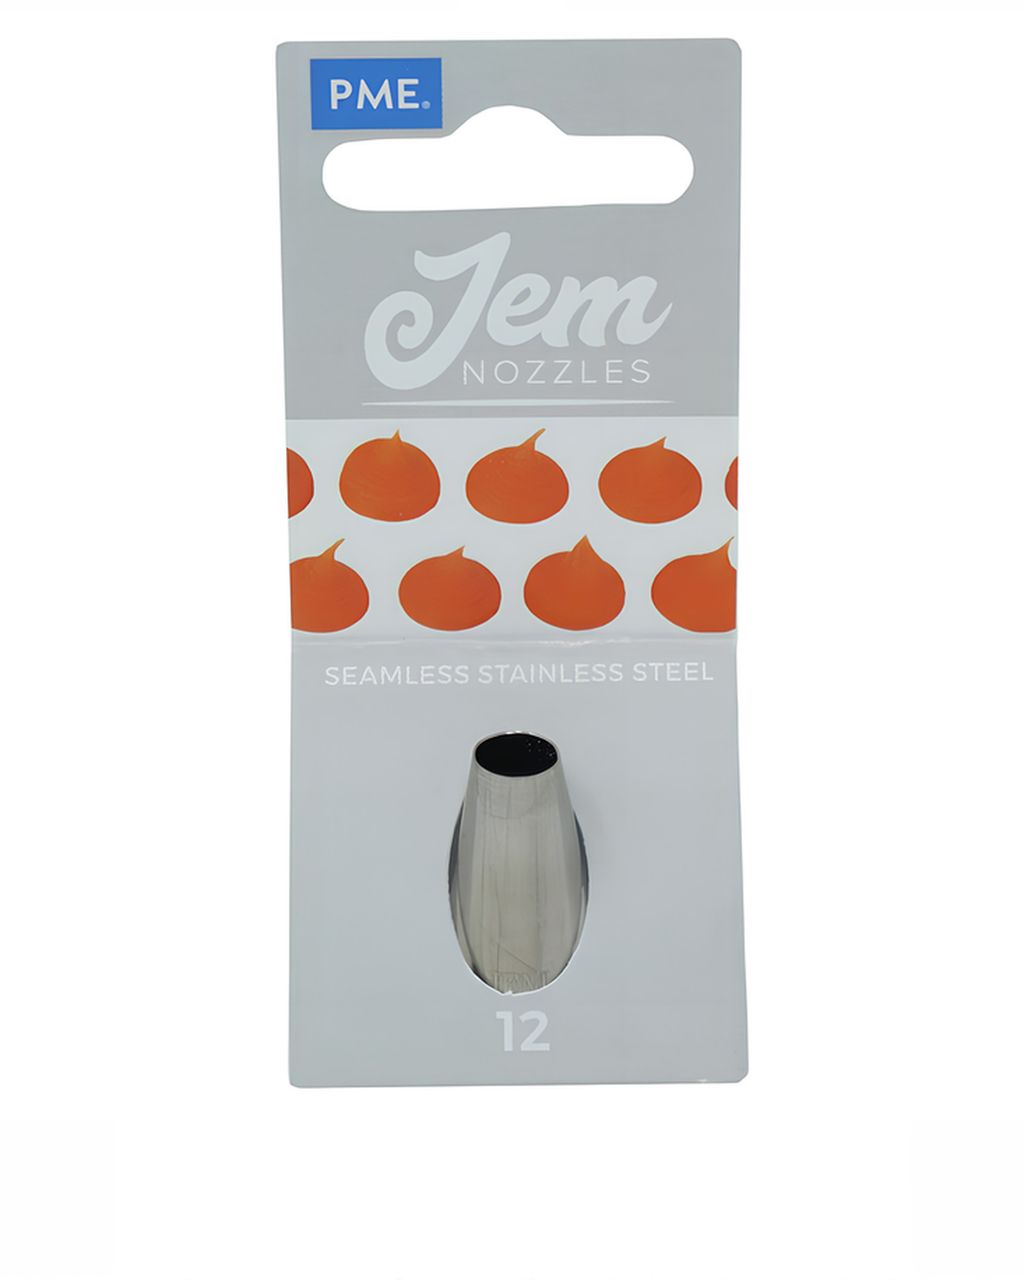
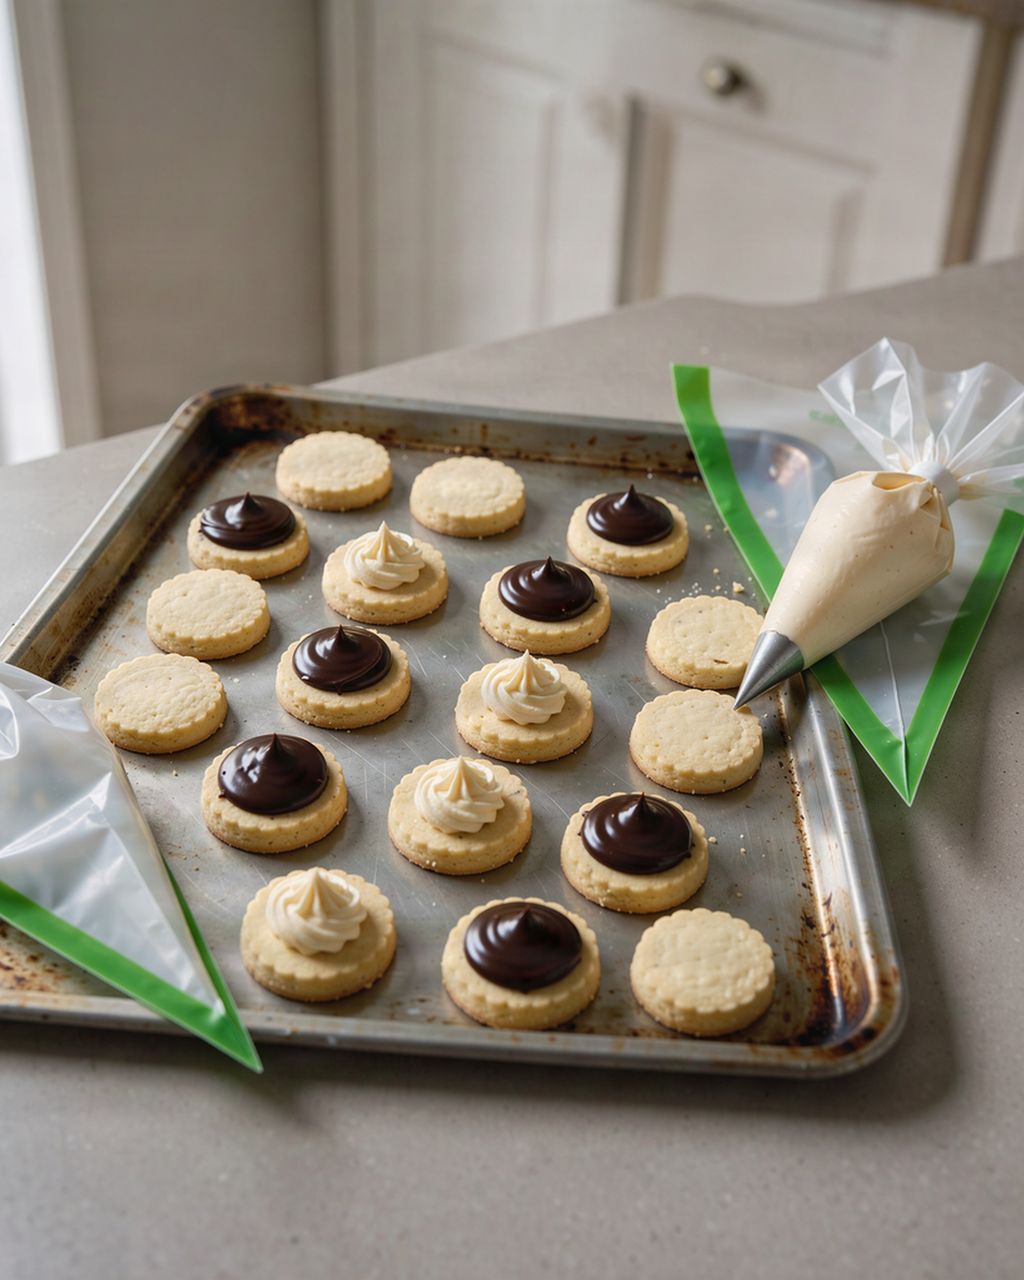
Round tip for writing, dots and pearls. The JEM Round #12 tip has a medium round opening (7.6 mm according to the manufacturer): writing on a cake, pearls around the edge, dollops of cream on macarons with vanilla and chocolate filling and smooth swirls on cupcakes. It's what a snipped bag corner does too – only the same every time and with a clean edge.
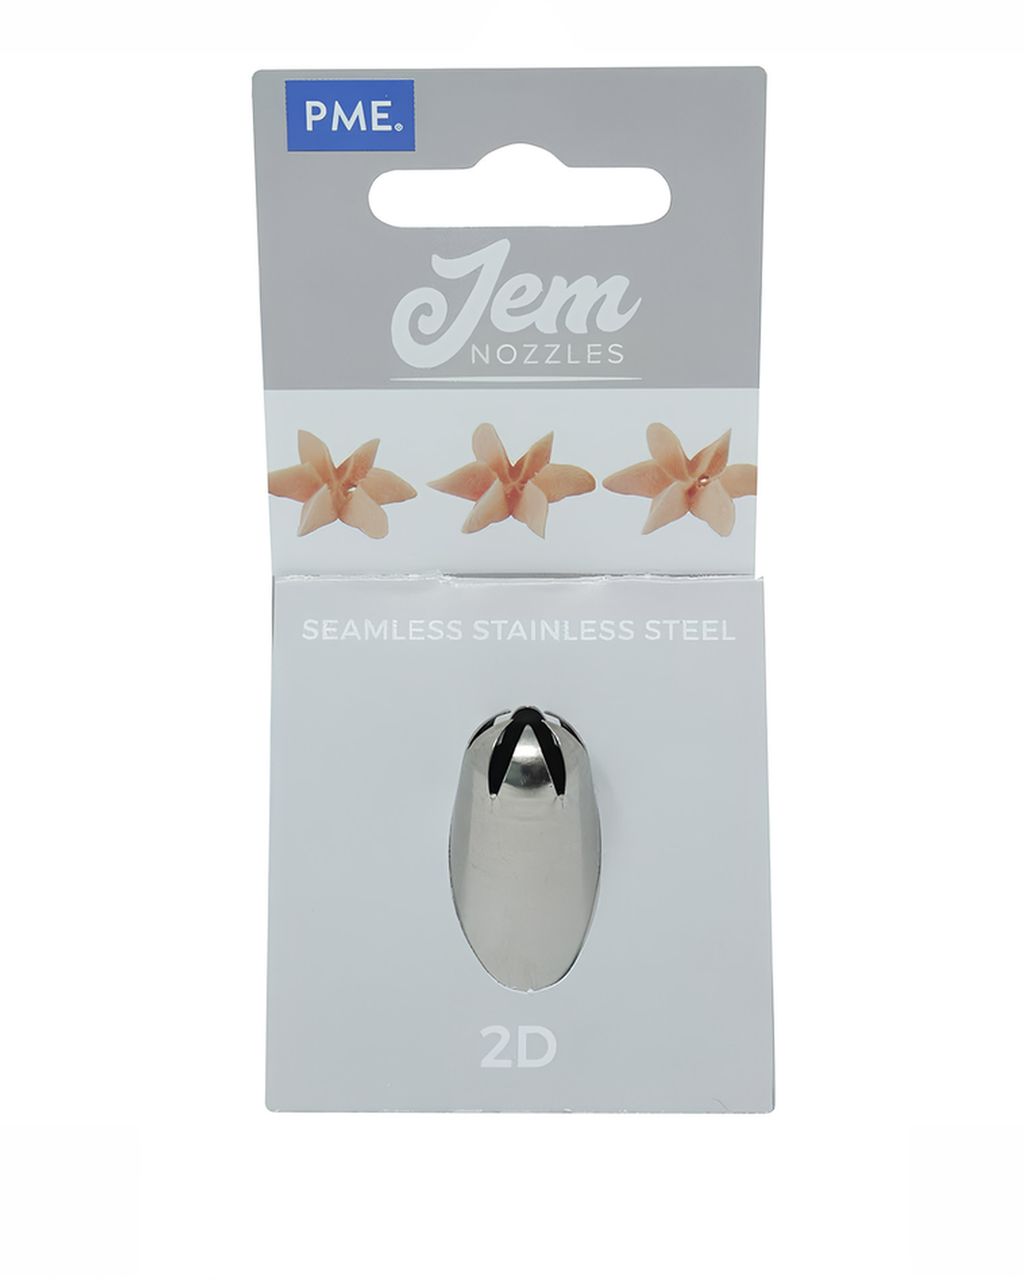
Star tip for rosettes. The JEM Drop Flower #2D tip with an opening of about 1.4 cm does exactly what can't be done without a tip: full flowers and bakery-style rosettes. Try it on chocolate cupcakes with caramel frosting – one swirl from the centre outward and you're done.
Something we don't sell but is worth mentioning: a reusable cloth or silicone piping bag. It's more eco-friendly and lasts for years, but it has to be washed and dried thoroughly after each use, the fat from buttercream is hard to get out of it, and for several colours at once you need several bags. For occasional home decorating, disposable bags are more practical; for everyday baking, a cloth bag pays off. You'll find more bags, tips and couplers in the piping bags and tips section.
Large tips like the Drop Flower #2D need a large coupler. A standard coupler only suits smaller tips, such as a round #12. If you don't have a coupler, drop the large tip into the bag from the inside and cut the bag's point so the tip sticks out by about half. A coupler is worth having if you want to swap tips on one bag of frosting while you decorate.
Yes, you can put a sealed bag of frosting in the fridge. Buttercream keeps there for about 2–3 days, whipped cream frosting only until the next day. Before piping, leave the bag at room temperature for about an hour and knead the frosting with your hands so it softens and pipes evenly.
Yes, just let the chocolate cool to about 30–32 °C (86–90 °F) before pouring it into the bag. Hot chocolate softens thin plastic, which can then stretch or leak. For fine chocolate lines, though, a parchment cone is more precise.
Foil also works as a cone, but it's less flexible, tears easily and the tip is hard to cut. Otherwise you're left with a spoon and a spatula – you'll find more ideas in our article on decorating a cake without piping tips.
You can, but it's not really worth it. A disposable bag is made for a single use, and you simply throw it away after decorating. You can rinse it out with warm water and dish soap after thin icing, but buttercream or ganache is hard to wash out, and a weakened seam may give way the next time you pipe. If you want a bag you can use again and again, get a cloth or silicone one.
One recipe worth heating the oven for, one tip, and one deal from the shop. Nothing else.