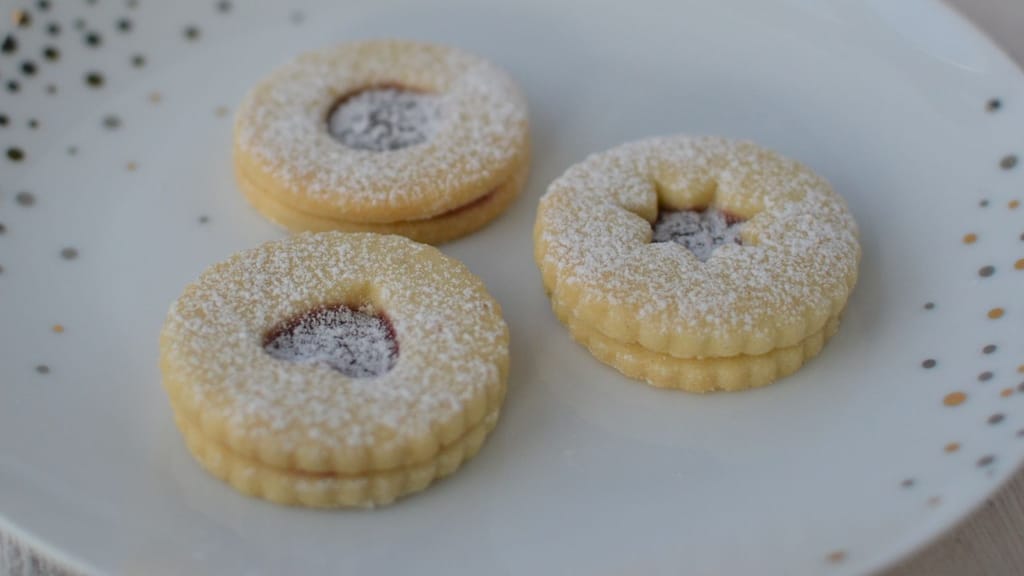
Classic christmas cookies: delicate linzer cookies
How to Roll Out Dough to an Even Thickness
Updated Sep 25, 2026
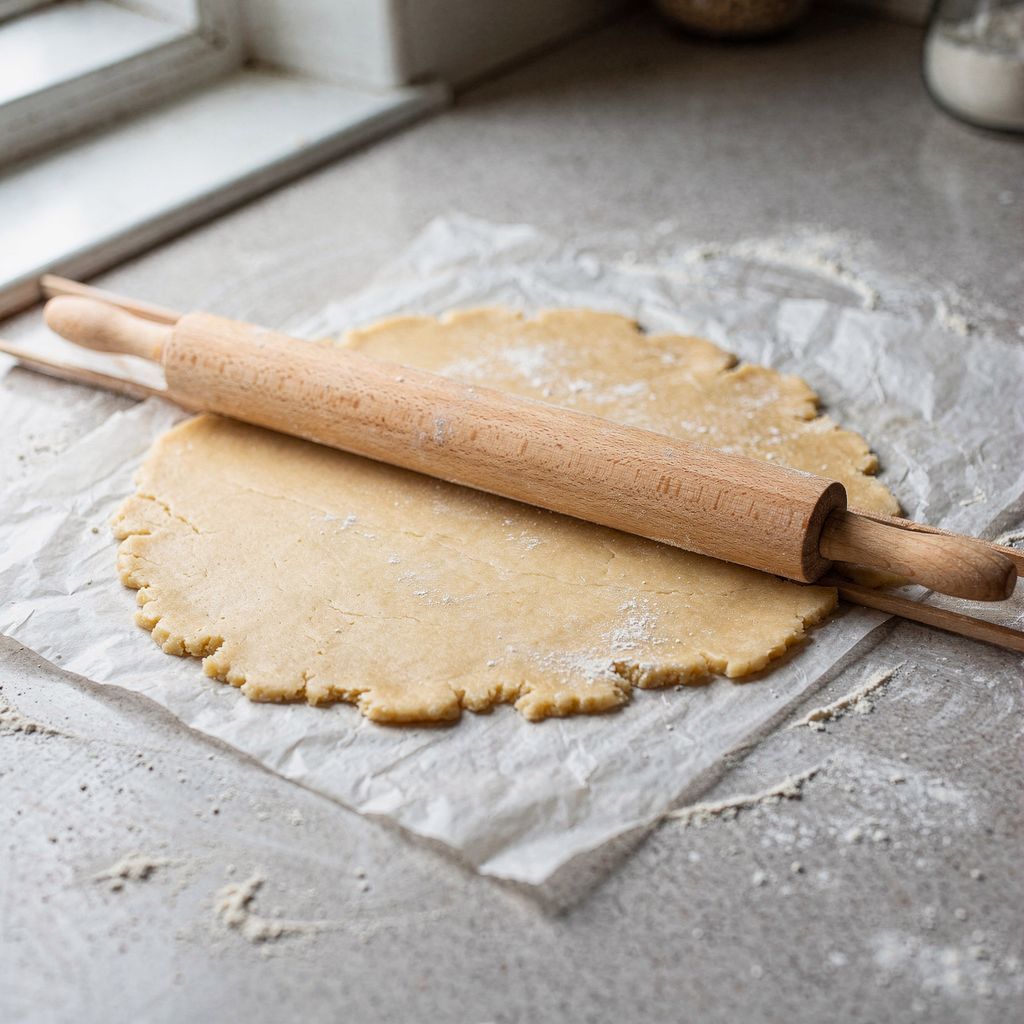
The most reliable way to roll dough to an even thickness is to use guides: place two strips of equal height (or rolling pin rings) alongside the dough and roll until the pin rests on them. After that, all you need to watch is keeping the dough cold and rolling it between two sheets of baking paper. Even thickness isn't just for looks — it decides whether the whole tray bakes evenly, or whether you end up with burnt edges and a raw centre.
An even thickness is what makes every piece bake in the same amount of time. A thinner piece will be done several minutes before a thicker one — and with delicate cookies, those are exactly the minutes that separate golden from burnt.
Even colour: the whole tray finishes at once, so you don't have to pull pieces out one by one.
Consistent texture: thin pieces turn crisp while thick ones stay soft. You don't want both on the same tray.
Sandwiched cookies hold together: with linzer cookies, two equally thick rounds line up perfectly, with no crumbling or overhang.
The shape stays true: unevenly rolled dough warps in the oven, and the thinner edges bake into ripples.
In short: flatten the dough into a disc, chill it, place it between two sheets of paper, set up your guides, and roll from the centre outward, turning as you go.
Flatten the dough first. Before putting the dough in the fridge, shape it into a disc about 2–3 cm thick, not a ball. A disc rolls out evenly, while a ball always ends up an irregular shape with a thick centre.
Chill it, but don't freeze it. Let butter-based dough (linzer, sablé) chill in the fridge for 30–60 minutes. It should be firm but not rock-hard — when you press it with your thumb, it should give slightly.
Place it between two sheets of baking paper (or paper and plastic wrap). There's no need to dust with flour — the dough won't stick to the pin, and you won't be working in extra flour that would dry it out.
Set guides along the sides and roll until the pin glides along them. Then the dough is the same thickness everywhere — no guesswork needed.
Roll from the centre outward, turning as you go. Roll from the middle toward the edge, turning the dough a quarter turn every 2–3 strokes. Never roll the pin over the edge — that's where the dough thins out the most.
Anything with two straight edges of equal height that you can lay alongside the dough will keep the thickness in check. Here are the options, from most convenient down:
Rolling pin rings — silicone or plastic rings that slip onto the ends of the pin. Usually sold in sets from 2–10 mm. Downside: the pin needs to be wider than the dough.
Guide strips — flat strips of a set height, placed alongside the dough. These work with any rolling pin.
Wooden strips from a hardware store — the cheapest option. A 3 × 10 mm or 5 × 10 mm strip costs next to nothing; you just need two identical ones, washed and dry.
From around the house: two matching rulers, two identical skewers, or two identical sticks — one on each side of the dough. The main thing is that both are the same height.
An adjustable rolling pin — metal, or with wheels set by a screw. Handy if you roll out dough often.
If you don't have anything on hand, check the thickness with a toothpick: poke it straight down in several spots and compare how far it sinks in. Or mark it with a felt-tip pen at 3 mm.
Roll delicate, sandwiched cookies to 2–3 mm, gingerbread for decorating to 3–4 mm, and soft gingerbread or sablé biscuits to 5–6 mm. In more detail:
Linzer and other sandwiched cookies: 2–3 mm. Once baked and sandwiched with jam, each piece ends up around 7 mm, which is just right. Try it with classic melt-in-your-mouth linzer cookies or linzer cookies filled with salted caramel.
Firmer gingerbread for decorating: 3–4 mm. It holds its shape and can support the weight of icing.
Soft gingerbread: 5–6 mm. A thicker piece of dough stays tender inside — try super-soft gingerbread or soft honey gingerbread that stays chewy.
Sablé-style butter biscuits: 5–6 mm.
Linzer or shortcrust pastry for a pie or tart: 3–4 mm.
Golden rule: stick to one thickness per tray. If you have leftover dough scraps you want to bake off, put them on their own separate tray.
Classic christmas cookies: delicate linzer cookies
Classic melt-in-your-mouth linzer cookies — dough rolled to 2–3 mm

Linzer cookies filled with salted caramel
Linzer cookies filled with salted caramel

Soft gingerbread cookies
Super-soft gingerbread made from dough rolled to 5–6 mm

Soft honey gingerbread cookies that never go hard
Soft honey gingerbread that stays chewy
Dough tearing or sticking while rolling is almost always down to the wrong temperature — butter dough rolls best at 12–16°C (it should feel like cold butter straight from the fridge that softens slightly after a bit in your hand): cold, but not stiff.
Tearing and cracking at the edges → it's too cold. Let it sit at room temperature for 5–10 minutes and try again. Press small cracks at the edge back together with your fingers.
Sticking and smearing → it's too warm. Put it back in the fridge, paper and all, for 10–15 minutes. Don't add more flour — that will make the dough tough and dense.
Springing back as you roll → the gluten in the dough has tightened up, typically with leavened or overworked dough. Let it rest for 10 minutes under a tea towel to let the gluten relax.
If you're rolling between sheets of paper and the paper starts creasing, peel off the top sheet, lay it back down, and carry on. Otherwise the crease will print into the dough.
Once rolled out, chill the dough again, paper and all, for 15–30 minutes in the fridge (or 10 minutes in the freezer) before cutting out shapes. A firmed-up sheet cuts cleanly, the pieces don't warp when you transfer them, and they spread less in the oven.
Move the sheet of dough on a flat board or the back of a baking tray, not in your hands — any bending will stretch the dough and change its thickness. For more on cutting out shapes, transferring them, and why shapes spread in the oven, see our article on how to cut out cookies so they hold their shape.
Take the scraps, press them into a disc, not a ball, and return them to the fridge for 10–15 minutes — then roll them out again just as you did the first batch.
Each re-roll makes the dough a little worse, though: it gets worked more and picks up warmth from your hands. So:
Cut shapes as close together as possible to minimise scraps.
Re-roll at most twice. A third batch tends to be tougher and more brittle.
Stack the scraps in layers and press them together rather than kneading them — this keeps the dough from being overworked.
Use a smooth wine bottle instead and follow the same method as with a rolling pin. Guide strips at the sides still work — the bottle just needs to be longer than the width of the dough between the strips so it can rest on them. A straight glass is almost always too short for this, so it only works for small pieces of dough without guides.
Split the dough into 2–3 smaller portions and roll each one separately, keeping the rest in the fridge in the meantime. A smaller piece rolls out more evenly, won't warm up under your hands, and fits between the guides and on the tray more easily.
Yes — a rolled-out sheet of dough between sheets of paper, wrapped in plastic wrap, keeps in the fridge for 1–2 days. You can also freeze it flat for several weeks; just let it soften briefly before cutting shapes so it doesn't crack.
If the dough was rolled out evenly, an uneven oven is usually the culprit. Pieces near the back wall of the oven bake faster, so rotate the tray 180° halfway through baking. With gingerbread made with baking soda, any difference in thickness gets exaggerated further as it rises — thin and thick spots become more visible after baking than they were in the raw dough.
One recipe worth heating the oven for, one tip, and one deal from the shop. Nothing else.