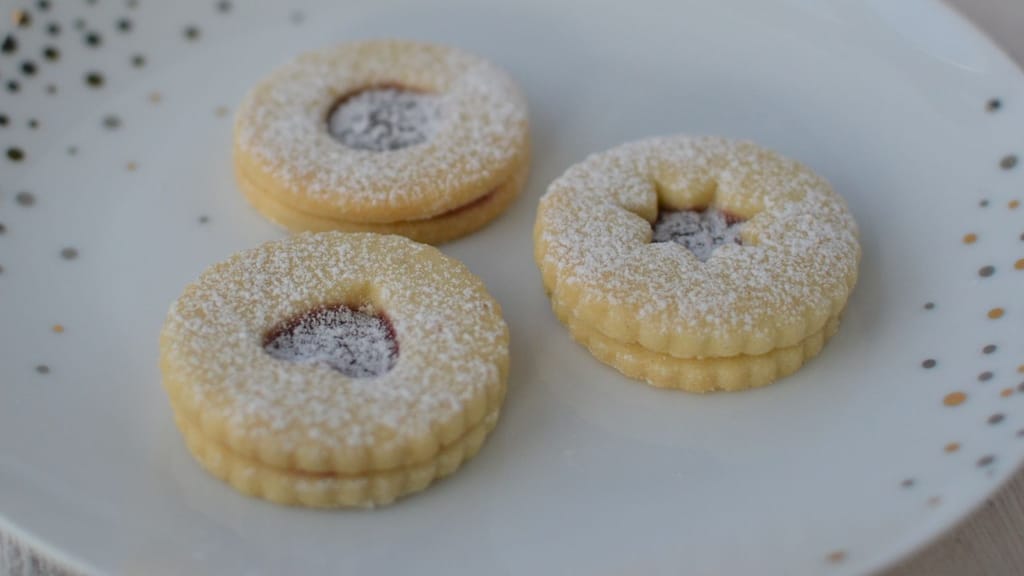
Classic christmas cookies: delicate linzer cookies

Updated Aug 15, 2026
You only need a handful of tools for French pastry at home – a precise scale, stainless steel bowls, silicone spatulas, a piping bag with tips, a rolling pin, a baking mat, and a few tins. With this kit you can master macarons, croissants, éclairs, and tarts; no professional equipment or fancy brands required. In this guide we'll go through each tool one by one – what it's for, how to choose it, and where it really matters for the result, from folding macaron batter with a spatula to picking the right tin for a delicate pastry shell.
You don't need professional-grade equipment for French pastry at home, but you do need precision. Here's the essential kit that covers macarons, croissants, tarts, and éclairs:
Digital scale accurate to 1 g (ideally a second, finer one accurate to 0.1 g)
Stainless steel bowls in three sizes
Silicone spatulas that can withstand high heat
Piping bag plus a set of plain and star tips
Rolling pin – marble for buttery doughs, wooden for drier ones
Silicone baking mat or parchment paper
Tins with removable bottoms, plus ceramic baking dishes
Kitchen thermometer for caramel, tempering chocolate, and sugar syrups
Buy them in this order based on budget: scale and spatulas first, then a piping bag with tips, and tins last. Careful weighing and patient mixing will do more for your results than any expensive brand.
An accurate digital scale is the single most important tool in your whole kit – French recipes are measured in grams, not cups and spoons. A few extra grams of almond flour can be the difference between macarons that turn out right and ones that spread into a puddle. Choose a scale with 1 g increments, a tare function (to zero out with a bowl on it), and a capacity of at least 3 kg. For yeast, salt, or food coloring, a second, finer scale accurate to 0.1 g comes in handy.
A set of stainless steel bowls is the backbone of your prep – steel doesn't hold onto odors, doesn't react with acidic ingredients, and can handle whisking or a hot water bath. Keep at least three sizes on hand: a small one for beating eggs, a medium one for creams, and a large one for kneading or whipping egg whites. Steel also chills quickly, so you can pop a bowl in the freezer beforehand to whip cream faster and firmer. Keep one bowl reserved just for egg whites – even a trace of fat will reduce the volume of your meringue.
A silicone spatula is the tool that makes or breaks your macarons – it's what you use to fold, or 'macaronner,' the egg whites into the almond mixture to just the right consistency. Buy spatulas made from a single piece of silicone rated for at least 220°C (430°F); with jointed ones, water and mold can creep in under the head. A flexible blade scrapes batter cleanly off the sides of the bowl and is also great for gentle folding when you don't want to knock the air out.

Shortcrust and buttery doughs need three things: cold temperatures, an even thickness, and a surface that won't stick. That's where a rolling pin, a baking mat, and a set of cutters come in. With these you can handle linzer dough, delicate tart shells, and cut-out cookies without tearing or sticking.
Reach for a marble rolling pin with buttery doughs, and a wooden one with drier doughs. Marble stays cold and keeps the butter in the dough firm, so your pâte sucrée won't turn soft and puff pastry won't leak butter – plus its weight does some of the rolling work for you. A wooden rolling pin is lighter and easier to control with cookie and linzer doughs. Whichever you choose, roll from the center outward and chill the dough between rolls.
A silicone baking mat replaces both fat and flour and bakes more evenly than paper because it conducts heat better. Good-quality mats (like the Silpat type) can handle roughly −40°C to +220°C (−40°F to 430°F), which is plenty for everyday baking. Go for a thicker mat – it lasts longer and won't curl at the edges. Parchment paper is cheaper and disposable; for macarons and choux pastry, either one works fine. Wash your mat with lukewarm water and a bit of dish soap, never a scouring pad.
Choose cutters based on material: metal ones give the sharpest edge, while plastic and silicone are gentler on your hands and easier to clean. A sharp edge matters most for yeasted and linzer doughs – a dull edge pinches the edges together, which can warp the dough or stop it rising properly. For tarts and galettes, a pastry wheel (rolling cutter) is handy, along with ceramic or metal pie weights for blind-baking a shell.
Classic christmas cookies: delicate linzer cookies
Delicate linzer cookies – the perfect dough for practicing with a rolling pin and cutters.
A piping bag can handle everything from macarons to éclairs to cake decorating – it all comes down to choosing the right bag, the right tip, and the right technique for filling it. Remember three things: fill the bag only two-thirds full, hold it upright, and pipe straight down from above, not at an angle.
For frequent baking, a reusable bag is worth the investment; for occasional decorating, disposable ones are fine – they're hygienic and less slippery to hold. Pair your bag with a set of tips: a plain round tip (around 8–10 mm) is the go-to for macarons, choux, and filling pastries, while a star tip (fluted) creates rosettes and decorates éclairs and cakes. To start, one plain and one star tip will cover most needs.
The easiest way to fill a piping bag is to fold the top over your hand or place it in a tall glass with the edge folded outward, creating a stable funnel. Fill it only two-thirds full, push out the air, and twist the top closed. Before piping, pinch the tip closed with your fingers so it doesn't drip. Hold the top of the bag with your whole hand – that hand controls direction and pressure, while the other just guides the tip.
Wash a reusable bag and its tips in hot soapy water right after use, rinse thoroughly, and let them dry completely, ideally turned inside out over a bottle. Leftover fat in the bag will turn rancid and can deflate egg whites the next time you whip a meringue. Clean tips with a small brush so dried cream doesn't build up in the narrow opening.
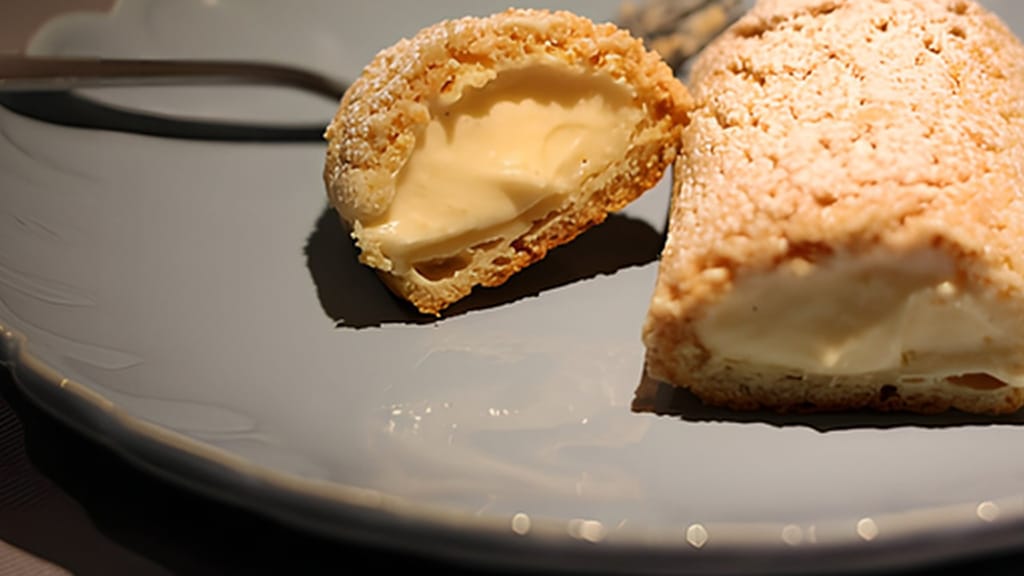
Éclairs à la ladurée – irresistibly delicious pastries
Éclairs Ladurée-style – great practice for piping with a plain round tip.
Macarons aren't about a secret recipe – they come down to three controlled steps: precise weighing, correct folding (macaronnage), and letting the shells rest before baking. For this you'll need a fine scale, a silicone spatula, a plain round tip, and a tray with a flat mat or template.
For evenly sized macarons, use a silicone mat with marked circles, or slide a printed template under parchment paper. Consistent size means even baking and neatly matched shells. Bake on a heavier or double-layered tray – a thin tray transfers heat in sudden bursts and scorches the bottoms. Pipe straight down into the center of each circle, and tap the tray on the counter at the end to release any trapped air.
Before baking, let the macarons rest until they turn matte and feel dry to the touch – the surface shouldn't stick to your finger or leave a dent. Depending on humidity, this takes roughly 45–60 minutes, or up to 90 in damp conditions. That thin skin forces steam to escape from underneath, which creates the classic 'foot' and keeps the surface from cracking. Experienced macaron bakers recommend baking at 150–160°C (300–320°F): a lower temperature gives a smoother shell, a higher one gives a more reliable foot. On a very humid day, a short stint in an oven heated to no more than 30–50°C (86–120°F) can help dry them out.

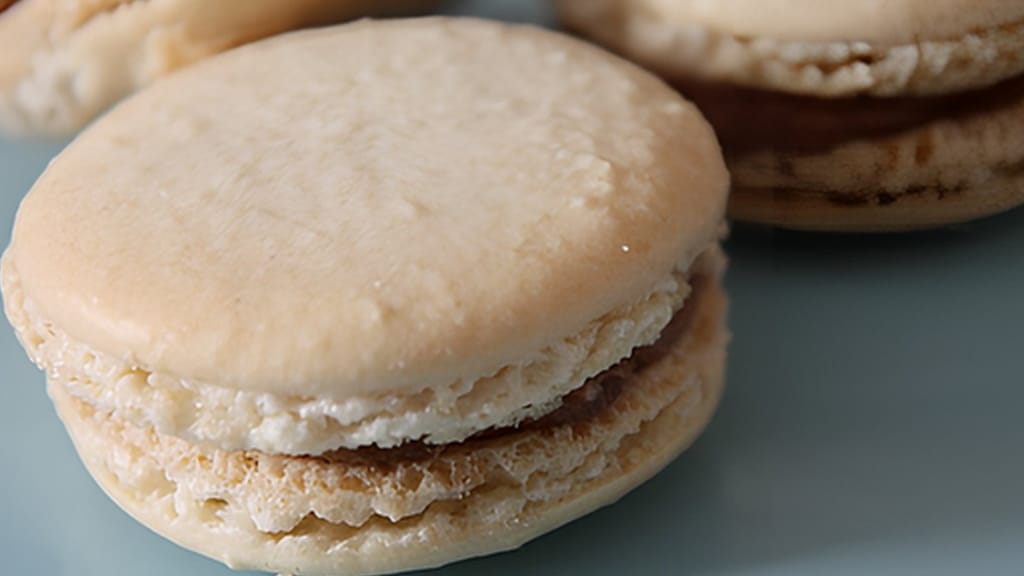
Macarons – the winning recipe
Macarons – an award-winning recipe to practice the whole technique.
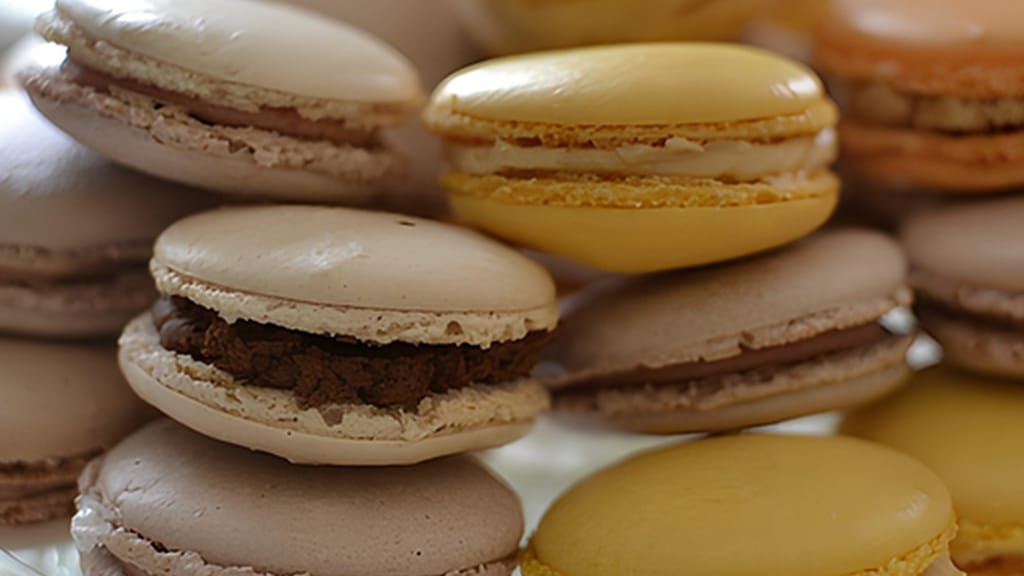
White chocolate and coffee cream - great in macarons and beyond
White chocolate and coffee cream – a delicious filling, not just for macarons.
For tarts and tartlets, reach for a metal tin with a removable bottom; for quiche and baked pies, go ceramic. Metal bakes fast and releases a delicate shell without breaking it, while ceramic holds heat and bakes slowly and evenly. The tin you choose affects both how crisp the base turns out and whether you can lift the dessert out whole.
A ceramic dish distributes heat slowly and evenly, which suits quiches and cream-filled pies that need time to set. It also holds heat well after coming out of the oven, so you can serve the dessert warm right in the dish. The downside: it's heavy, and you can't really remove a delicate tartlet whole from a solid dish – plan on slicing and serving straight from it.
A metal tin with a removable bottom is the surest way to get a tart out whole – you just push the base up and the delicate edge stays intact. Metal (aluminum or steel) also conducts heat quickly, so the base bakes through properly instead of staying soggy. A fluted edge gives that classic French shape. It's a great all-rounder for both quiche and sweet tarts; just grease it well or line it with parchment.
Quick summary: ceramic for quiches and rustic pies served straight from the dish, metal with a removable bottom for tarts and tartlets you want to unmould whole. For a crisp base, blind-bake the dough with weights before filling, regardless of which material you use. Choose your tin based on whether you plan to slice the dessert in the dish or show it off whole.
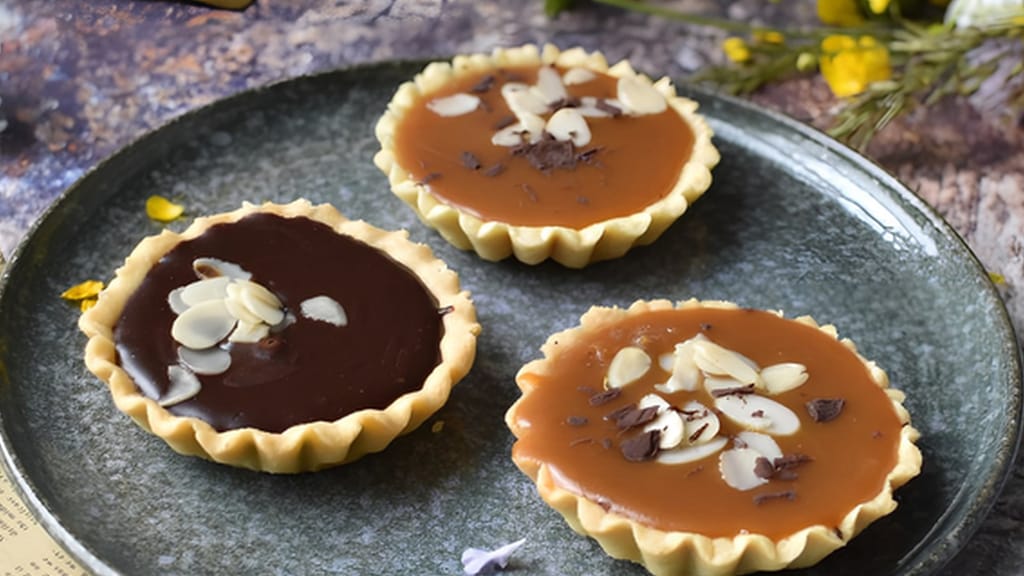
Delicate tartlets with salted caramel and chocolate
Delicate salted caramel and chocolate tartlets – a great showcase for a removable-bottom tin.
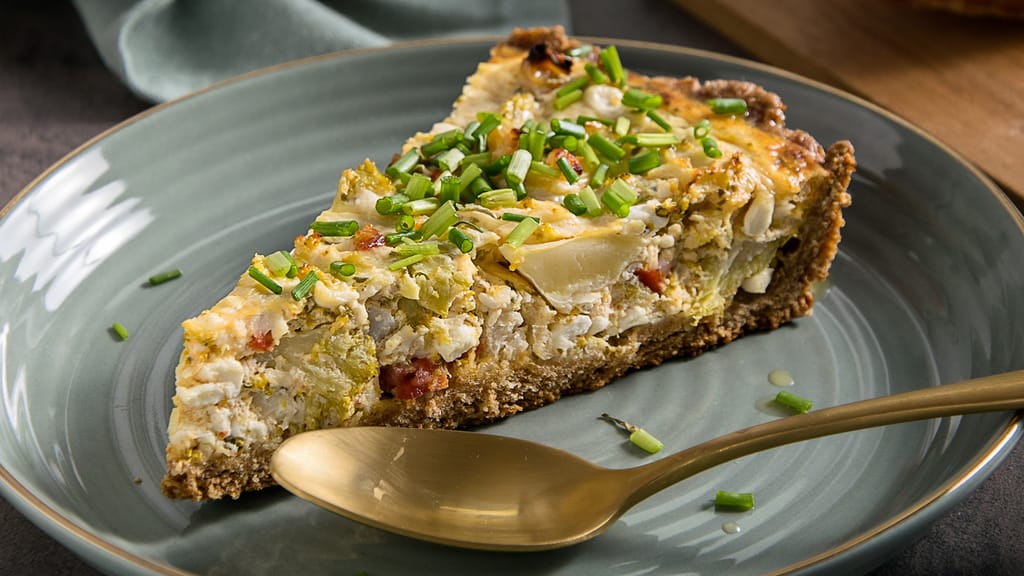
Wholegrain quiche with broccoli and smoked ham
Wholegrain quiche with smoked ham – a savory classic for a ceramic dish.
Yes, a stand mixer is a convenience, not a necessity. A hand whisk can handle egg whites for macarons and whipped cream, and croissant and tart dough is traditionally made by hand anyway. A stand mixer really pays off for Italian meringue and longer kneading jobs – but you can happily skip it when starting out.
A sturdy zip-lock bag with a corner snipped off will do the job for simple piping of cream or macaron batter. For fine decorating with a star tip, though, there's no real substitute, since you lose the precise shape – for consistent results it's worth buying a cheap pack of disposable bags with a few tips.
The most common causes are insufficient resting time or poor folding technique. The shells need to form a matte, dry-to-the-touch skin before baking, otherwise steam escapes through the top and the surface cracks; overmixed, runny batter won't hold a foot either. A steady oven temperature of 150–160°C (300–320°F) and tapping the tray to release trapped air also help.
For most equipment, no – but for precision, yes. Don't skimp on a digital scale or a good-quality silicone mat, since both directly affect your results. Bowls, cutters, or disposable piping bags can be bought cheap without worry; a pricey brand name won't bake you a better macaron.
A good-quality silicone mat will survive hundreds of bakes as long as you don't overheat it beyond its limit or cut on it with a knife. Store it flat or loosely rolled, never folded – sharp creases will eventually crack the silicone. Wash it only with lukewarm water and a bit of dish soap, no scouring pads.
I send one like it every week. A recipe, a tip, one deal — nothing else.