Did it work out?
One click, and we know how the recipe works in a real kitchen.
Cooking
Slow Cooker Rabbit in Creamy Sauce
·Wash the rabbit legs and pat them dry. Season lightly with salt and pepper. Why lightly? Slow cooking helps food retain much more of its natural flavour, so you don't need to add as much salt and seasoning.
Peel the carrots and parsley root and cut them into rounds or chunks. Peel the onion and cut it into eighths. Peel the garlic. Cut the bacon into cubes, or if using sliced bacon, cut it into smaller pieces.
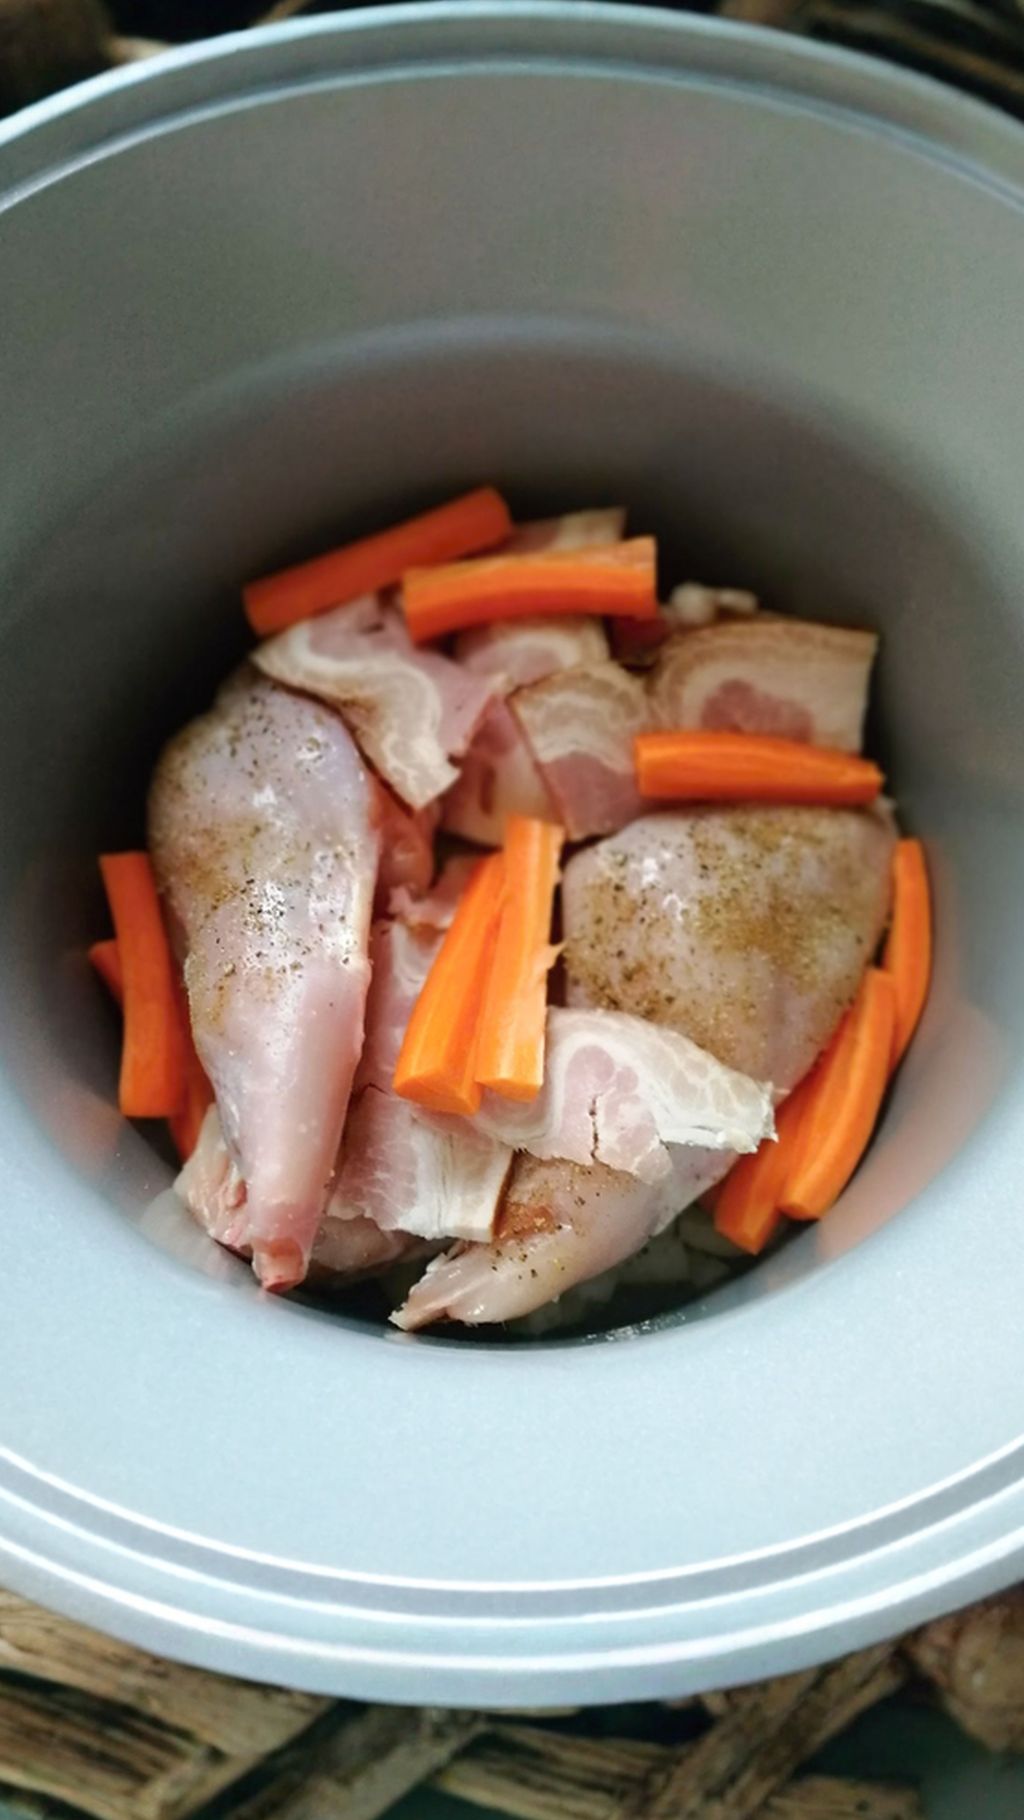
Place the onion, parsley root, carrots and garlic on the bottom of the slow cooker. Put the rabbit legs on top of the vegetables. Finally, add the bacon. Season with fresh thyme and add water.
Cover the pot with the lid. My slow cooker has a choice of high or low settings. Choose the low setting and set the timer for 7 hours. In this time, the rabbit meat will be perfectly cooked and delicious!
It's ideal to start the rabbit before you go to bed, so it's ready by the morning.
Take the cooked meat out of the pot. In a regular saucepan on the stove, melt the butter. Stir in the plain flour and pour in both types of cream. Simmer together for ten minutes.
Add the contents of the slow cooker – the meat juices along with the rest of the pot's contents. Blend using a blender or a stick blender. Simmer together for another ten minutes. Season to taste with salt, pepper and a pinch of nutmeg.
Serve the sauce with the meat and a side dish of your choice. You can garnish it with crispy fried bacon slices.