Did it work out?
One click, and we know how the recipe works in a real kitchen.
Cooking
Orange Mini Cakes
·If you want to make small round cakes, use round stainless steel food-styling rings lined with clear acetate dessert strips.
No worries if at home you use wine glasses or nice dessert bowls instead. In that case, you won't need as much gelatine, and the dessert will turn out creamier — just two sheets will be enough for a light set.
Line the stainless steel moulds with clear acetate strips and get the nut base ready. Place a sheet of foil underneath each mould.
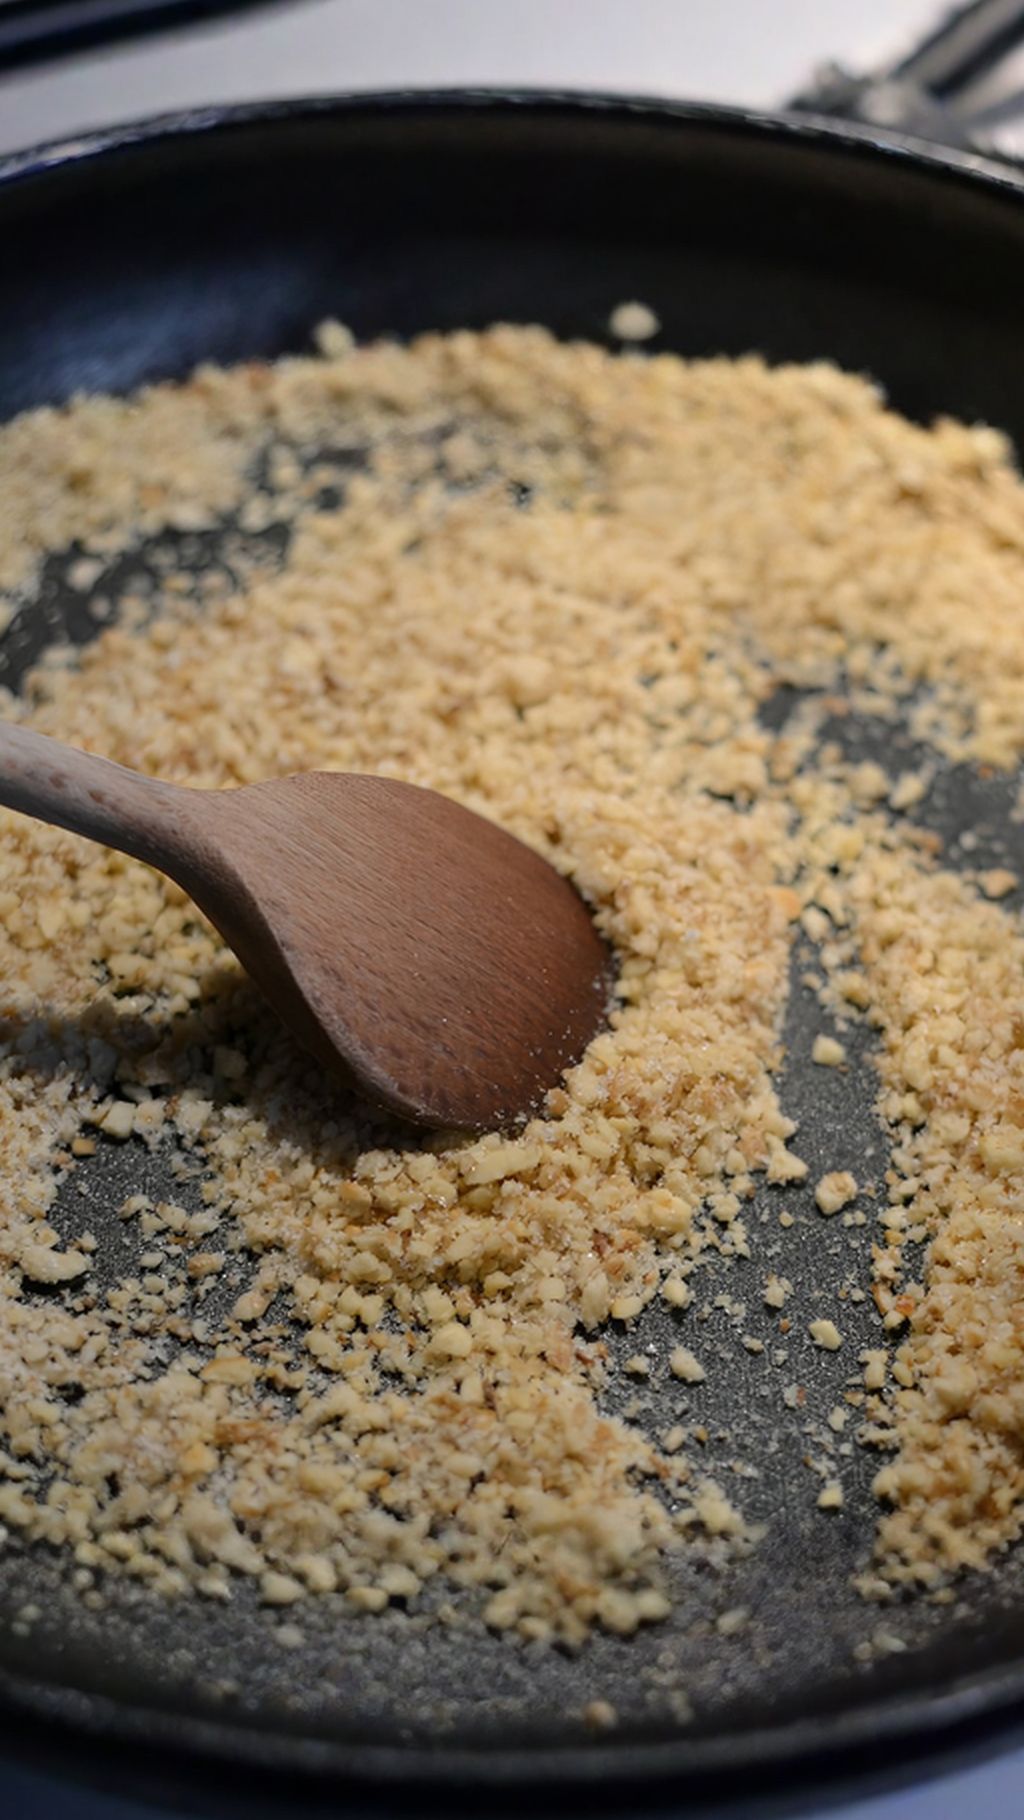
Chop the nuts in a food processor or by hand. They don't need to be uniform — a mix of coarser and finer pieces works best. Mix with sugar and tip into a frying pan.
Toast over medium heat for about five minutes, then add the butter and honey, stirring until everything is combined. Remove from the heat, stir in the amaretto, and mix again.
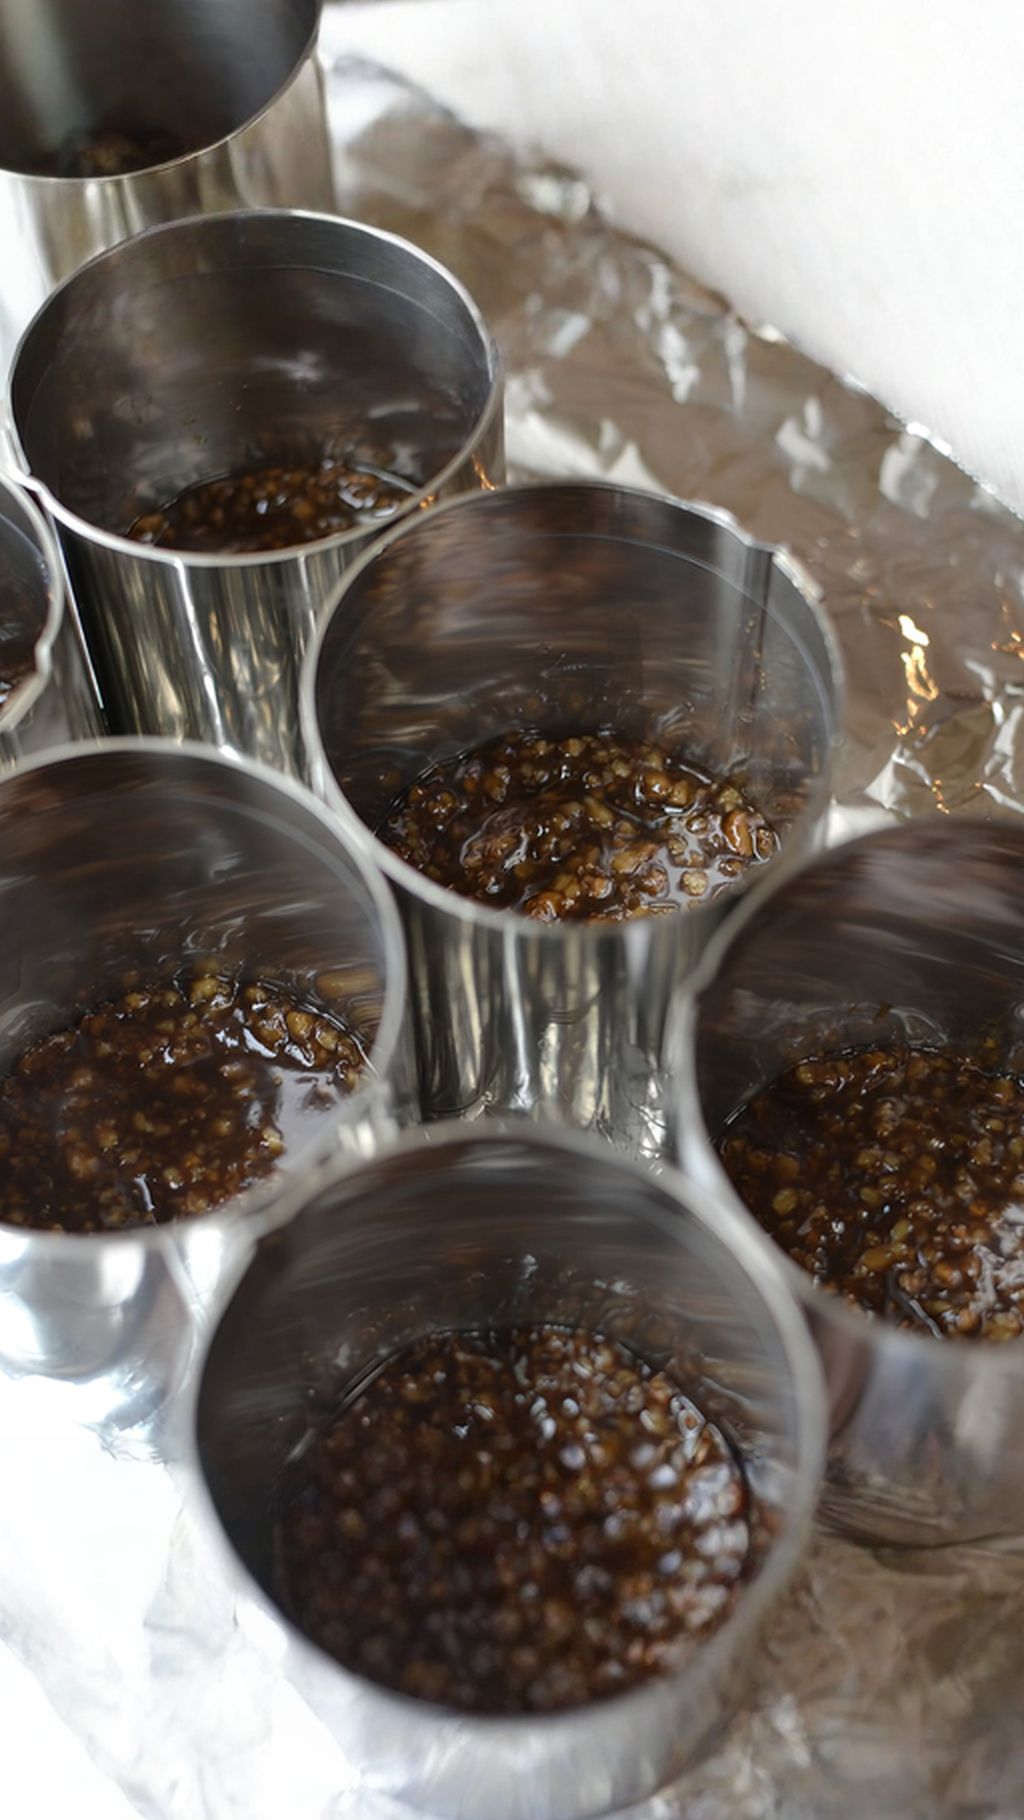
Let the mixture cool slightly so it's not too hot (about five minutes) — but not completely cold, or it will set too firm. Spoon the nut base into the moulds, spreading it evenly right to the edges, and smooth the surface. Chill in the fridge.
Squeeze the oranges. It's fine if there are bits of pulp in the juice — in fact, it adds to the flavour. Pour the juice into a small saucepan, add 3 tablespoons of sugar and bring to a boil. Turn off the heat and add the gelatine sheets.
Leave for about ten minutes, then warm very gently to let the gelatine fully dissolve. Whip the mascarpone with sugar. Stir two tablespoons of this cream into the saucepan with the orange juice, where the gelatine has already dissolved.
Stir well, then carefully pour the contents of the saucepan into the rest of the mascarpone cream. Whip again until smooth. You'll get a beautifully fragrant cream with a lovely orange flavour and aroma. Spoon it into the moulds, over the prepared nut base.
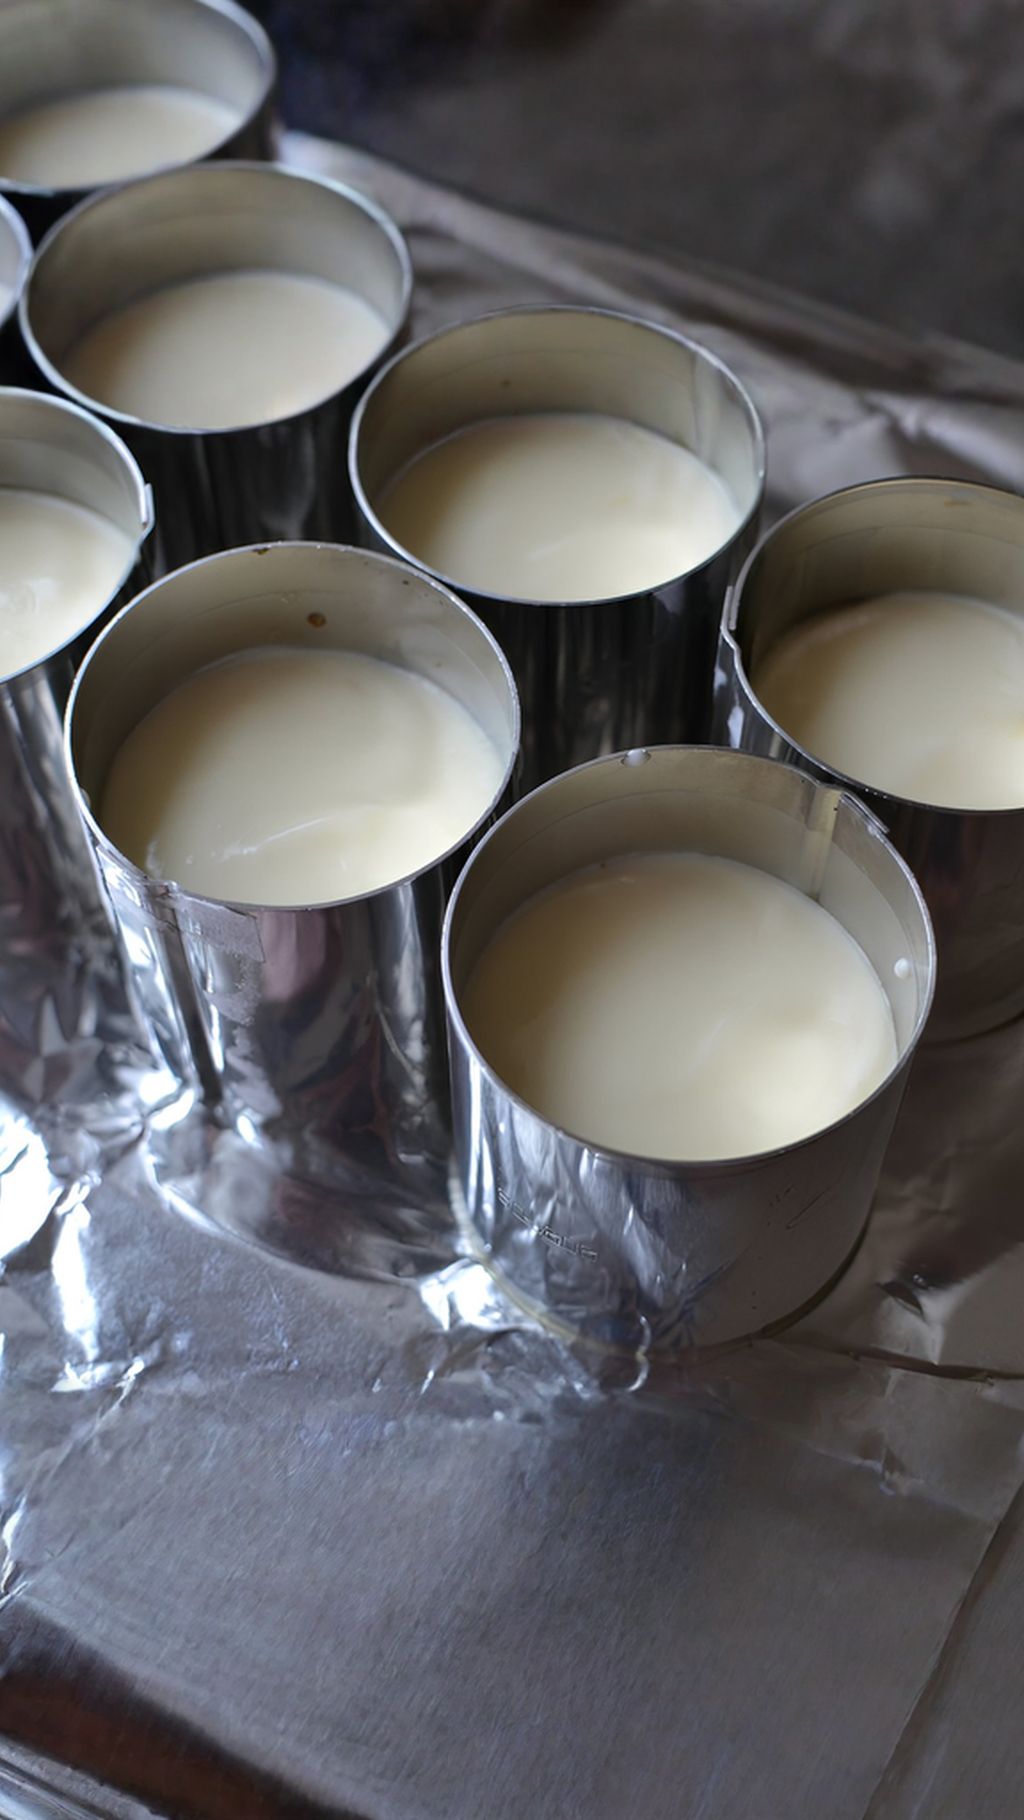
Don't fill all the way to the top, since the cakes will be finished off with an amaretto jelly layer. Smooth the surface and chill in the fridge for at least three to four hours, ideally until the next day.
Pour the water into a small saucepan, add the sugar and bring to a boil until the sugar dissolves. Add half a teaspoon of agar. You can replace it with clear cake jelly, in which case follow the instructions on the package. If using agar, boil the sugar water for about 4 to 7 minutes.
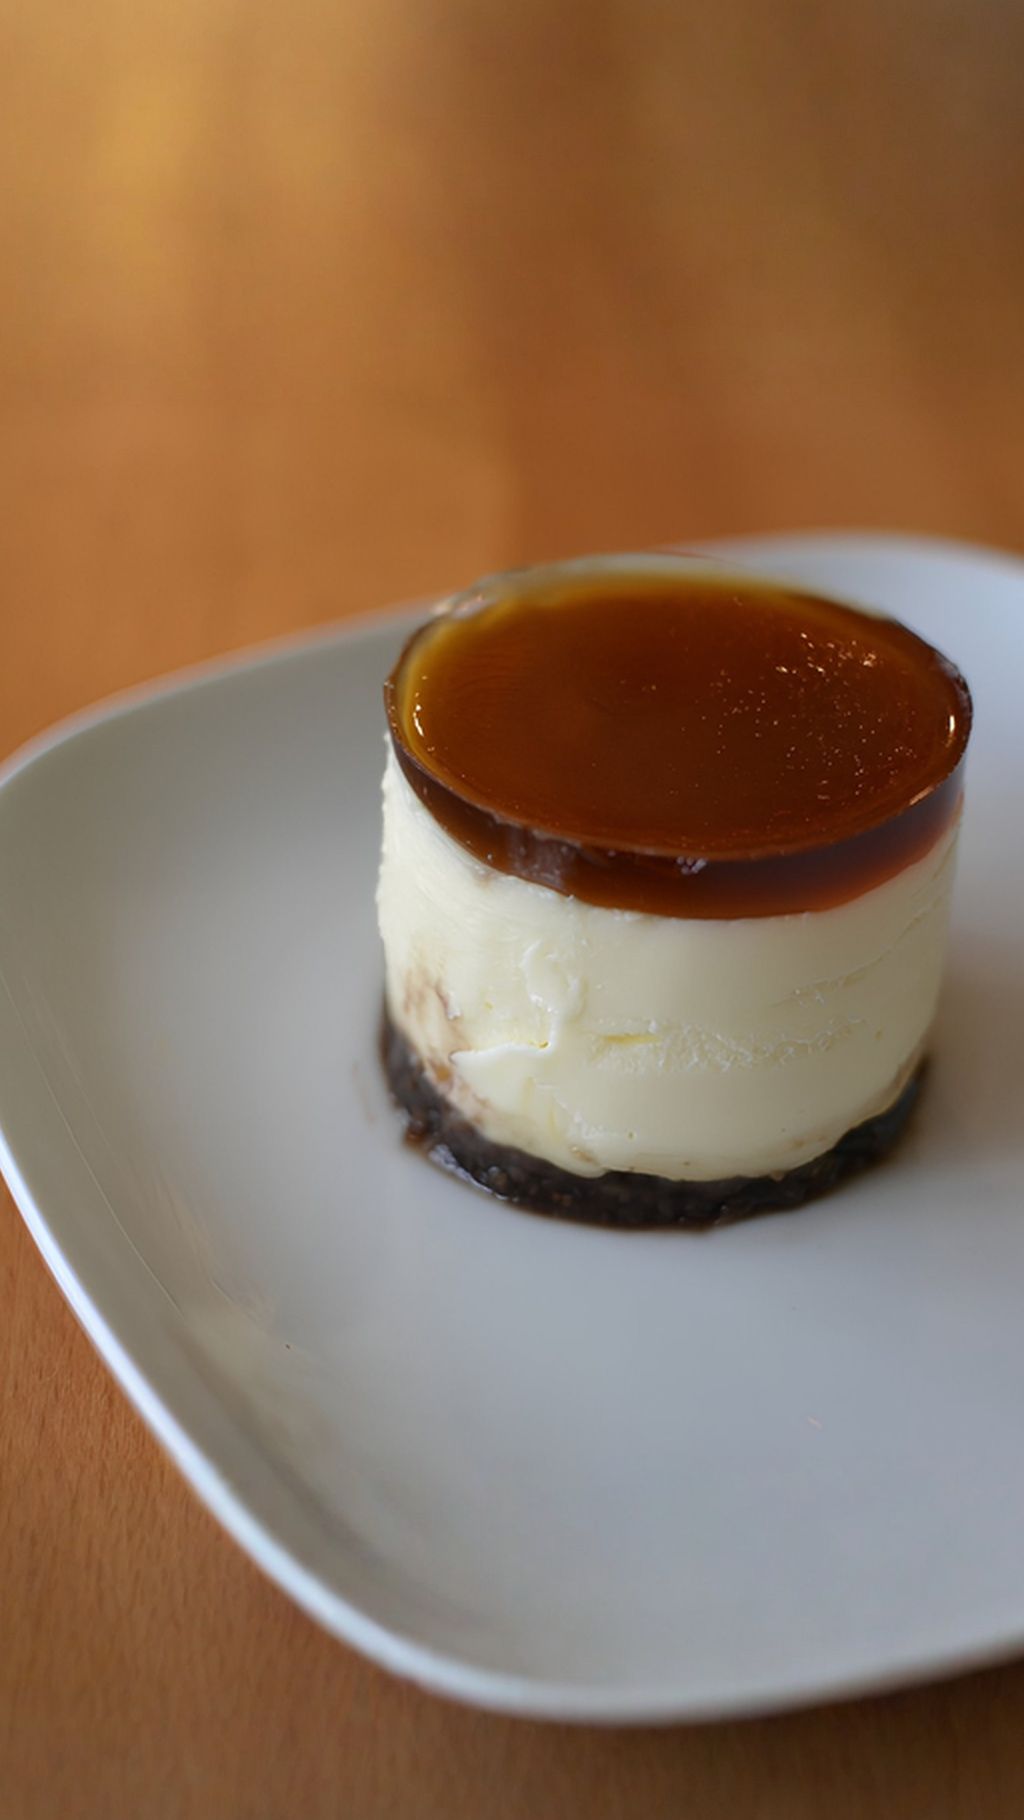
Remove from the heat and stir in a tablespoon or two of amaretto. Mix well, let it cool slightly, then pour over the top of the cakes. Chill again in the fridge until set. Alternatively, you can unmould the cakes first and pour the jelly over them once they're on the plate.
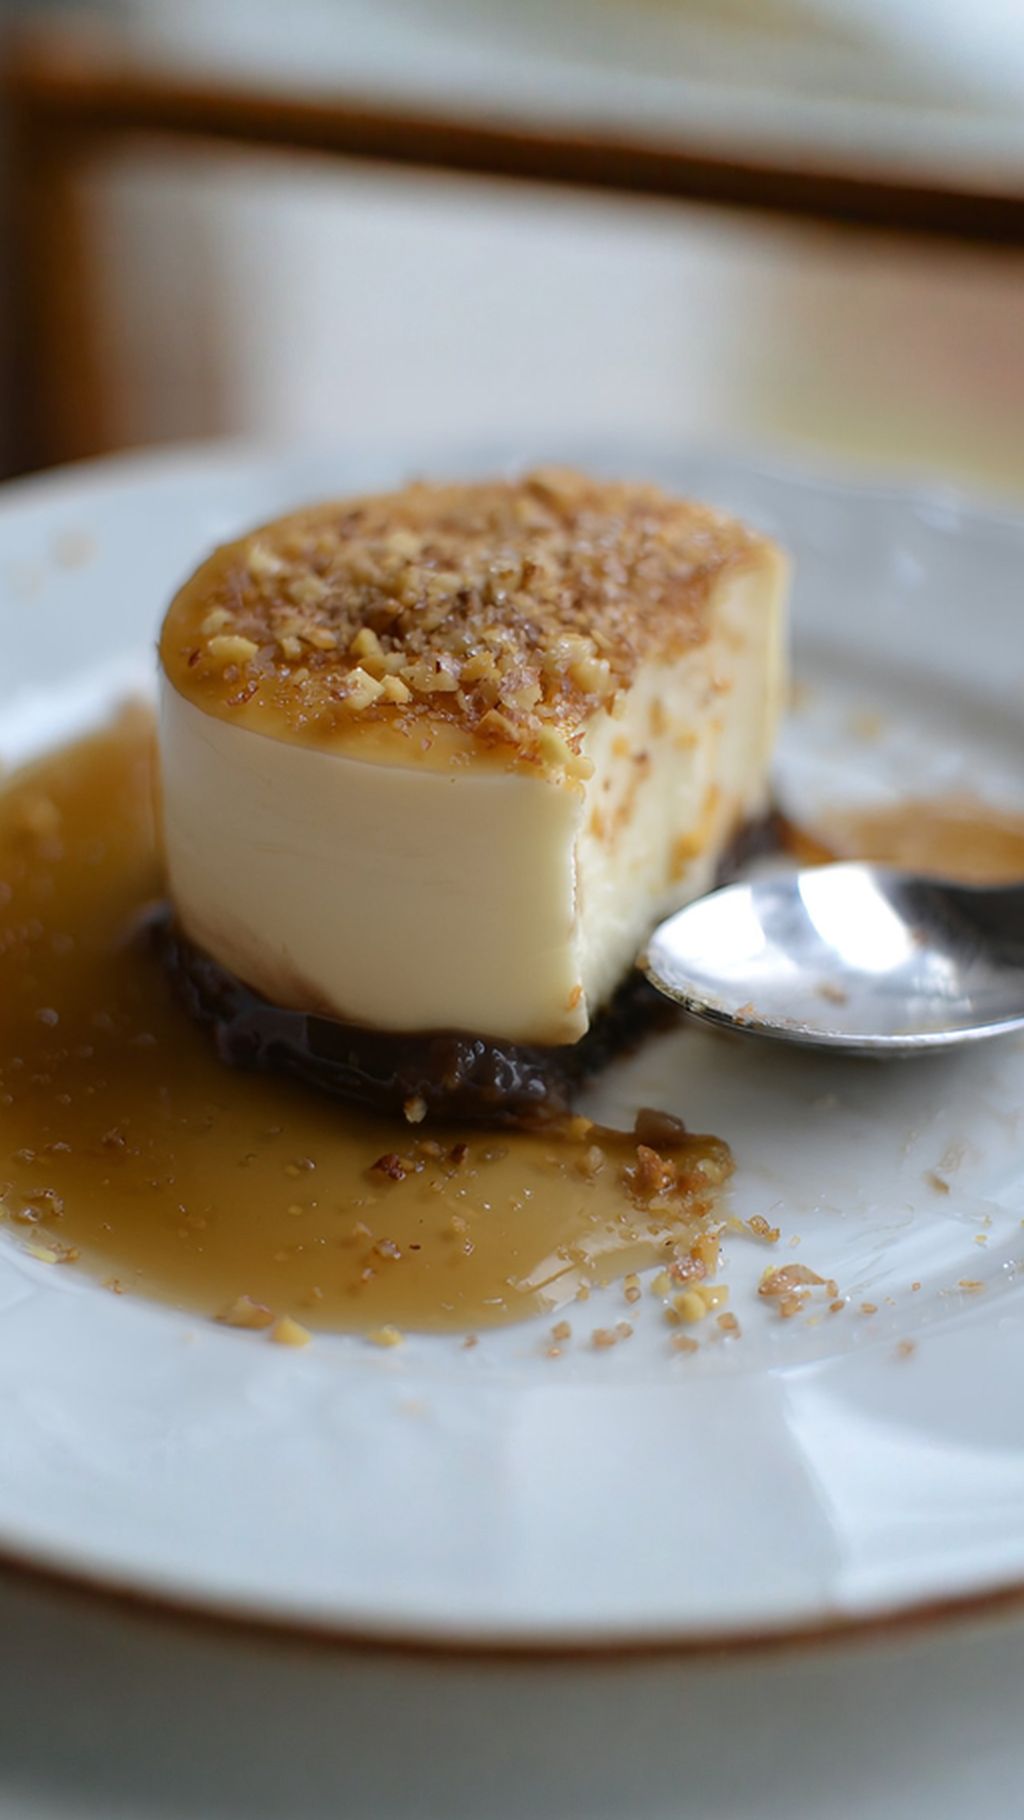
Finely chop some more walnuts, add a little sugar and toast in a pan. Let cool, then sprinkle the crunchy nut mixture over the finished dessert.
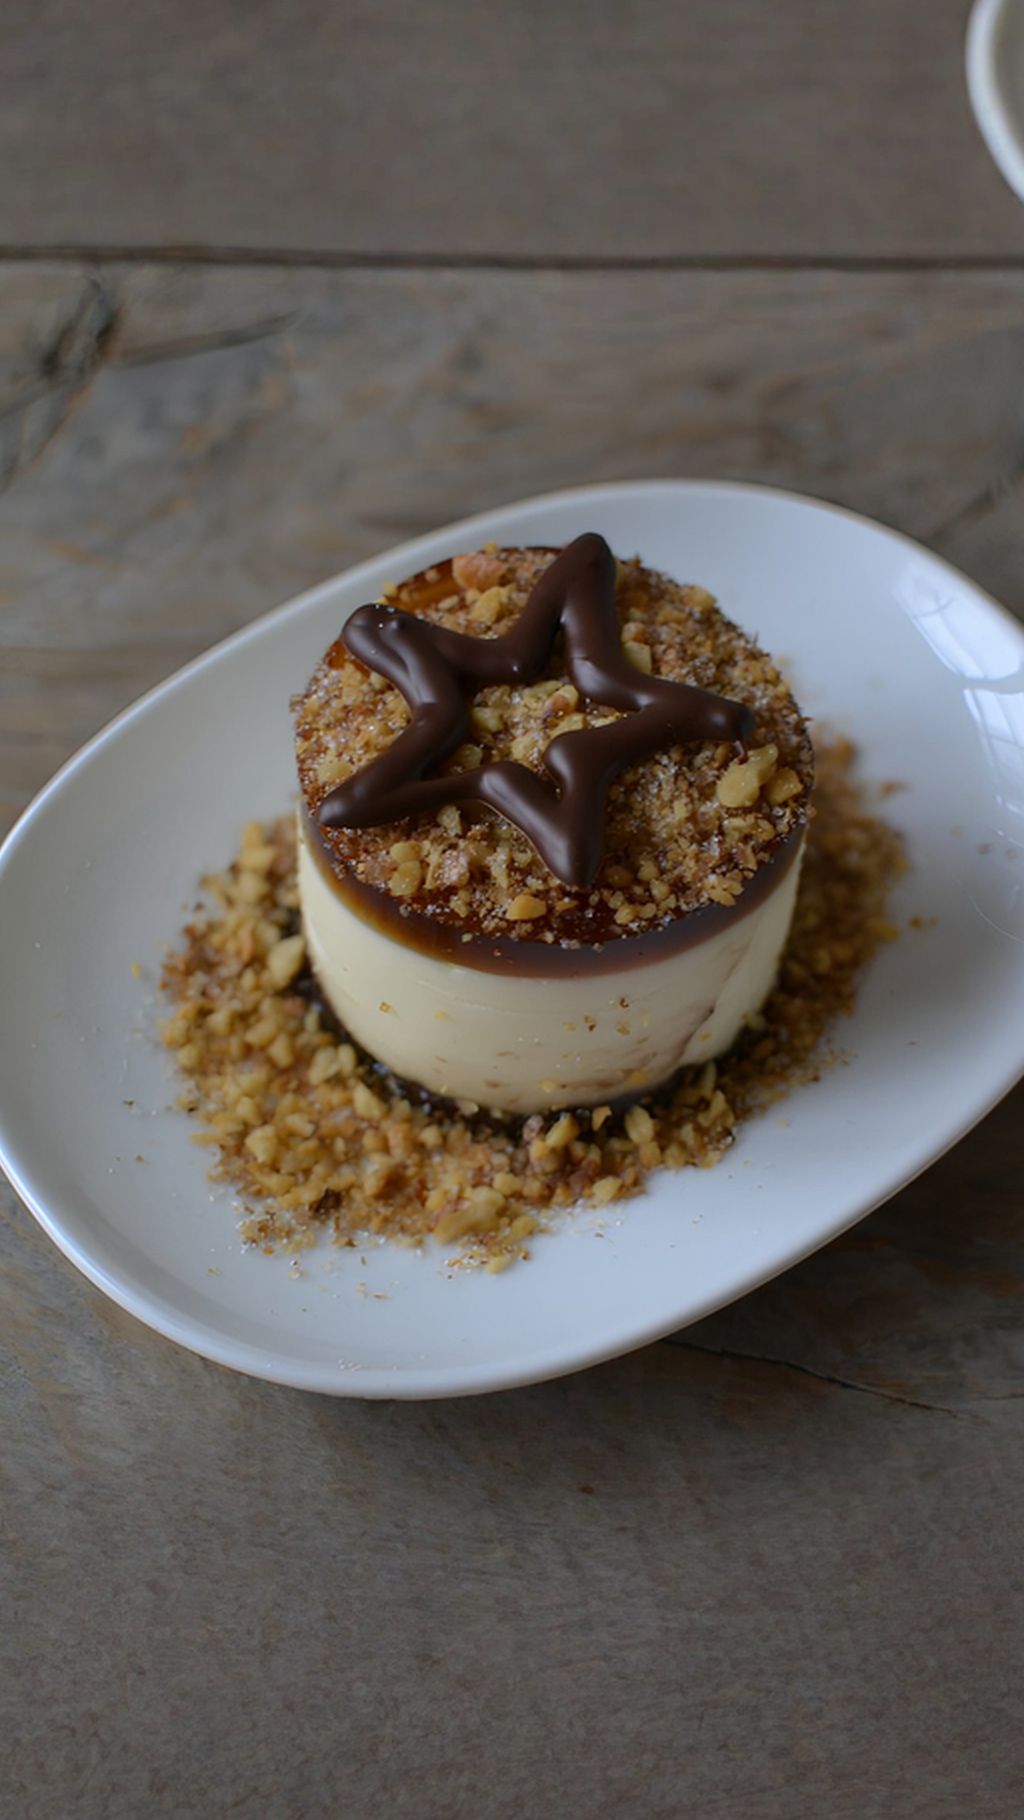
The final touch can be a dark chocolate decoration, which pairs wonderfully with the orange flavour. Melt the chocolate over a bain-marie, load it into a piping bag or plastic syringe, and pipe shapes onto baking paper. Chill in the fridge until set.