Did it work out?
One click, and we know how the recipe works in a real kitchen.
Cooking
Halloween Pumpkin Cake - Lidl Food Challenge
·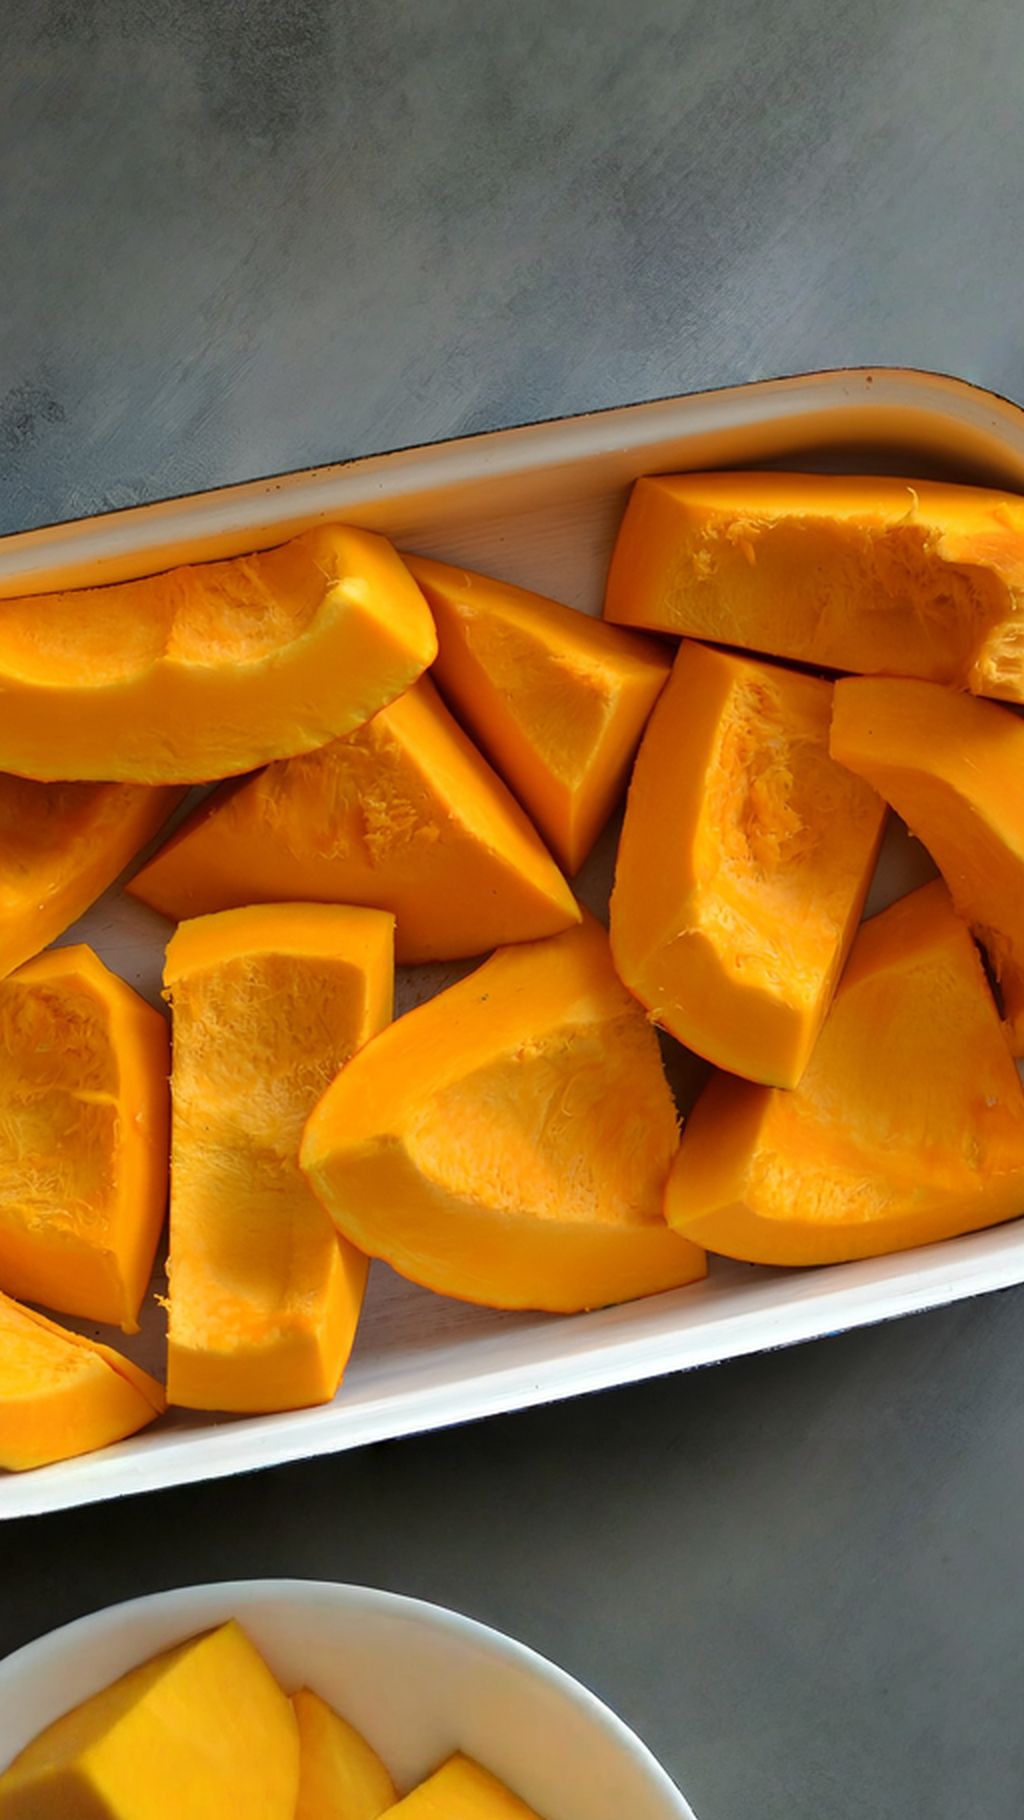
You'll need pumpkin purée for both the cream and the little walnut-dough pumpkins. Make it from one Hokkaido pumpkin. You'll likely have some purée left over, depending on how big a pumpkin you buy.
Wash and dry the pumpkin, then cut it into quarters. Use a large spoon to scoop out the seeds along with the soft, fibrous flesh. Trim off the stem and cut the rest of the pumpkin into small pieces.
Place the pumpkin in a roasting pan and bake uncovered in an oven preheated to 170°C until soft. This takes about 45 minutes, though it mainly depends on how large you cut the pieces. You can bake the sponge base in the oven at the same time.
Blend the baked pumpkin into a smooth purée. Let it cool completely.
Weigh however many eggs (55g each) in their shells you plan to use, and use the same total weight of granulated sugar. For the plain flour, don't use the same weight as the eggs - subtract 40g from that weight and make up the difference with cocoa powder instead.
Allow 2 tablespoons of hot water per egg. Whisk the egg yolks with the sugar and water. Once the mixture thickens and the sugar has dissolved, whip the egg whites into a stiff foam and fold them into the yolk mixture, alternating with the flour and cocoa.
Pour the sponge batter into a greased and flour-dusted tin. Use a round springform tin with a 26 cm diameter.
Bake in an oven preheated to 175°C (160°C fan). Baking time depends on the size and height of the sponge - usually somewhere between 30 and 50 minutes. Definitely don't open the oven during the first half hour, or the batter may sink.
After that time, you can open the oven and insert a skewer into the centre of the sponge. It should come out clean.
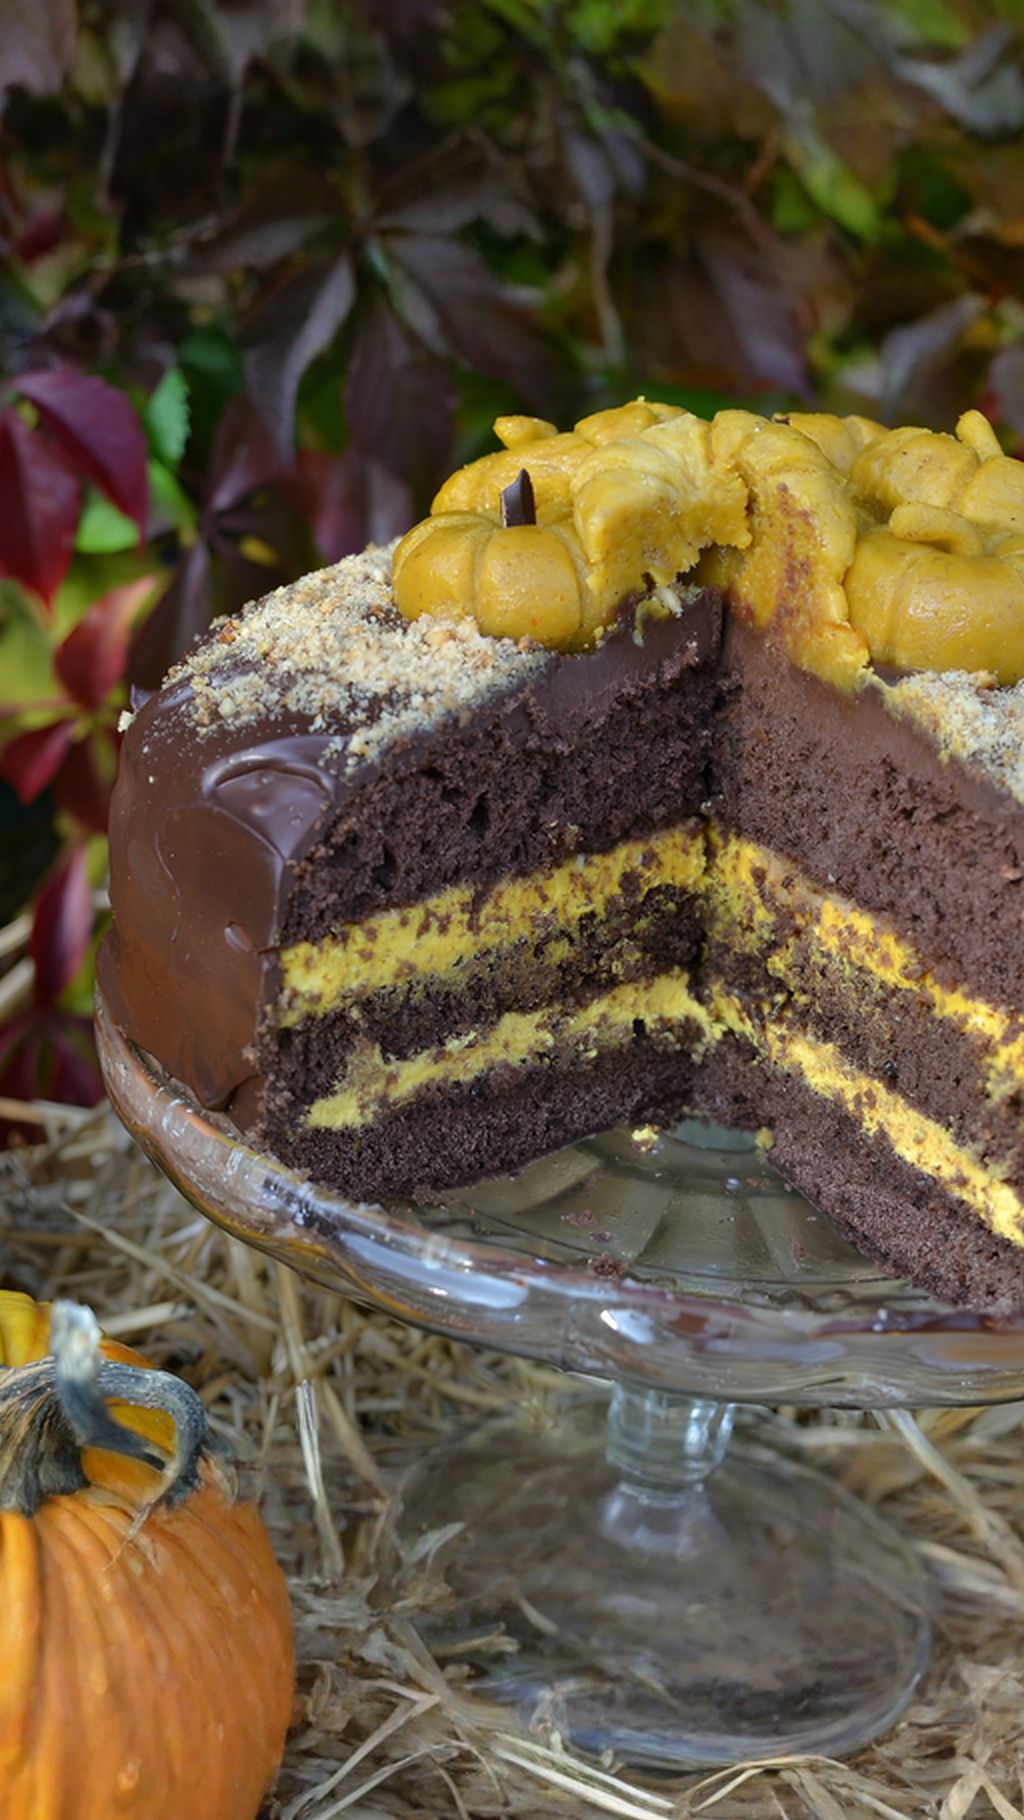
Let the sponge cool completely. Only then slice it horizontally, twice, to create three even layers.
Roughly chop the walnuts and place them in a pan together with the sugar. Heat gently until the sugar melts, coats the walnuts and starts to caramelize.
Remove from the heat and let cool. Blend in a food processor - you'll end up with a mix of coarse and fine crumbs with an amazing, perfectly balanced flavour. Use this caramelized walnut crumb both inside the cake and for decoration.
Whip the mascarpone together with 200g of pumpkin purée and honey. Feel free to add more honey to taste.
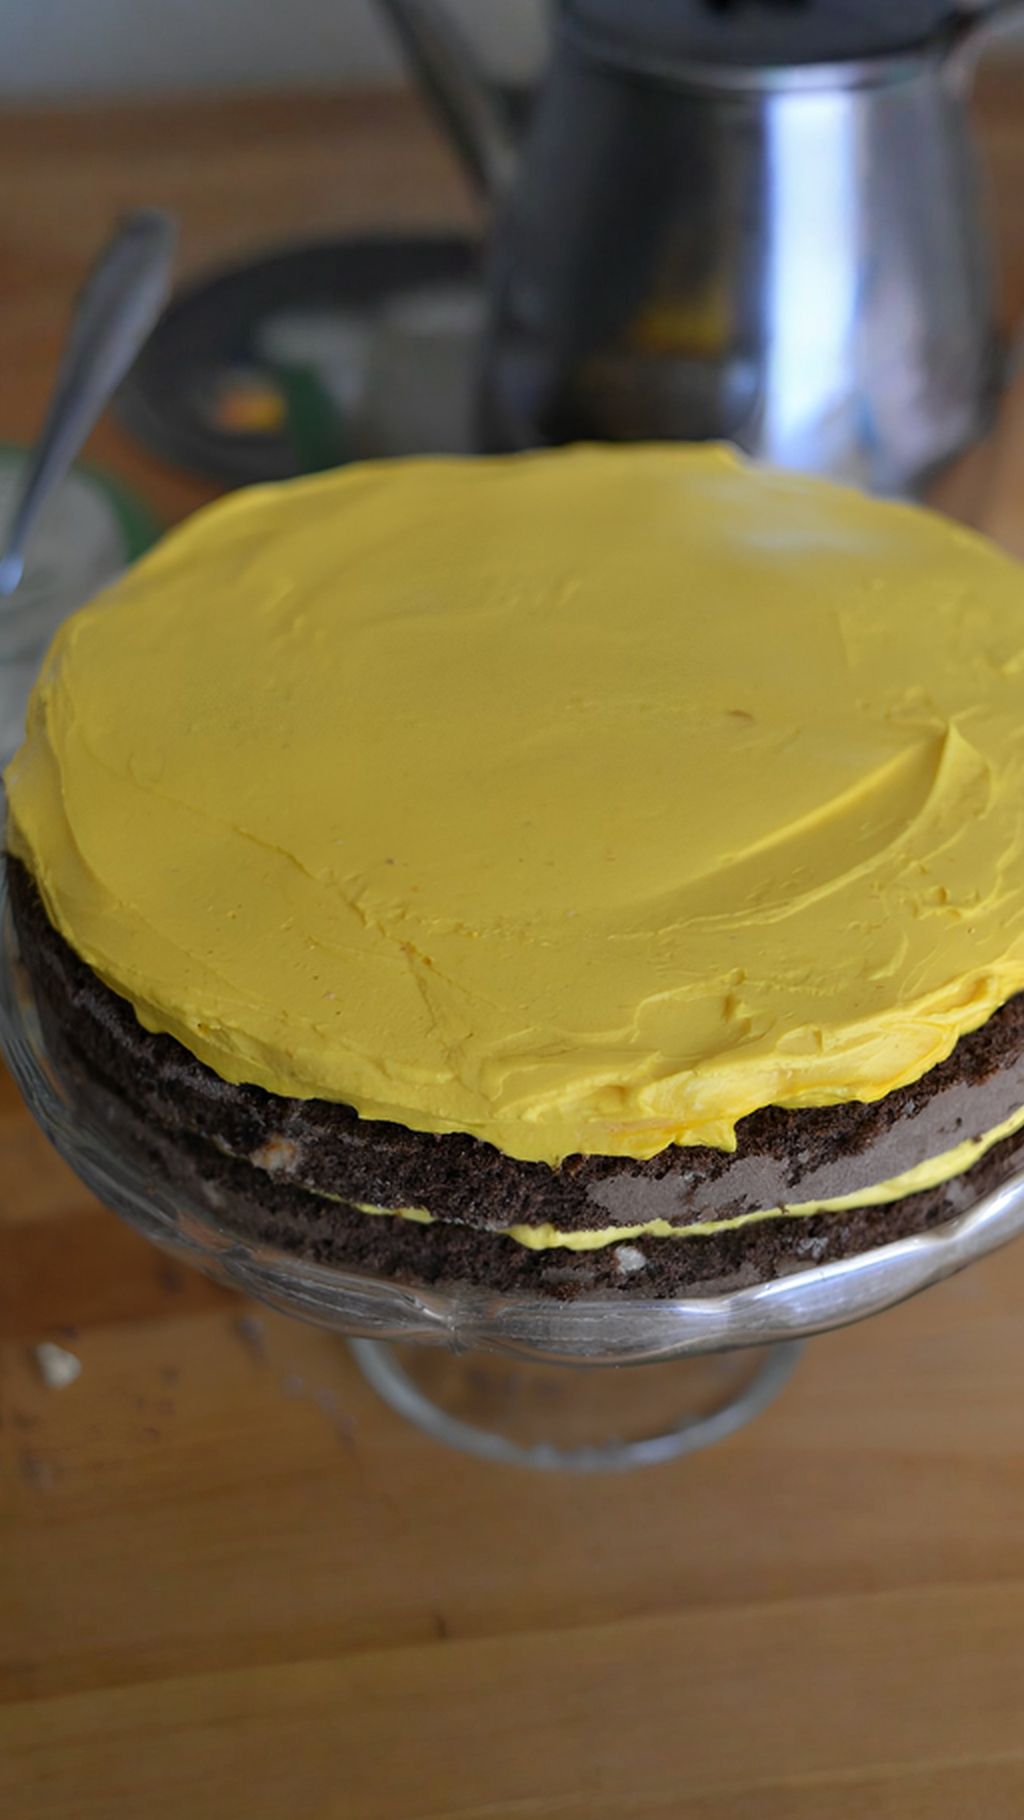
Divide the cream into two portions. Spread one portion over the bottom sponge layer. Sprinkle over some of the caramelized walnuts. Top with the middle sponge layer. Spread again, sprinkle again, and top with the final sponge layer. Chill in the fridge.
Bring the cream to a boil in a saucepan. Remove from the heat and break the chocolate into it. Leave undisturbed for ten minutes.
Then whisk until smooth. Let the cream cool to room temperature, then chill it in the fridge. Use the chilled cream to decorate the whole cake.
Finely blend the walnuts, then add icing sugar and 60g of pumpkin purée. Mix with a spoon and chill in the fridge. If your purée is on the watery side, you may need to add a bit more sugar or walnuts. You should end up with a mixture that's easy to shape.
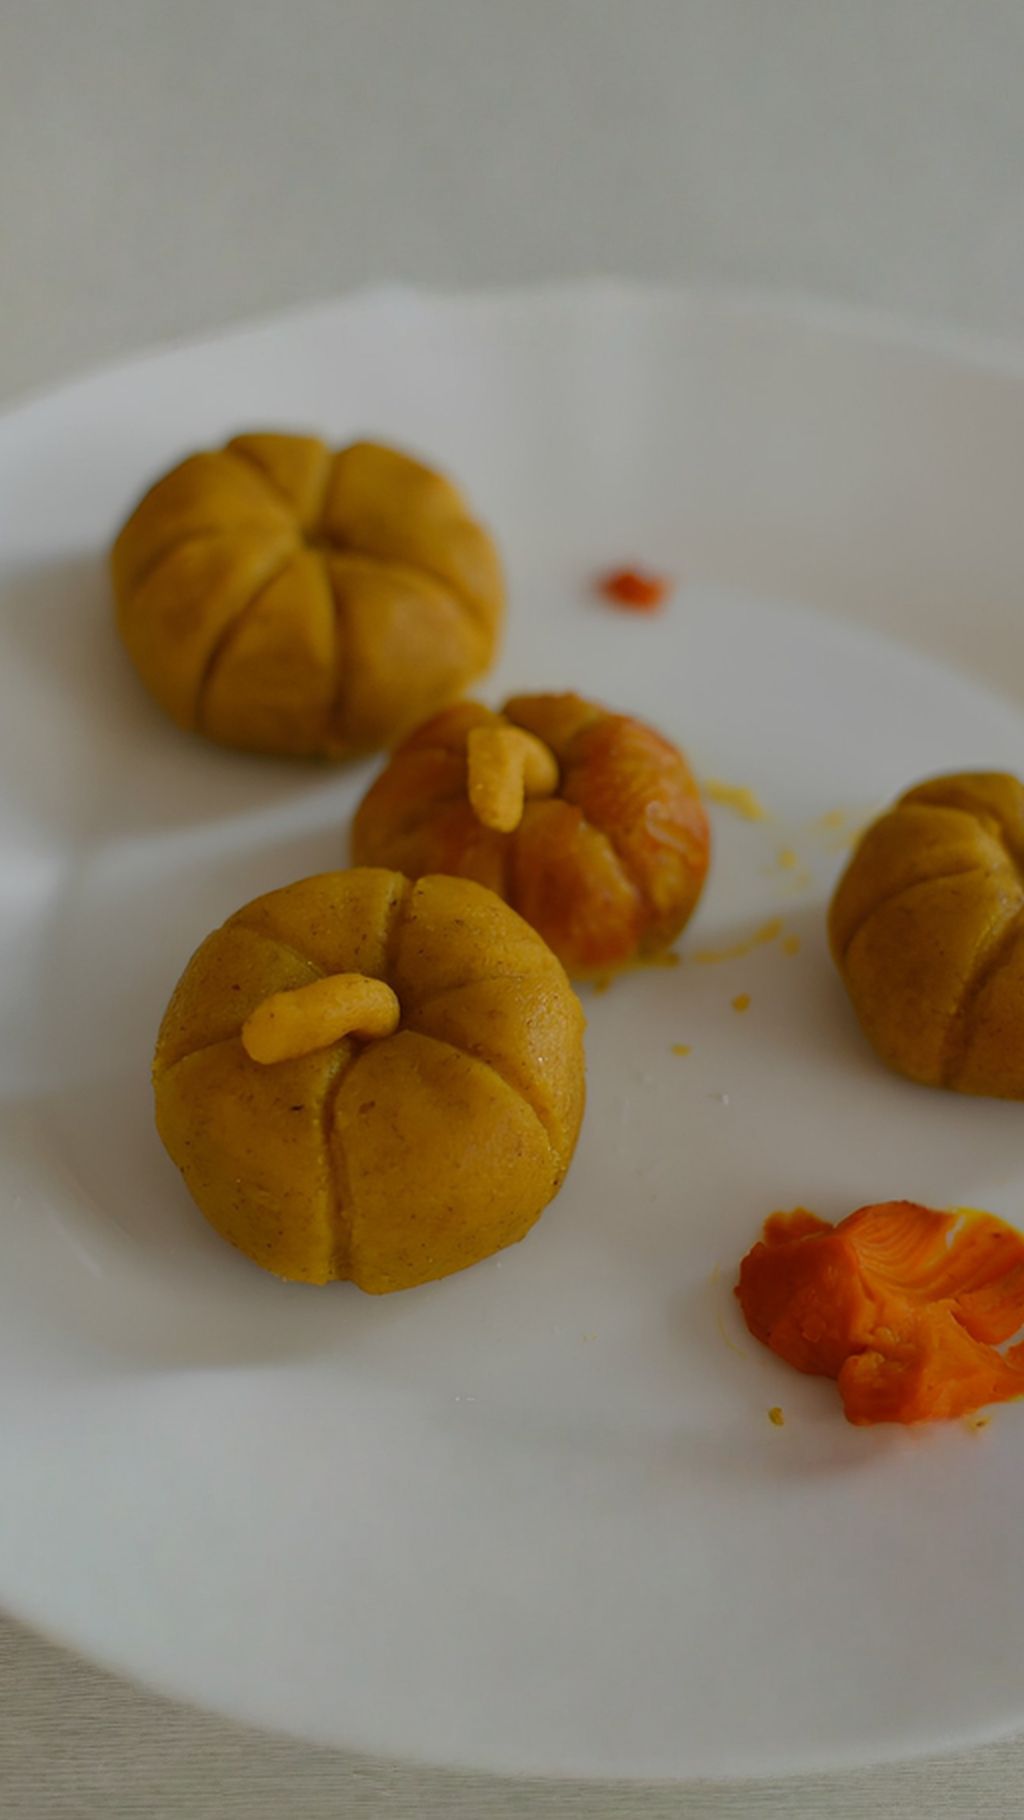
Pinch off a small piece of dough at a time. Roll it into a ball in your hands, then gently flatten it so it resembles a pumpkin. Press a little dimple into the top and a small hole for the stem. Use a wooden toothpick to score grooves into the sides to complete the pumpkin shape.
Shape a small piece of the walnut mixture into a tiny stem - or make it from a piece of chocolate instead. Arrange the little pumpkins nicely on top of the chocolate-covered cake. Finish by sprinkling the remaining caramelized walnuts over the top.
Chill in the fridge overnight until the next day.