Chocolate peanut butter truffles

Updated Aug 16, 2026
Tempering chocolate means carefully heating, cooling, and gently rewarming it so the cocoa butter crystallises into one stable form — the result is chocolate that shines, snaps cleanly, and never goes dull. Skip tempering and it stays soft, matte, and melts the moment you touch it. This guide gives you exact temperatures for dark, milk, and white chocolate, two reliable methods (tabling and seeding) plus a quick microwave version, a simple test to check your temper, and fixes for the most common problems — from grey blooming to lumps.
Tempering chocolate means carefully heating it, cooling it, and gently rewarming it so the cocoa butter crystallises into one single stable form. That form is what gives chocolate its shine, its clean snap when you break it, and stops it from melting the second it touches your hand.
Cocoa butter can set into six different crystal forms, each melting at a different temperature. For pastry chefs, only one of them matters — Form V (beta crystals), which, according to food chemistry, melts around 33–34°C, just below body temperature. That's why properly tempered chocolate melts on your tongue but stays firm and glossy at room temperature.
The goal of tempering is to "seed" these beta crystals and get the entire batch of chocolate to set around them. The process has three stages: melting (breaks down any existing crystals), cooling (both correct and incorrect crystals form), and rewarming to working temperature (the unstable crystals melt away, leaving only the beta ones). Skip this step and the chocolate dries dull, soft, and streaked with grey.
Each type of chocolate has three target temperatures — melting, cooling, and working temperature:
Dark chocolate: melt to 50–55°C, cool to 28–29°C, temper at 31–32°C.
Milk chocolate: melt to 45–50°C, cool to 27–28°C, temper at 29–30°C.
White chocolate and dulcey: melt to 45–50°C, cool to 26–27°C, temper at 28–29°C.
Milk and white chocolate need lower temperatures because of their milk fat and solids content. Treat these as ranges rather than hard rules — rely mainly on your thermometer and the packaging, since good manufacturers print exact temperatures for their specific chocolate. Going over the upper melting limit (especially with white chocolate) will scorch it and cause it to separate.

Only real chocolate with enough cocoa butter is suitable for tempering — ideally couverture with over 31% cocoa butter. Cheap "compound" or coating chocolate has its cocoa butter replaced with vegetable fat, which doesn't crystallise into the beta form, so tempering it is pointless (and unnecessary — it sets on its own, just without the real shine and snap).
All three can be tempered — they just differ in temperature and how forgiving they are. Dark chocolate (around 70% cocoa) is the most forgiving and holds its shine best. Milk chocolate (30–40% cocoa) is sweeter and softer thanks to its milk fat. White chocolate has no cocoa solids at all, just cocoa butter, sugar, and milk — it's the easiest to overheat, so it needs the most care. We go into more detail on the differences in our article on the differences between dark, milk, and white chocolate.
Good-quality chocolate lists cocoa mass and cocoa butter in its ingredients — not vegetable fat — and has at least 31% cocoa butter. Pros tend to reach for brands like Valrhona, Callebaut, or Lindt for their consistent quality and because the packaging states exact tempering temperatures. A handy tip: chocolate in small callet (pellet) form melts more evenly and is easier to measure out for seeding than a chopped-up bar.
Before you begin, get your thermometer, bowl, and tools ready and dry — and make sure everything that touches the chocolate is completely dry. You'll need:
A digital thermometer with a fast response time (probe or infrared); a 1–2°C difference matters.
A stainless steel or glass bowl, which conducts heat well.
A spatula or scraper for mixing and spreading.
Optionally, a marble slab for the tabling method.
Work in a cool, dry room (ideally 18–20°C). In a hot kitchen, chocolate holds its temper far less reliably.
At home, you've got three reliable routes to properly tempered chocolate: tabling on marble (most precise), seeding with chopped cold chocolate (easiest), and a quick microwave method. They all aim for the same result — seeding beta crystals. Pick whichever suits your equipment and quantity.
Melt the chocolate over a water bath to the melting temperature for your chosen type. Pour about two-thirds of it onto a cool marble slab and spread it back and forth with a scraper until it thickens and drops to the cooling temperature. Return it to the rest of the chocolate in the bowl, mix well, and gently rewarm to the working temperature.
Precision: fast, even cooling and a reliable result.
Shine and texture: beautifully glossy chocolate with a good snap.
Downside: you need a marble slab and a bit of practice — slower and messier for beginners.

Set aside about 20–25% of your chocolate, finely chopped (or use tempering callets), and melt the rest to the melting temperature. Take the bowl off the heat, stir in the reserved cold chocolate a little at a time, and keep mixing until the temperature drops to the cooling point and all the pieces have melted in. Then gently rewarm to the working temperature. The reserved chocolate acts as the "seed" — it supplies ready-made beta crystals for the rest to set around.
Simplicity: no special equipment and no mess, great for beginners.
Downside: keep an eye on the temperature throughout; add the seed too little or too late and the temper may not take.
Put finely chopped chocolate in a glass or plastic bowl and microwave it in 15–20 second bursts, stirring thoroughly each time. The aim is to melt about 70% of it and let the residual heat melt the rest, so the final temperature doesn't go above the working point. It's the fastest option for small batches, but it overheats easily — stick to short bursts and keep checking with a thermometer.
Run a quick test: spread a thin layer of chocolate on a piece of baking paper or the tip of a knife and leave it at 18–20°C. Properly tempered chocolate sets within 3–5 minutes, looks evenly glossy with no streaks, and snaps cleanly when broken. If it's still soft, dull, or sticky after ten minutes, the temper hasn't taken and you'll need to start again. Always run this test before filling moulds or dipping — it'll save you from ruining a whole batch.
Most problems come down to one of three causes: wrong temperature, moisture, or rough handling while the chocolate sets. Here are the most common issues and how to fix them.
Grey-white streaks and a dull surface mean fat bloom — the cocoa butter has crystallised on the surface in an unstable form. It doesn't affect flavour, just looks. It's caused by poor tempering or temperature swings (the chocolate warms up and re-sets). Fix: melt it down, temper it properly, and then store it at a stable temperature.
A rough, grainy, dull surface is sugar bloom — caused by moisture. Water on the surface dissolves the sugar, and once it evaporates, coarse crystals are left behind. Unlike fat bloom, this changes both texture and taste and can't be polished away. The usual cause: taking cold chocolate into a warm, humid room where condensation forms on it. The only prevention is keeping chocolate dry.
If water or steam gets into chocolate, it suddenly thickens into a dull, lumpy mass — this is called seizing. Lumps can also form from cooling it too fast in the fridge. A small case of seizing can sometimes be rescued by stirring in a spoonful of warm oil or a little hot cream (though at that point it becomes a glaze or ganache, not tempered chocolate for moulding). Otherwise, use it in batter or cream, where the temper doesn't matter.
Tempered chocolate sets quickly, so if you keep going back over a dipped dessert, you'll disrupt the crystallisation and end up with streaks. Apply it in one even layer and let it set; only add another layer once the first has dried. For dipped treats, it's best to dip, let it drip off, and let it dry — not go back in and fuss with it.
Keep finished pieces dry at a stable 16–18°C and below 50% humidity, away from direct light and strong smells (chocolate absorbs them). Avoid the fridge unless you really have to — moisture and condensation trigger sugar bloom. If you do have to take it out of the cold, leave it wrapped until it reaches room temperature, so condensation doesn't form on the surface. Stored this way, properly tempered chocolate stays glossy for weeks to months.
Tempered chocolate is the foundation for anything that needs shine, firmness, and a good snap — especially filled chocolates and truffles, coatings and dipping, and chocolate decorations.
Tempered chocolate is what gives chocolates and truffles their shape and that thin, glossy shell that snaps when you bite into it. Coat the mould with a thin layer of tempered chocolate, let it set, fill it (with ganache, caramel, or nut cream), and seal it with a chocolate base. The glossy shell snaps nicely and the chocolates release easily from the mould. For hand-dipped truffles, tempering creates a thin, crisp shell around the soft centre. Our article on how to make homemade chocolates walks through the whole process step by step.
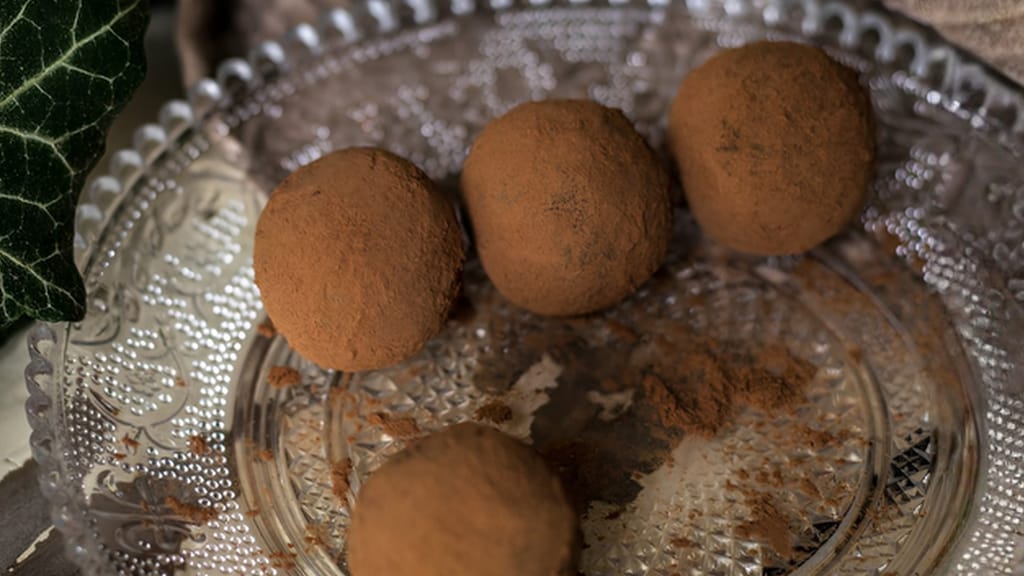
Chocolate peanut butter truffles
Peanut butter chocolate truffles – perfect for practising dipping in tempered chocolate

Tempered chocolate is ideal for coating and dipping because it dries into a smooth, glossy surface that doesn't melt away and gives a satisfying snap when bitten. Use tempered chocolate to coat a cake smoothly or to dip biscuits and sponge fingers. Spread it in an even layer, let it set, and don't touch it again. It works brilliantly on something like a simple chocolate cake base, which then gets a glossy chocolate coating.
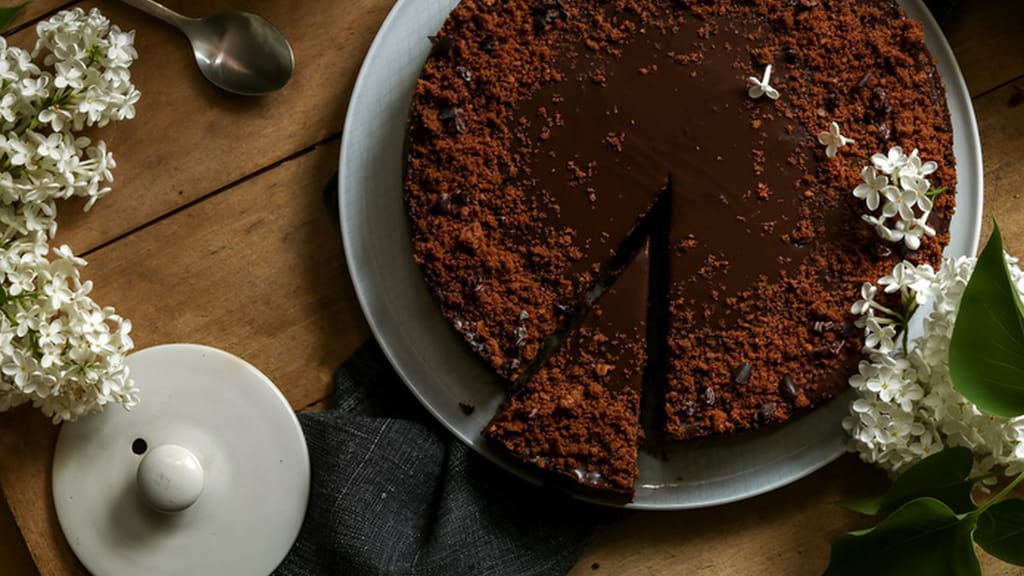
Simple chocolate cake
A simple chocolate cake base – ready to be coated in tempered chocolate
Tempered chocolate works well for decorations because, once set, it holds a sharp shape, stays glossy, and can be worked like a pliable yet firm material. Spread a thin layer of tempered chocolate on baking paper and, before it sets, shape it with a spatula into spirals, leaves, or splatters. Once set, it holds its shape, shines beautifully, and gives desserts a professional finish. For a mirror-glossy finish over an entire cake, though, a mirror glaze works better — and that's not made through tempering.
You don't need a fancy pastry thermometer, but you do need a fast, accurate digital one — accurate to within 1°C — either a probe or an infrared (non-contact) type. A difference of just one or two degrees can throw off the whole process, so a slow or imprecise thermometer will easily ruin your temper. Infrared ones are handy since you can check the surface without dipping anything in, but stir the chocolate first so the temperature reading is even throughout.
No. Tempering is only about getting a glossy, firm finish once chocolate sets, so it matters for shells, coatings, dipping, and decorations. If you're melting chocolate into batter, cream, ganache, or ice cream, crystal structure doesn't matter and there's no need to temper it.
The temper probably didn't take — either not enough beta crystals formed, or your working temperature was too high. Properly tempered chocolate sets within 3–5 minutes at 18–20°C, shrinks slightly, and releases from the mould on its own. Melt it down and temper it again, this time following the thermometer exactly.
Yes. Leftover set, tempered chocolate can be melted down and tempered again without any loss of quality, as long as it hasn't picked up water or filling. That's actually a good reason to temper a bit more than you think you'll need.
I send one like it every week. A recipe, a tip, one deal — nothing else.