Did it work out?
One click, and we know how the recipe works in a real kitchen.
Cooking
Rhubarb Pie with Curd Cheese and Chia Seeds
·Squeeze the juice from the lemon and grate its zest. Mix together the pastry ingredients and knead into a firm, non-sticky dough. Put it in a plastic bag and chill in the fridge for an hour.
Roll the chilled dough into a circle and line a pie tin about 25 cm in diameter that you've buttered beforehand. It's best to also place a circle of parchment paper on the bottom - it will make the pie much easier to slice later.
The dough should cover not just the bottom but also the sides of the tin. Prick the base all over with a fork, then lay a sheet of parchment paper on top and fill it with dried beans. These will help keep the pastry flat as it bakes.
Bake in an oven preheated to 180°C for 30 minutes. Remove the parchment paper and beans, then bake the uncovered pastry for a further 10 minutes. While the crust bakes, prepare the filling.
Peel the rhubarb thoroughly and cut it into short chunks. Put them in a pot, sprinkle with cane sugar and add about 50 ml of water. Cook until soft. All the water should evaporate, leaving soft rhubarb in a caramel-like syrup. Let it cool.
Whisk the curd cheese with honey. Adjust the amount to taste - some prefer it tangier, others sweeter. Add the chia seeds and stir through.
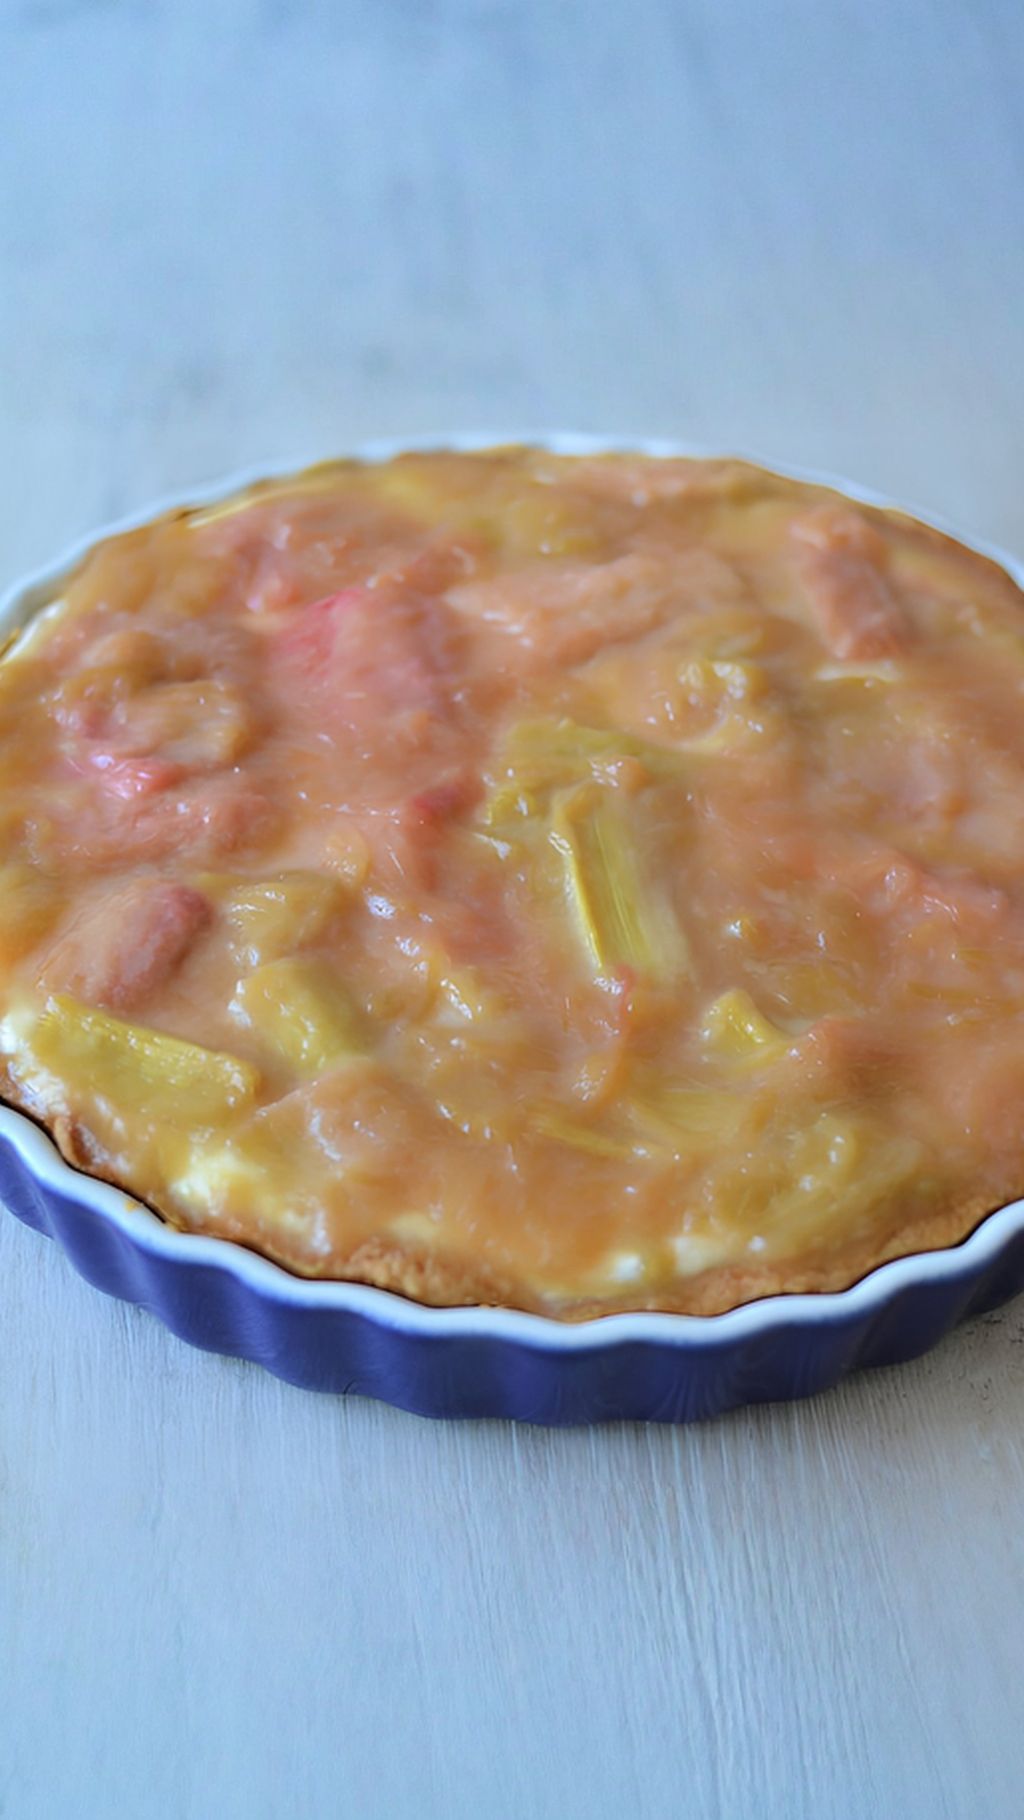
Let the baked crust cool completely. Spread it with the curd cheese cream and top with a layer of rhubarb. Chill in the fridge, ideally