Homemade Potato Gnocchi
·Boil the potatoes
Boil the potatoes in their skins in salted water. Peel them while still hot and mash them. It's up to you whether you use a potato press, the grinder attachment on a stand mixer, or a fine grater.
Add the remaining ingredients
Add the remaining ingredients to the hot mashed potatoes. I like to work in a large enamel bowl that used to belong to my grandmother, but you can also knead the dough right on the worktop if you prefer.
Add the flour
Start by adding about 250 g of flour to the dough, then add more as needed. You might not use all of it, or you might need a bit more — it varies.
A sticky dough
Don't fuss over the dough for too long, and avoid pressing or rolling it excessively, as this can make the finished gnocchi too firm. The dough will stay slightly sticky throughout, so keep dusting it with extra flour as you roll it out.
Work quickly
Work fast, and don't worry if the dough gets softer and stickier as time goes on. That's exactly why you should work as quickly as you can, on a well-floured surface.
Roll out the dough and cut into pieces
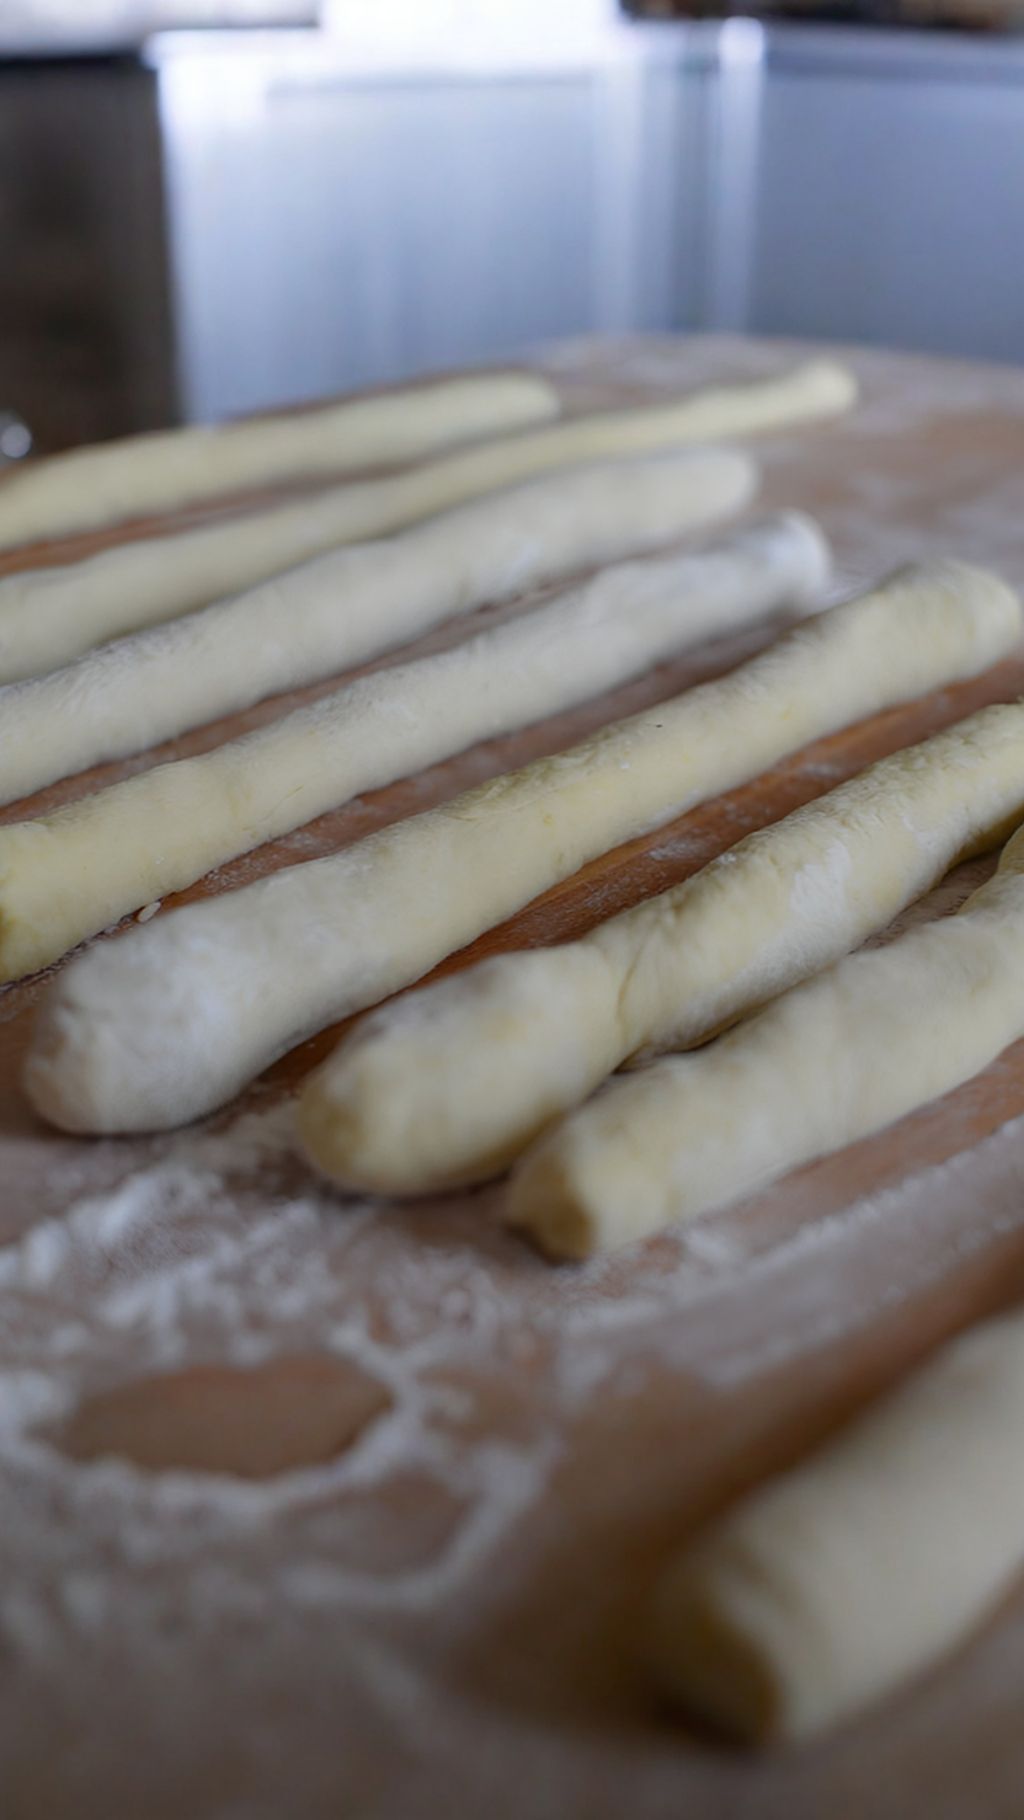
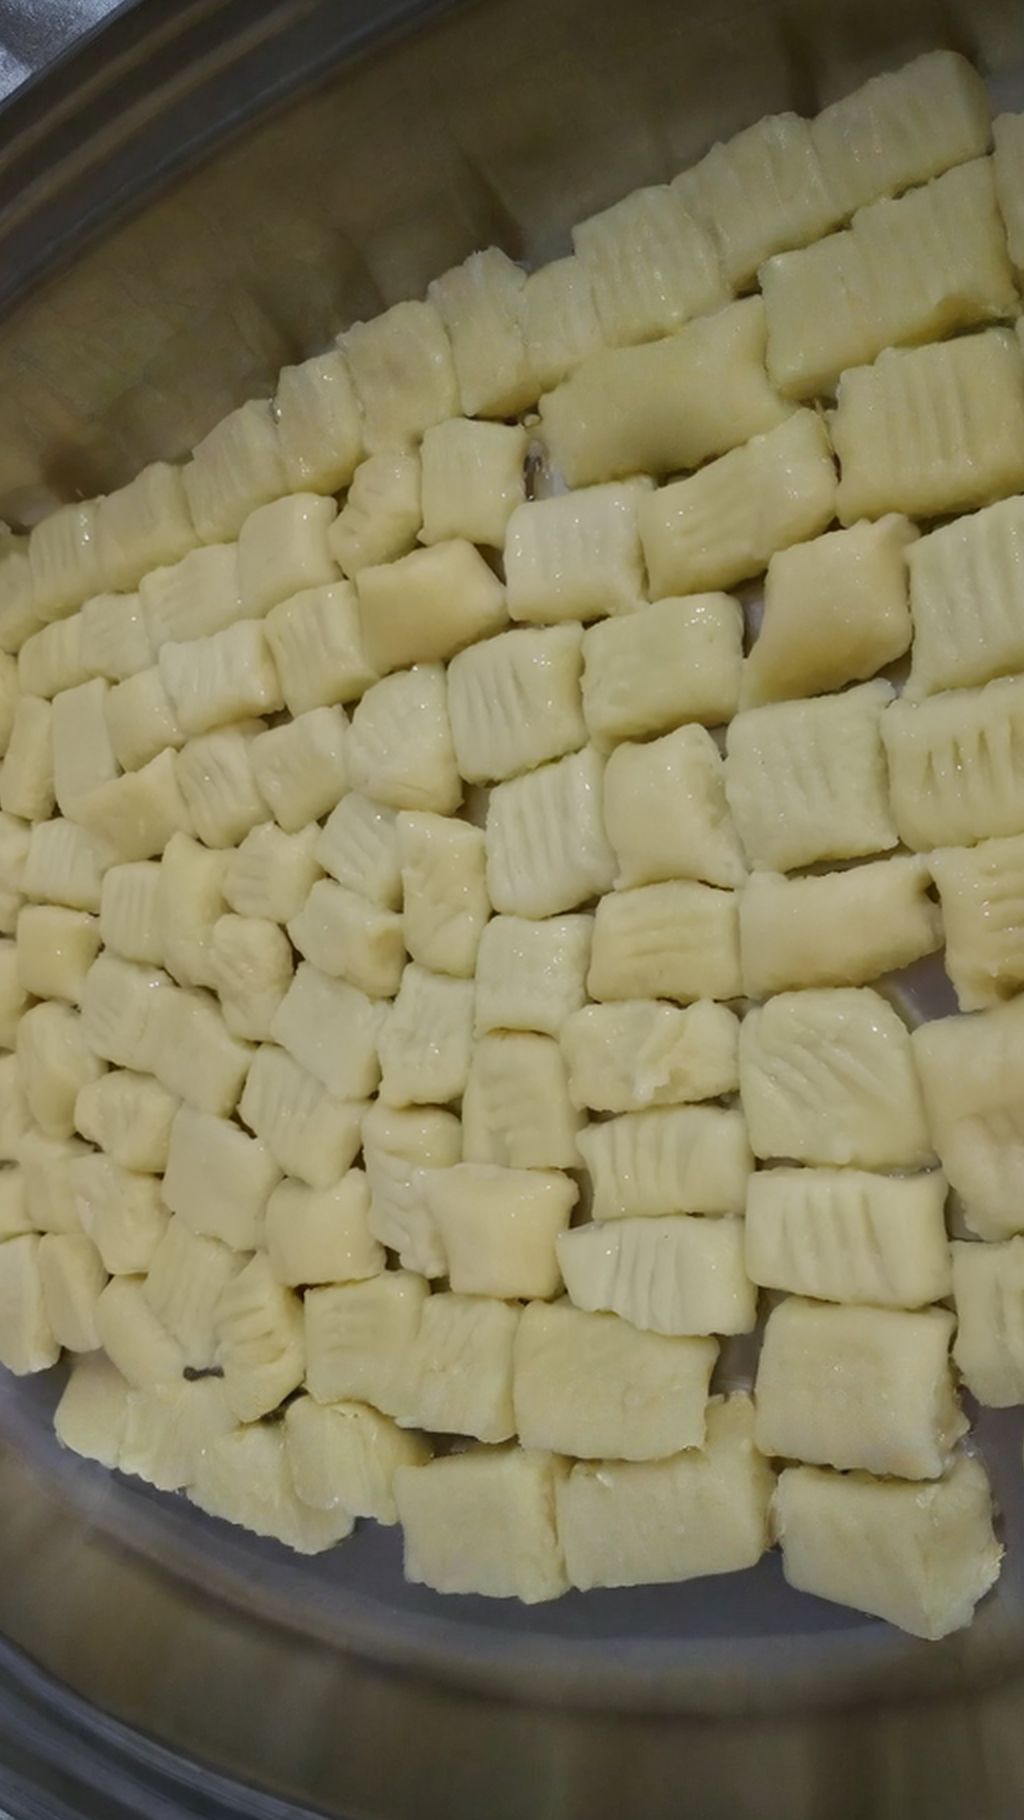
Roll the dough into "snakes" about 1.5 to 2 cm in diameter. Cut the ropes into pieces as large as you like. You can decorate the finished gnocchi with a fork or roll each one over a special grooved wooden gnocchi board. Or you can simply leave them plain and smooth.
Cook
Drop the finished gnocchi straight into boiling salted water. They're done as soon as they float to the surface — it happens almost instantly, cooking barely takes a minute. Lift them out of the water and let them drain.
Storage and serving tip
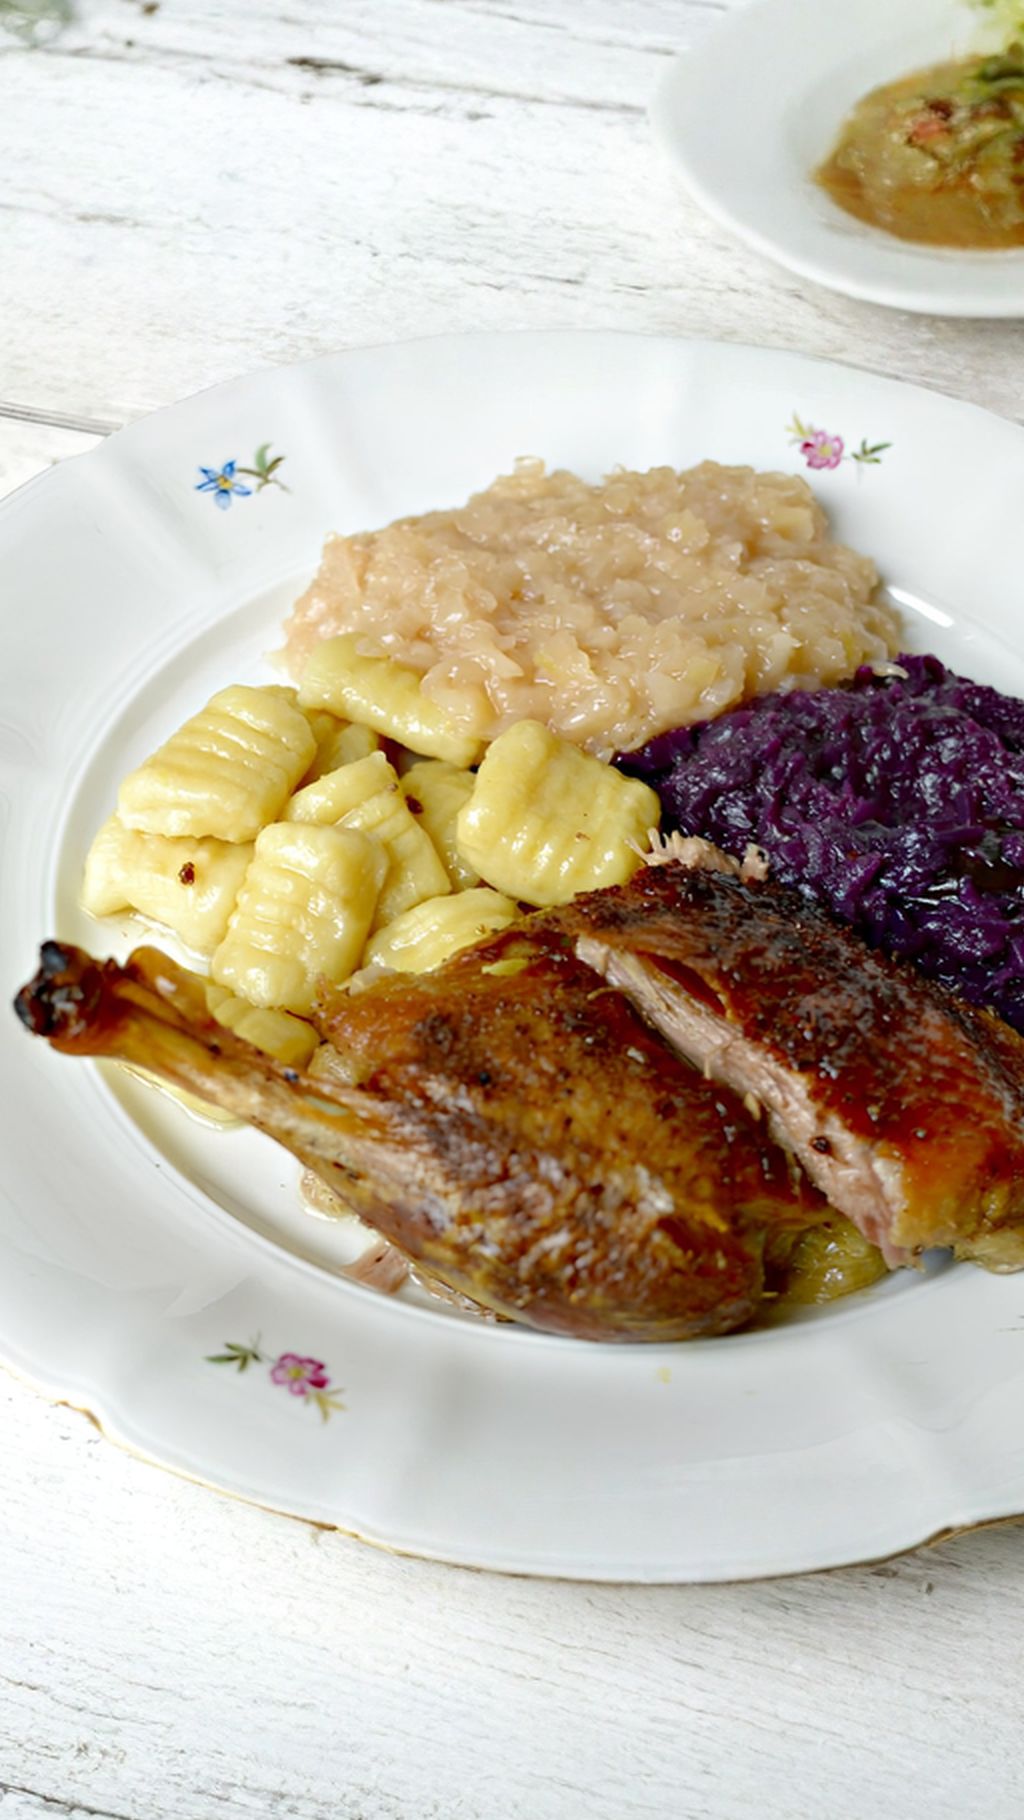
You can arrange them side by side, let them dry out a little, and keep them in the fridge for a few days. They can also be frozen for later use. But they're best fresh. Before serving, you can lightly fry them until golden.