Did it work out?
One click, and we know how the recipe works in a real kitchen.
Cooking
Chocolate Cake with Chocolate Ganache and Raspberry Pralines
·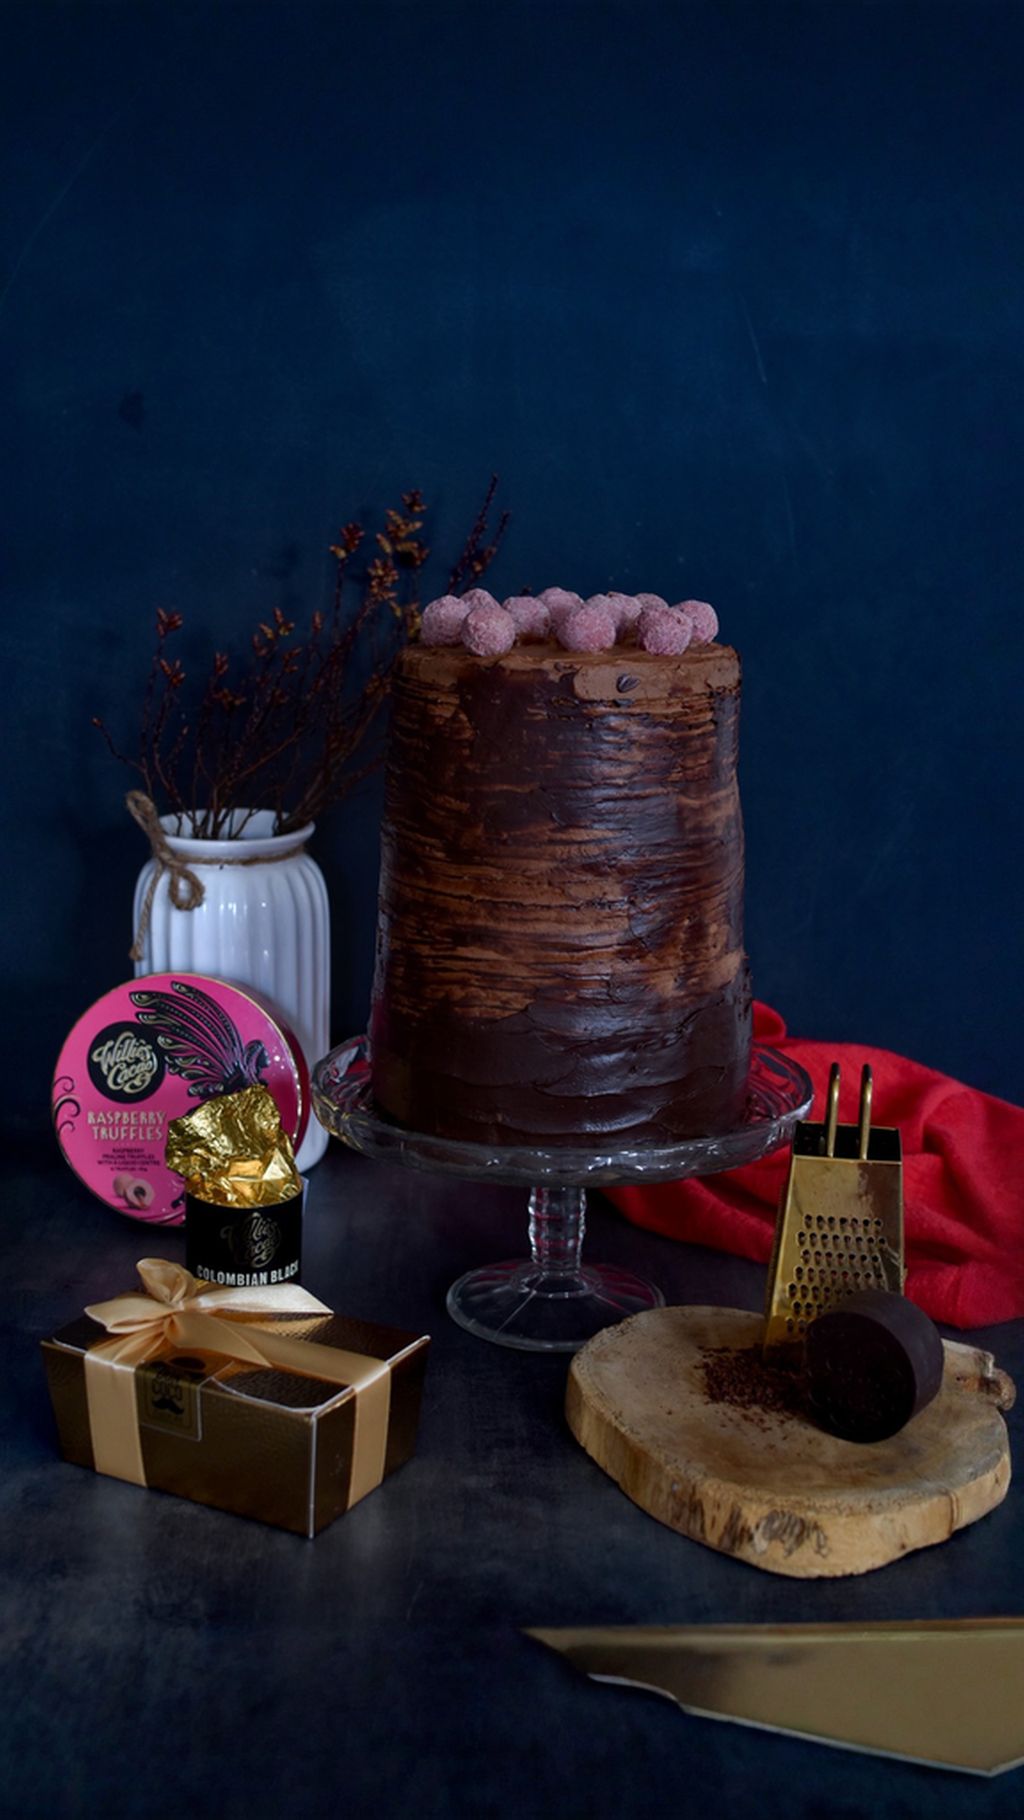
This cake is tall but not overly wide, so use wooden cake dowels to support it. I didn't bake the sponge in a proper cake tin either — instead I used two saucepans with a 17 cm diameter and one with a 19 cm diameter.
Weigh your eggs while still in their shells. Mine came to 480 g — yours will almost certainly be a slightly different number. Whatever figure you get, use that same amount in grams of sugar.
I use fine baking sugar, but ordinary granulated sugar works just as well. Also weigh out your plain flour, using 50 g less than the weight of your eggs in their shells. In place of that missing 50 g of flour, weigh out 50 g of good-quality cocoa powder and mix it into the flour in a bowl.
Preheat the oven to 175°C. Separate the yolks from the whites, keeping the yolks ready in a small bowl. Whip the whites with the whisk attachment of a stand mixer until stiff, then transfer them to the large bowl you'll use to make the batter.
Put the yolks into the stand mixer bowl — I don't even bother washing out the bowl the egg whites were in, there's no need. Add the sugar to the yolks and start whisking. Gradually add 18 tablespoons of hot water, whisking until the sugar has completely dissolved and you're left with a wonderfully sweet yolk cream.
In the large bowl with your whipped egg whites, alternate between adding the flour-cocoa mixture and the yolk cream. Fold everything together gently so you don't knock too much air out of the whites.
Divide the sponge batter evenly between all three prepared tins — the saucepans you've already greased and lightly dusted. All three sponge layers should fit on the oven rack side by side. Bake for around 45 minutes.
Don't open the oven door for the first half hour, or the sponge may sink. After that you can check whether it's done — the centre should feel firm to the touch. Confirm by inserting a skewer into the middle of the sponge; if it comes out clean, it's ready.
Take all three tins out and set them on a wire rack to cool. Once they're completely cold, turn the sponges out.
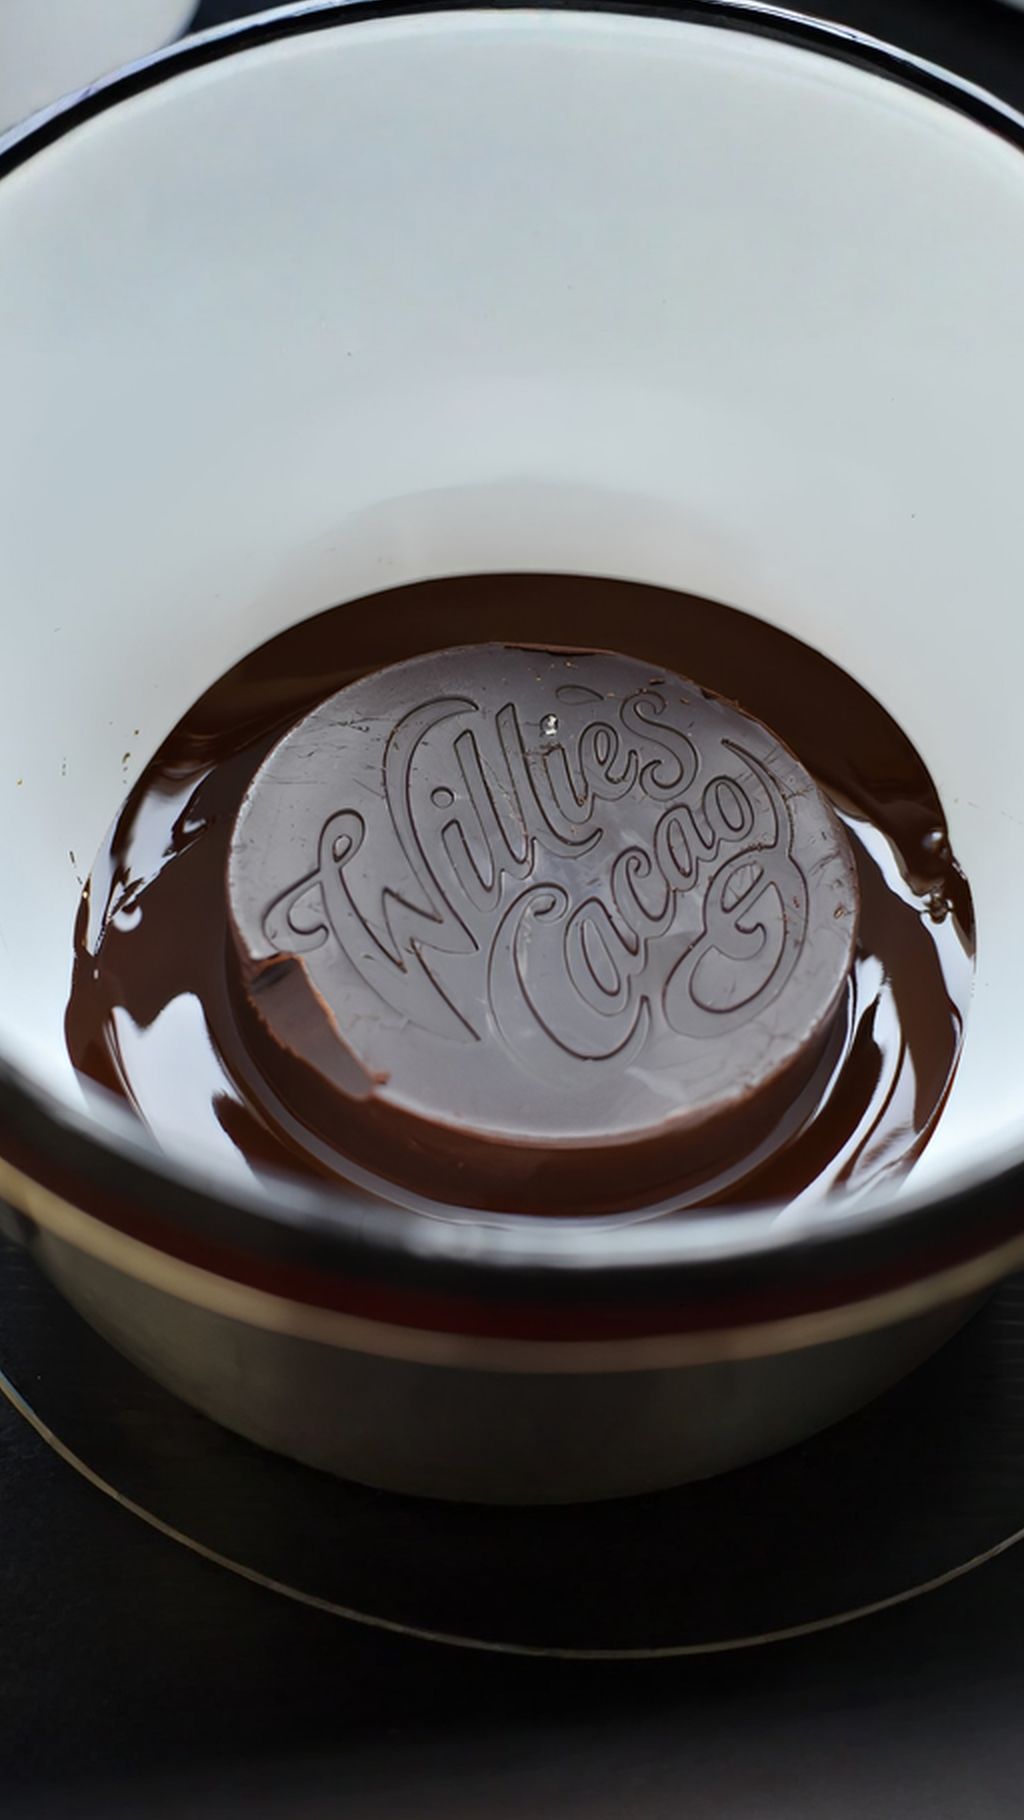
In a small saucepan, bring 300 ml of whipping cream to the boil. Take it off the heat and add 90 g of Willie's Cacao Venezuelan Black Carenero chocolate, chopped into small pieces beforehand — 90 g is one of the two bars you'll find in the pack.
Let the chocolate sit in the hot cream for about five minutes, then stir with a whisk until smooth. Fit the whisk attachment to your stand mixer and beat together the butter and icing sugar in the mixer bowl. Add the chocolate mixture in gradually, a spoonful at a time.
Once everything is fully combined, start adding the mascarpone — roughly half a tub at a time, whisking thoroughly after each addition. Work through the full 1 kg of mascarpone this way.
Once whipped, stir the finished cream thoroughly and for quite a while with a large wooden spoon. This knocks out some of the extra fluffiness so the cake layers hold together and don't slide apart.
Bring another batch of cream to the boil — this time 100 g. Add 90 g of chopped Willie's Cacao Venezuelan Black Carenero chocolate.
Let it stand for five minutes, then stir with a whisk. Gradually add soured cream, folding it into the chocolate mixture. The result will be a slightly darker cream than the mascarpone one — use it to fill between one or two of the cake layers.
Both creams are now ready — chill them in the fridge for an hour. Meanwhile, slice the sponges. You'll have three baked sponge layers in total; cut each one into two, giving you three thin layers from each. Spread raspberry jam over each layer.
The base of the cake will be the sponge baked in the 19 cm saucepan. Start with the darker soured cream chocolate mixture to join the first two layers together. Depending on how much cream you use, you might even manage to join the second and third layers too.
If you run out of the darker cream, use a little of the mascarpone cream instead. Smooth the sides — they don't need to be perfectly finished at this stage, just filled in enough so there are no gaps or holes. Chill this first assembled section in the fridge.
Continue with the remaining two sliced sponges, this time using the mascarpone cream. Divide it so you still have enough left to cover the whole cake once it's assembled. Fill each sponge with cream and smooth the edges so the sides are even.
Chill everything in the fridge — ideally for three to four hours, or even overnight.
Now stack all the sponge sections on top of each other, with the 19 cm layer at the bottom, of course. Secure the layers together with wooden cake dowels, trimmed so they're completely hidden inside the cake. Cover the sides and top of the cake with the remaining cream.
To finish, I ran a fork all the way around the sides and up the height of the cake to create lines — I set the cake on a turntable and turned it while running the fork around until the pattern formed. Chill the cake in the fridge for an hour before the final finishing touches.
Bring 100 g of cream to the boil. Break in the Willie's Cacao Rio Caribe Gold chocolate and let it sit for five minutes, then stir with a whisk until smooth — this is your chocolate ganache. Let it cool, then spread the cooled ganache over the sides of the cake, filling in the fork lines in the cream.
Smooth the ganache neatly, then arrange the raspberry pralines on top of the cake. And that's it — you're done! Hooray!